
STEP BY STEP MODEL/COMPUTER COLLAGE
In the following sequence, architect Janek Ozmin skillfully brings together model images and related textures that are combined in Photoshop. The collage is a spatially rich study that records a process of thinking and establishes a broad spatial topography, inspiring further, more detailed studies of the eventual urban and building proposal.
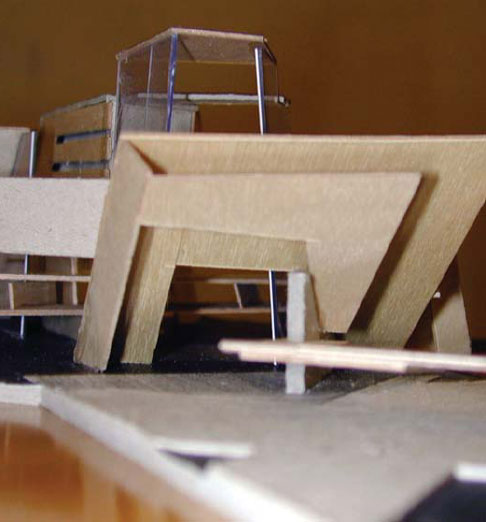
1
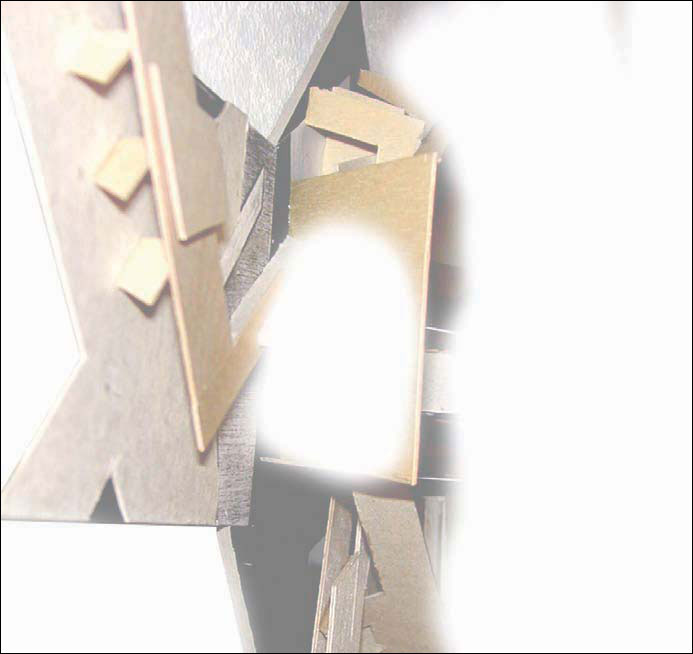
Base material: The study started with the generation of a 1:1000 sketch model for a conference center made from gray card, beech laminate, black paper generated from a photocopier, photocopied laminate, and 1 mm clear plastic. Ozmin took a series of digital photographs as part of the exercise with the intention to digitally collage people into the model as part of a spatial study.
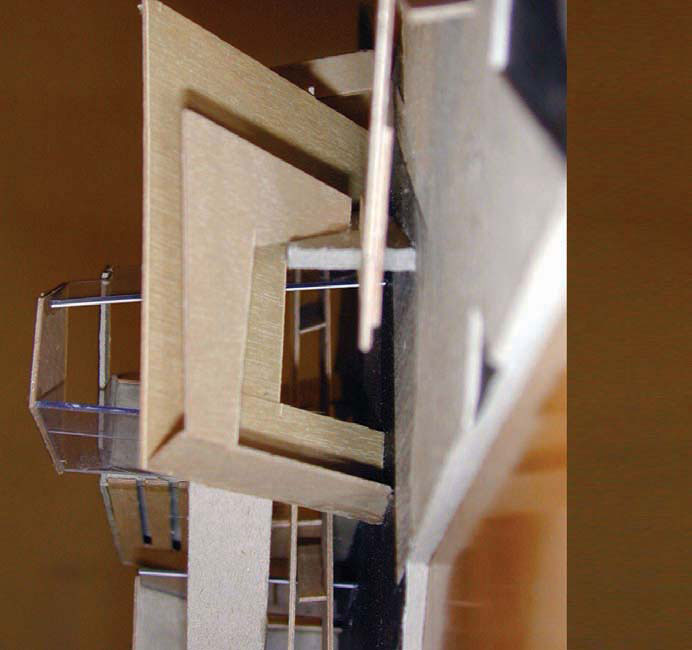
2
After completing the first study, the original image was moved around using the Rotate Canvas command. After re-orienting, the canvas was stretched using the Crop tool in reverse to just off square and the blank space was filled with a stretched section of the brown background.
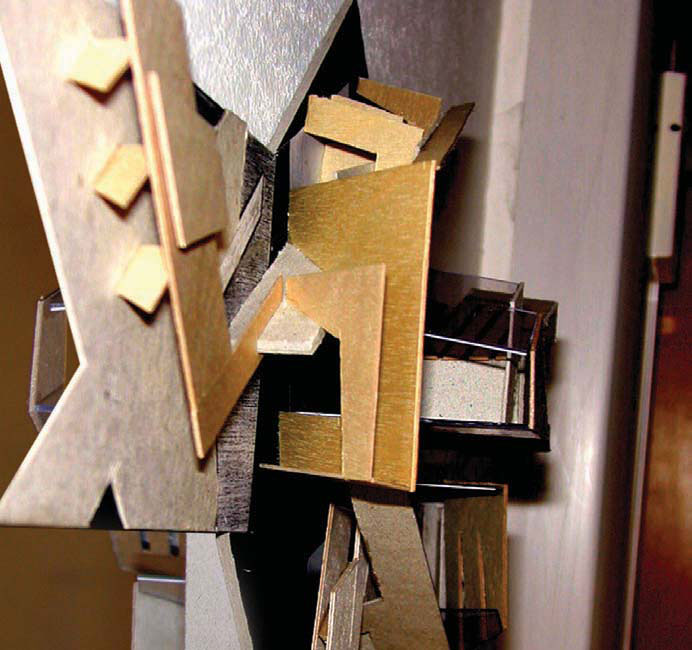
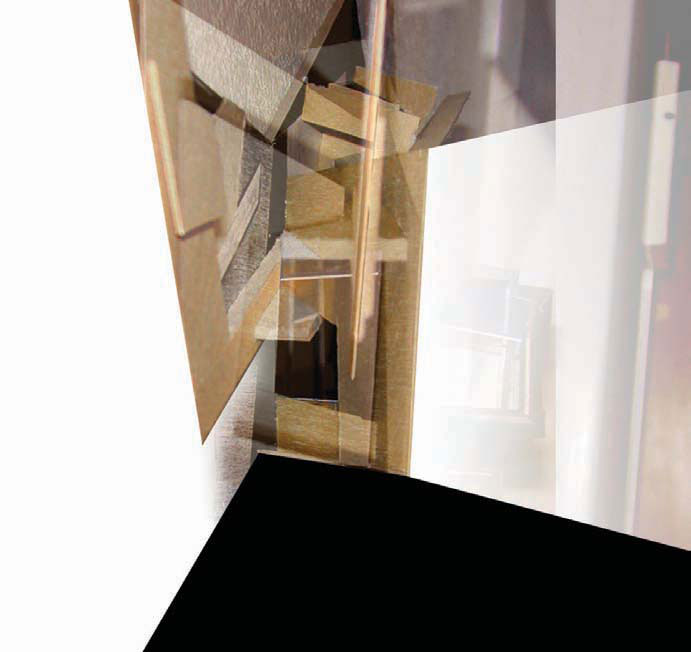
3
Composite space: the brown section was later masked out in white, which gave the stone floor a reflective quality. Finally a second photograph, taken from a slightly higher position than the composition, was added and positioned at 180 degrees to the original image.
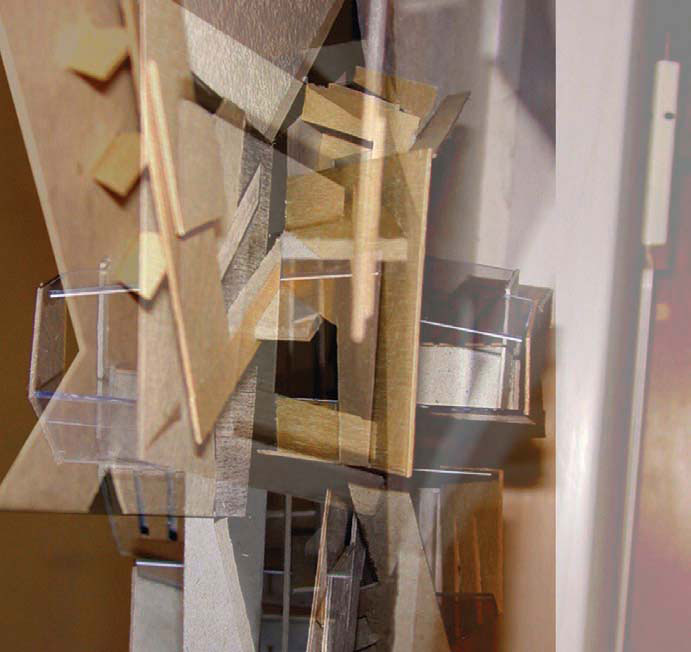
4
Keeping the background photograph as a constant, the second photograph was made transparent (above); this immediately increased the spatial experience, creating several areas for the eye to engage with. Focusing on the central portal, the second photograph was copied again and elements of the image were deleted with the Airbrush eraser tool (see right).
Leaving the copied layer transparent increases the visual impact of a portion of the second photograph, giving the overall image a foreground without losing the complexity of the transparencies.
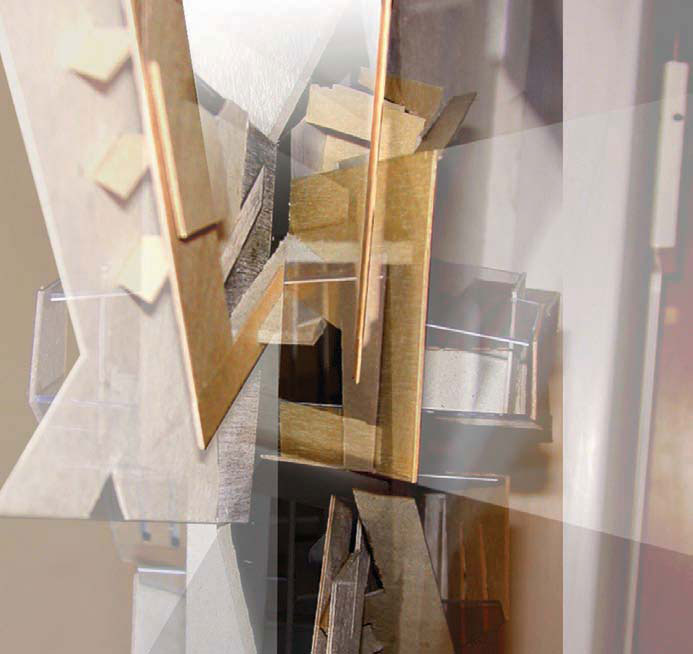
5
Working with the layered composition, a space was created using a one-point perspective technique, focusing on the dark section at the center of the image. Lines existing in the model were extended and three masking planes, two walls, and a ground plane were created (above). The masking planes were then made transparent to reveal the space behind (right).
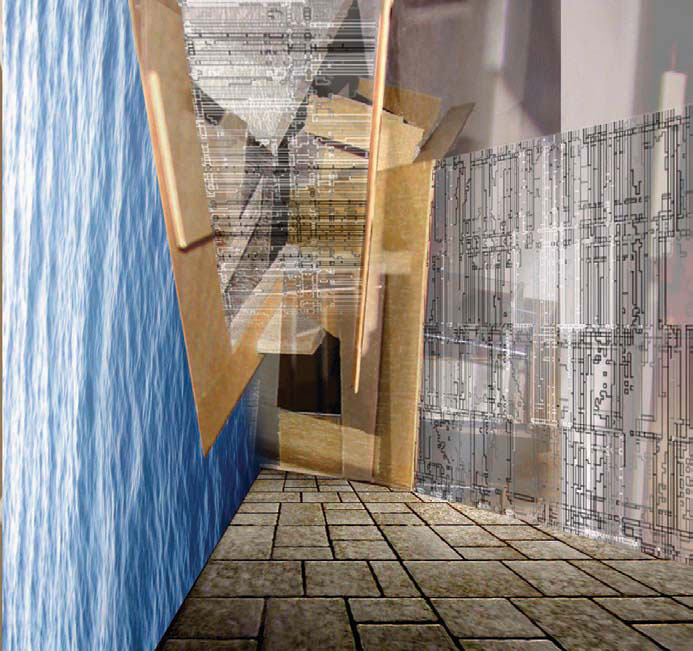
6
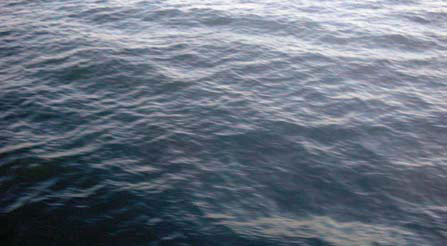
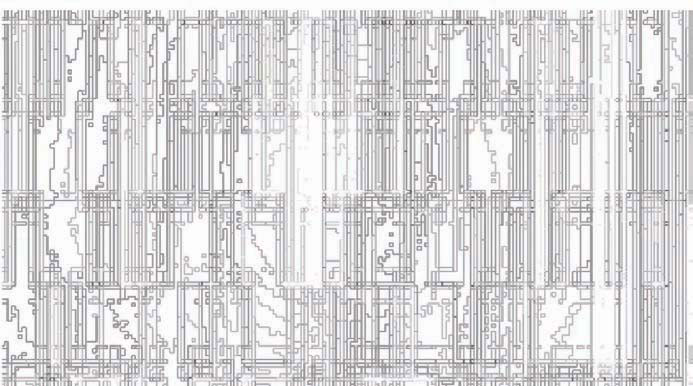
Materials: Three materials were selected to be added to the composition. The water and the stone floor were both found using an image search on the Internet. The wall and overhead screen were generated by extracting vector lines from a digital image (below right). Using the Layer Mask tool in Photoshop, the images were applied to the composition and stretched into perspective using the Free Transform tool. Note that the water has been made lighter and color-saturated compared to the original image (top).
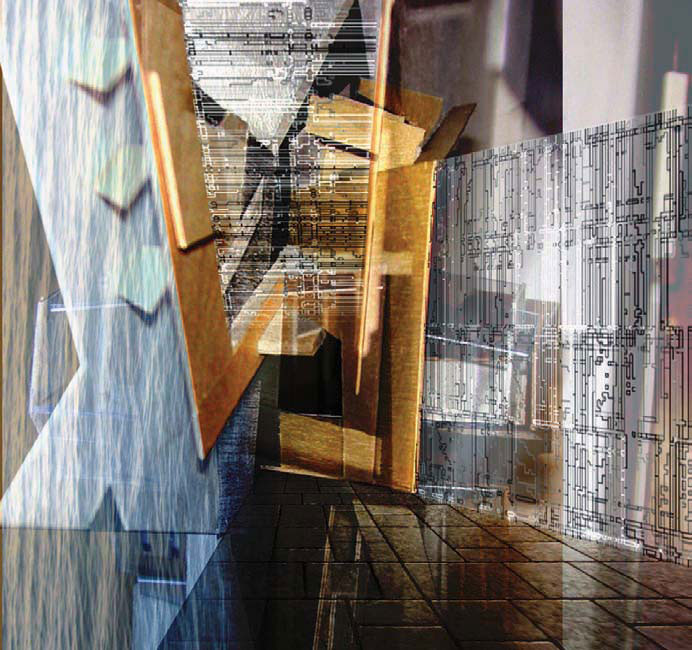
7
Textured space: Reducing the transparency of the masks reveals the background textures. The transparency of the masks will require you to revisit the original materials as with the water, which has now faded and is no longer at a different saturation to the rest of the image.
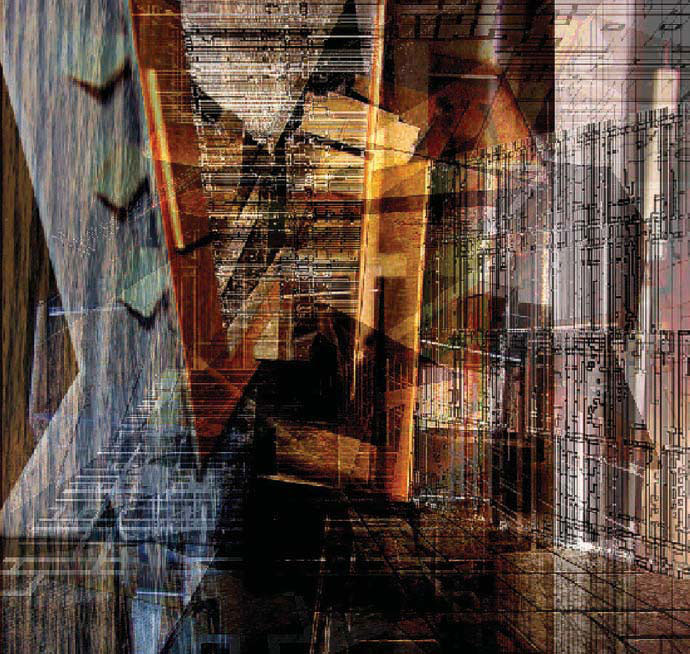
8
Luminosity: Finally the whole image was selected and copied using the Copy Merged tool and pasted back into the drawing. The composition was adjusted using the Brightness and Contrast tools and the center of the drawing was saturated using the Burn tool set to Shadows. This removes the milky feel of the previous frame. This image forms the first stage of the process before finishing and printing.