1
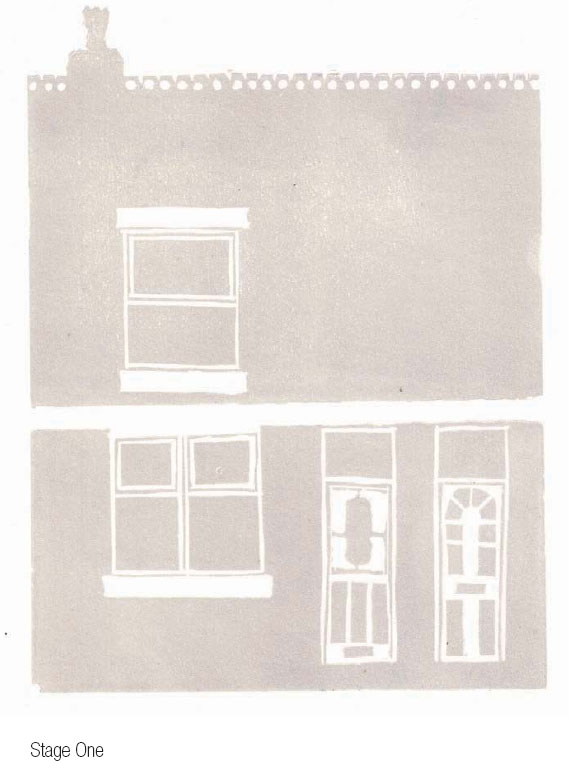
Prepare the selected image, working out the areas for each color. Transfer the drawing onto a piece of lino.
2
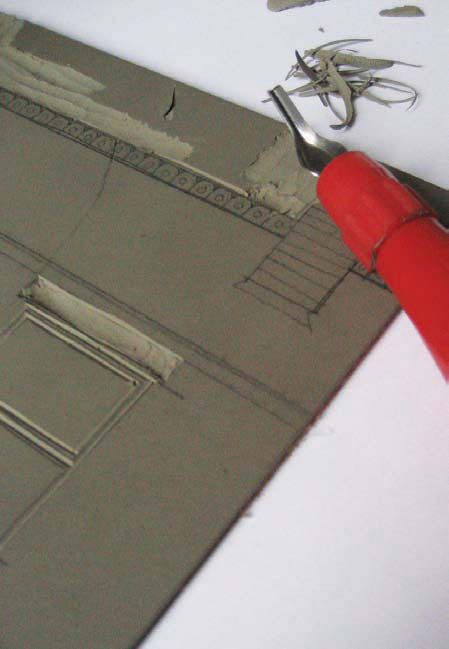
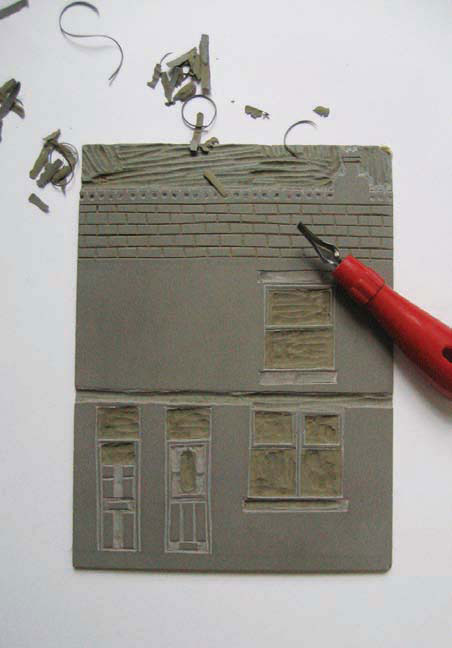
Prepare the lino for printing the first color. Using a lino tool cut into the areas that are to remain “white” (or the color of the paper you will print onto).
3
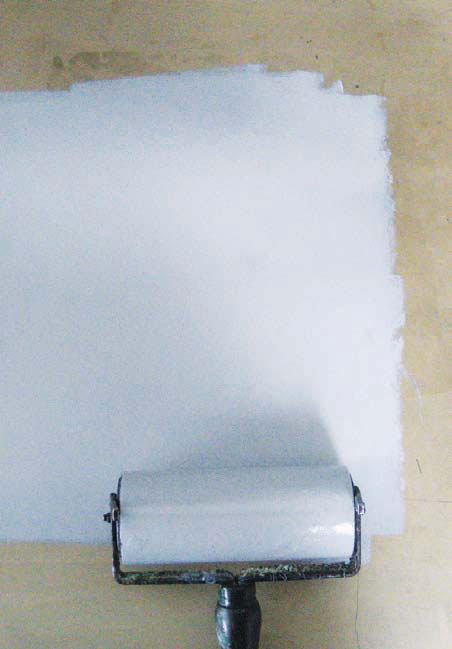
Mix the first color and roll the ink out onto a flat surface. Only a very tiny amount of ink is required. When you hear a sticky, tacky sound when rolling, the ink is ready to roll.
4
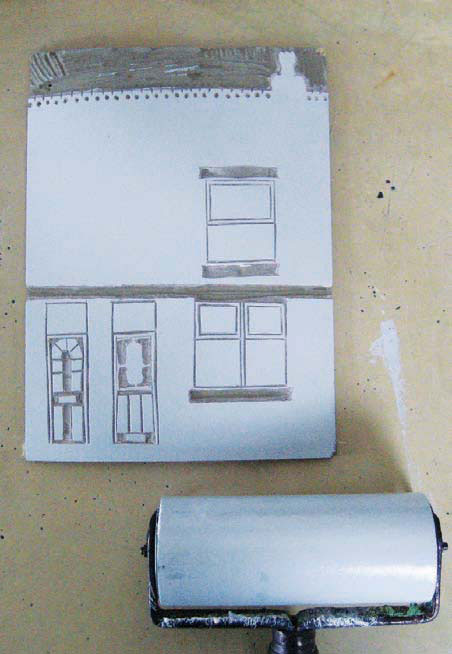
Roll the ink very thinly and evenly onto the lino.


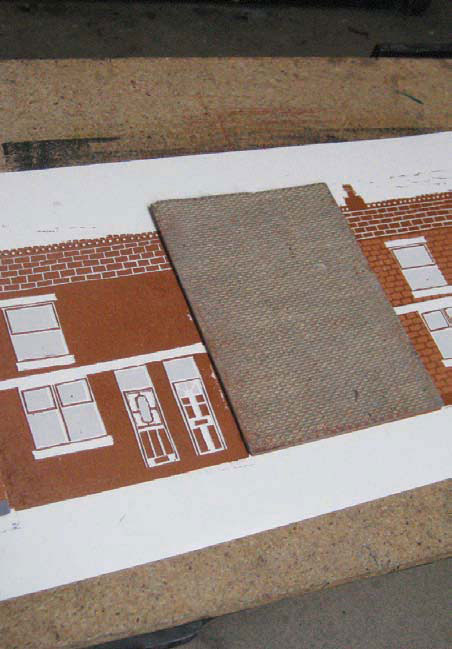
5
Place the lino face-down onto your paper and roll over the back of it with a clean roller, applying plenty of pressure to make a good, even print. A printing press will give better results.
6
Once the lino is clean, cut into it again for the second color. This time, remove all the areas that you would like to remain printed in the first color.

7
Repeat the inking process, with the ink rolled thinly and evenly over the lino as with the first color.

8
It is important to get the registration of the second print right so the colors line up correctly. If using a press, marking a piece of paper with the position of the lino and the paper is a good way to do it. If using a roller, use the corners of the lino to line it up.

9
Cut into the lino again in preparation for printing the third color. Follow the same inking process.

10
When cutting out the areas for the final print there will be hardly any lino left on the tile; only the area for the final, and darkest color. The tile will be a bit floppy because of this.
11
Repeat the printing process for the final time; the final print is ready.