STEP BY STEP PHOTOGRAPHIC SCREEN-PRINTING WITH ACETATE SHEETS

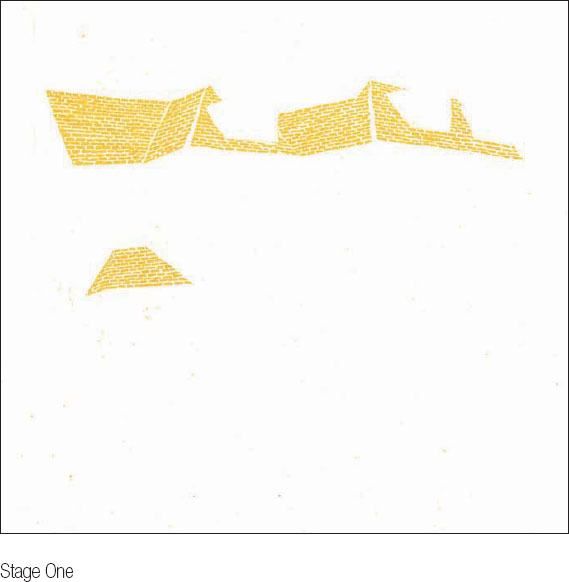
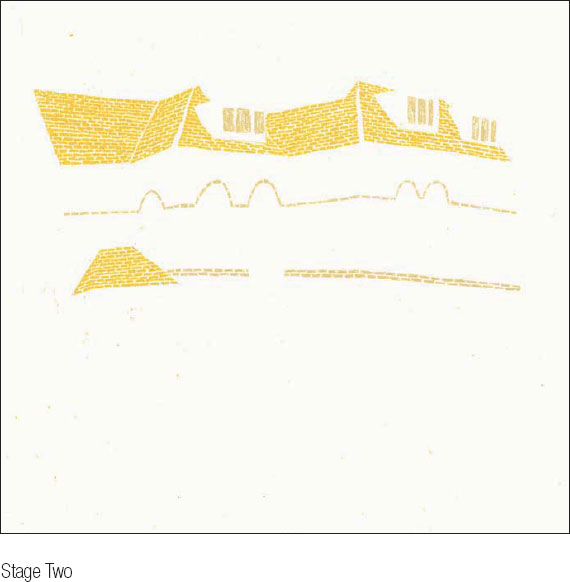
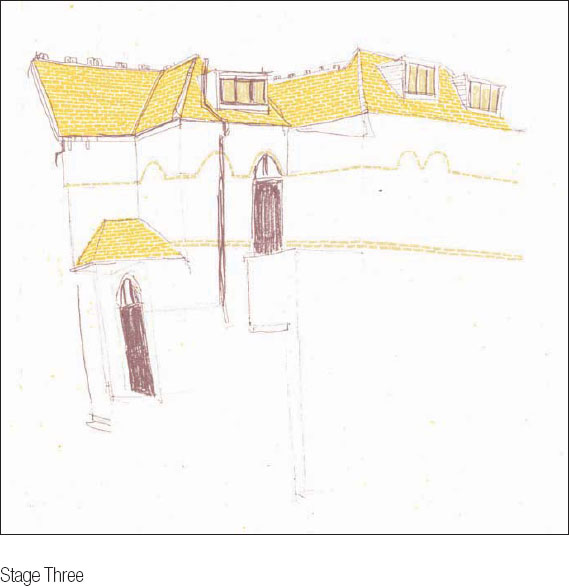
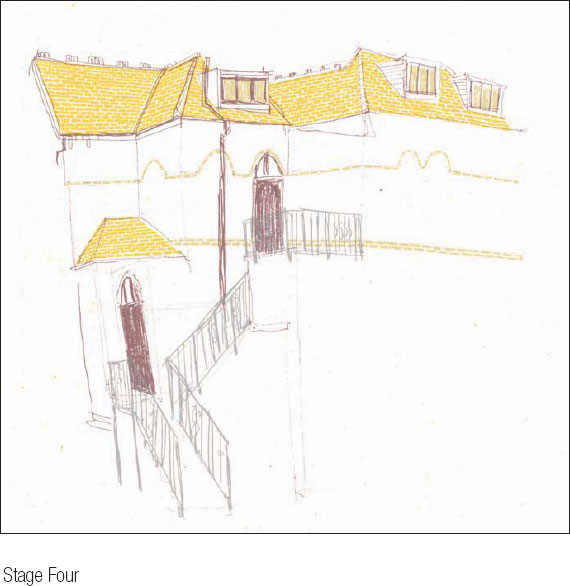
1
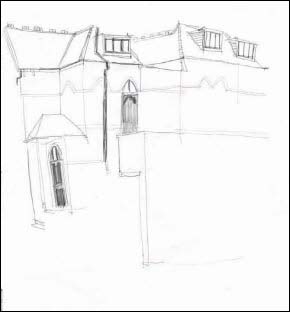
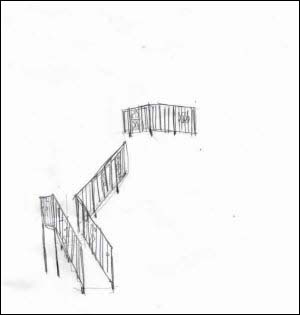
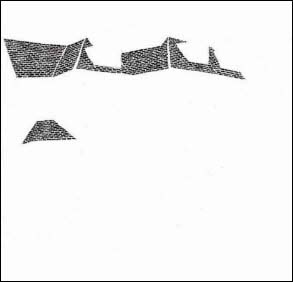
Once you’ve selected the drawing for printing, separate it into different layers, one for each color. Big contrasts between black and white work best for screen-printing, although a certain amount of tone will be picked up when the image is exposed, so it’s worth experimenting with ranges of tone. Photocopy each of the layers onto acetate. Digital files can be printed directly onto acetate using an inkjet printer.
2
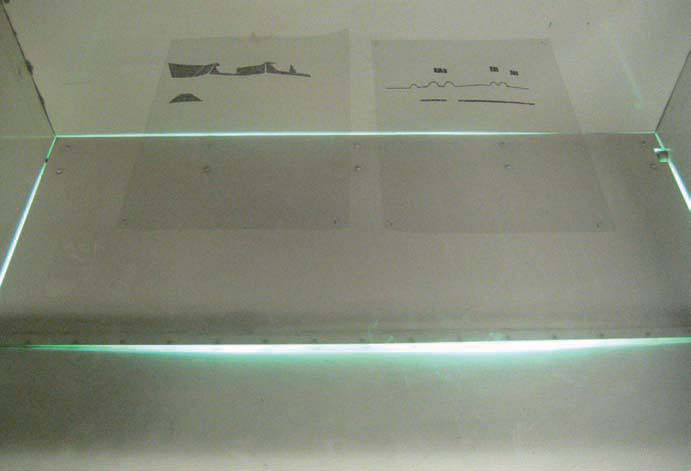
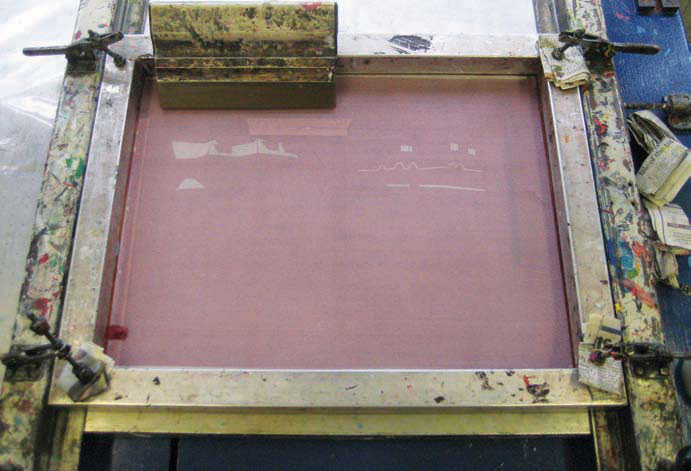
Prepare a mesh screen with a coating of photosensitive emulsion and, once this is dry, the image can be exposed onto the screen. Place the acetate sheets onto the exposing box.
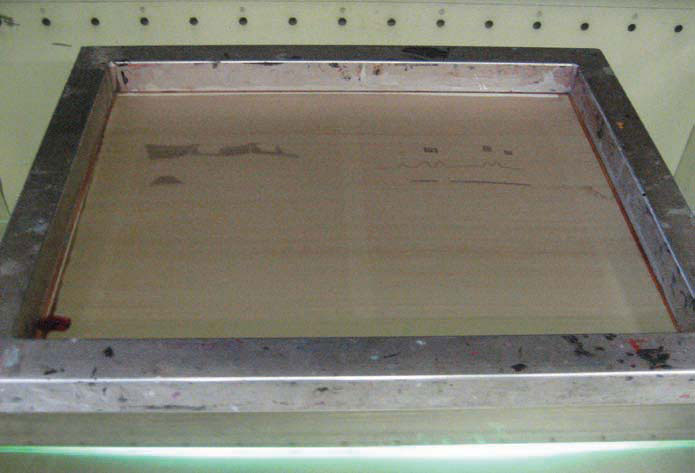
3
Place the mesh screen on top of the acetate sheets. In the example shown, two sheets can fit onto the screen.
4
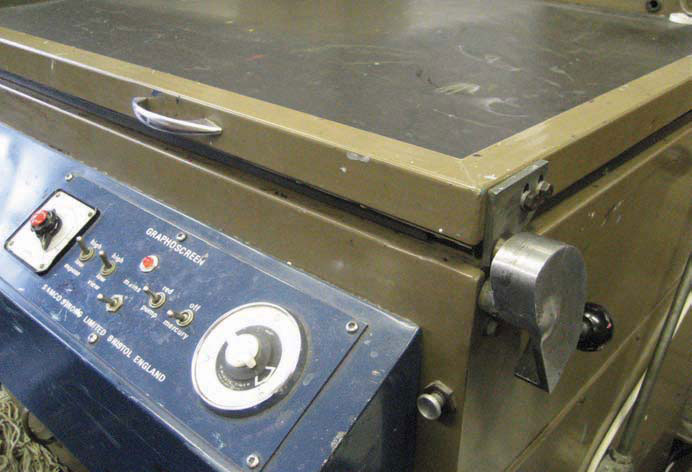
Clamp the lid of the exposure box shut and expose the screen to the mercury lamp. The light will harden the emulsion on the screen, but the black areas of the acetate (ie the image) will not allow the light through, meaning that the emulsion in those areas will remain soft.
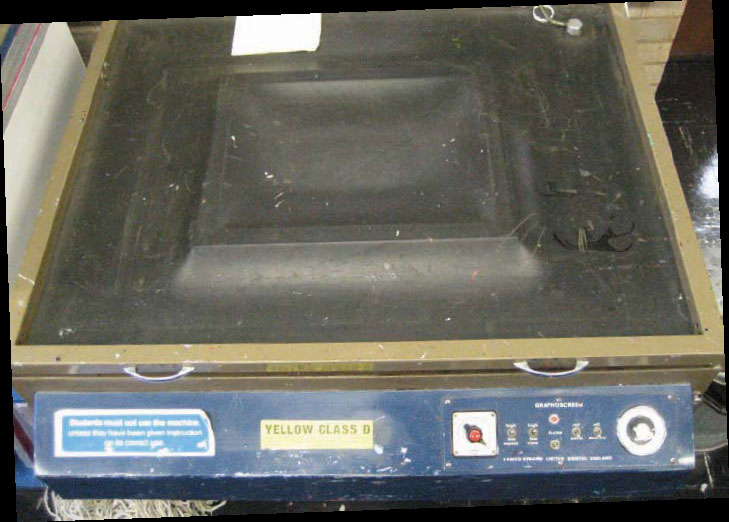
Each exposure box will have a different strength bulb, so check what the exposure time is on the box you are using before you expose your image.
5
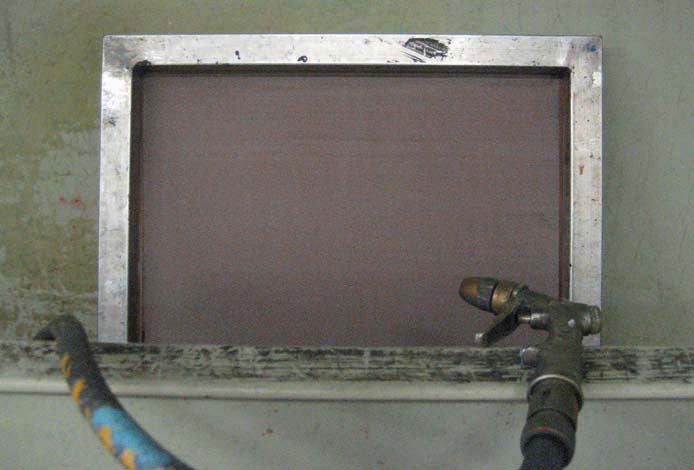
Use a power hose to wash away the soft emulsion that has been untouched by the mercury lamp. By washing away the soft areas, a stencil is created on the mesh screen which the ink can then be pushed through to create the printed image.

6
Once dry, the screen is ready to be printed from. The stencil that has been created on the screen is much more permanent than using paper stencils, and can be washed with water several times without deteriorating. A special screen wash is used to remove the stencil once the printing is complete.
7
Clamp the screen securely into the printing bed. Alternatively, you can use a table, but the paper won’t be held down as firmly.
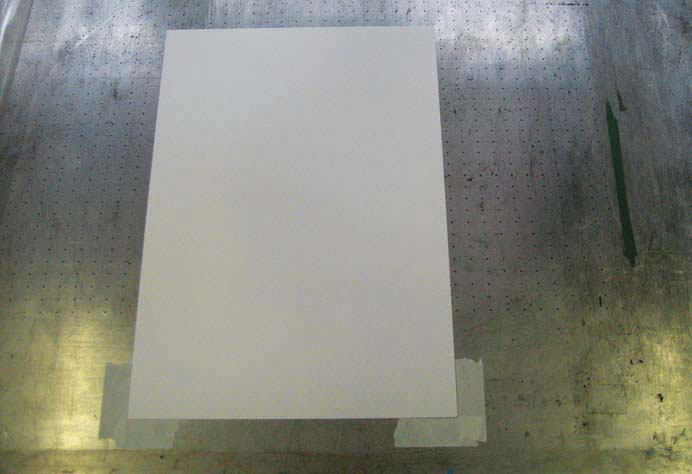
8
Position the paper on the bed. Most beds will have a vacuum beneath to suck the paper onto the surface and keep it exactly in place while you print.
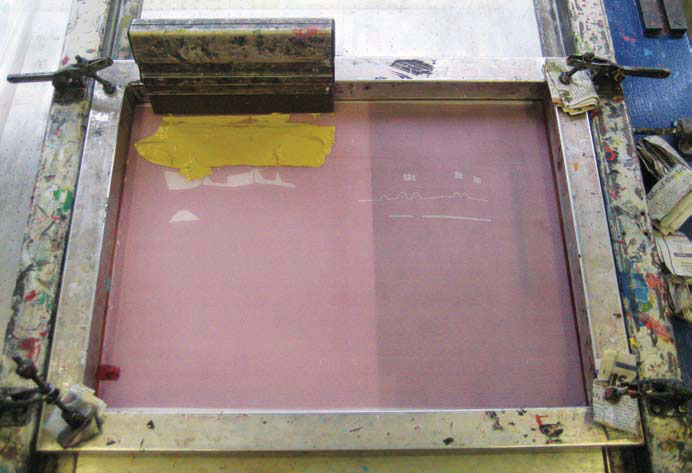
9
Place a reasonable amount of ink on top of the screen, above your image. For the example shown, only half the screen is used, because there are two layers exposed on the screen to be printed separately and in different colors.
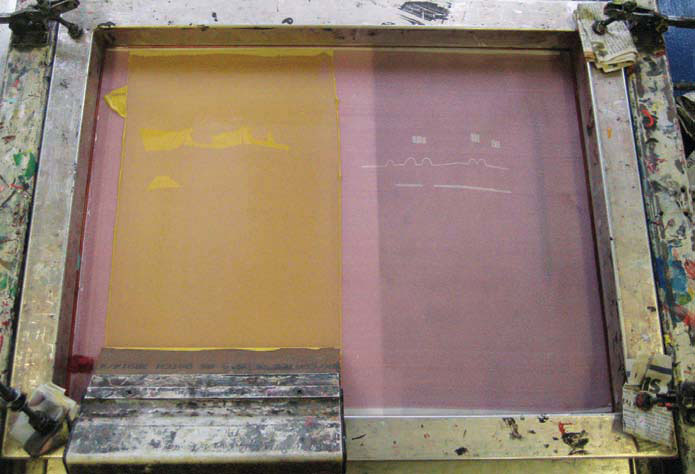
10
Using a squeegee, pull the ink across the screen. On the first pull of the squeegee don’t apply too much pressure, just drag the ink until it covers the image, known as “flooding” the screen. On the second pull, pull in the opposite direction and apply pressure. It is on the second pull that the print is made.

11
Lift the screen, and there should be an even print on your paper. With practice you will find the techniques that give you the best results.

12
Once the first color is dry, a second color can be printed on top of it. Accurate registration can be achieved by first printing onto a piece of acetate taped to the printing bed. Once you have printed onto the acetate, slip the paper (with the first color already printed) underneath and align the two layers.