
Step by step: Charcoal and Photoshop
Step by step: Ink and Photoshop
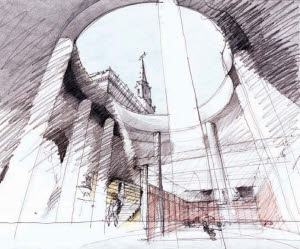
Step by step: Watercolor interior sketch
Step by step: Photoshop—Finishing a computer-generated image (CGI)
Step by step: Photoshop—Creating shadows for people
Step by step: Photoshop—Color-correcting a photograph
Step by step: Screen-printing with paper stencils
Step by step: Photographic screen-printing with acetate sheets
Step by step: Photographic screen-printing with Mylar drafting film
Step by step: Model/computer collage
Step by step: Painting/pastel/model
Axonometric and isometric projections
Step by step: Using simple conventions
Step by step: Drawing a one-point perspective
Step by step: Drawing a two-point perspective
Step by step: Making rapid perspective sketches by hand
Step by step: Correcting perspective distortion
Step by step: Creating a lathe model
Step by step: Creating a loft model
Step by step: Polygon model editing
Step by step: Solid model editing
Step by step: Creating a spline surface model
Step by step: Representing an interior through sketch, lino-cut, and collage
Step by step: Lighting an interior using 3ds Max and V-Ray
Step by step: Digital painting—Landscape in watercolor and Photoshop
Step by step: Creating a garden landscape using CAD
Step by step: Creating a photomontage
Step by step: Using photomontage as part of the design process 1
Step by step: Using photomontage as part of the design process 2
Scripted drawings and urban design
Related study material is available on the Laurence King website at www.laurenceking.com