
If you have a distributed component installed, then you will need to set this up on each server that has a component that you want to be monitored.
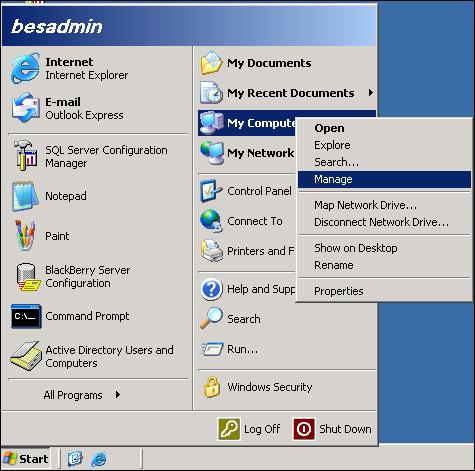
- On the BES server, right click-on My Computer and select Manage.
- Expand Services and Applications.
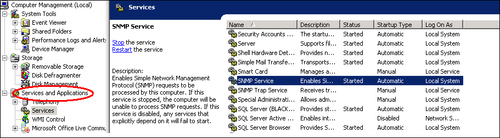
- Click on Services and on the right-hand pane double-click SNMP Service (if the service is not present, it needs to be installed on that server via Add Remove Windows components under Management and Monitoring tools).
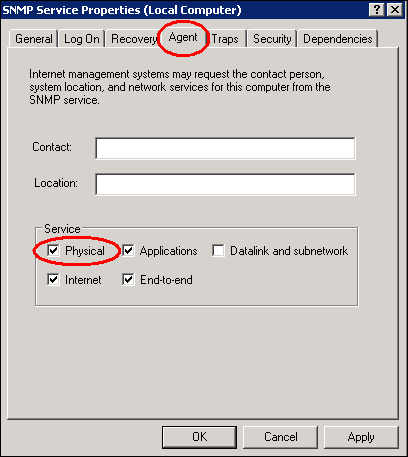
- Select the Agents tab and ensure Physical is ticked.
- Select the Traps tab.
- In the community name box, type
public— this is case sensitive.
- Select the Security tab.
- Click the Add button in the accepted community names.
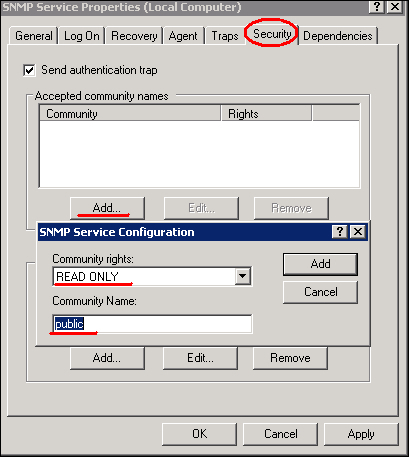
- Select READ ONLY.
- Enter
publicin the community name field. Ensure it is case sensitive as entered in step 6. - Click the Add button.
- Ensure that default ports on the firewall are open; 161 for SNMP general messages on UDP and 162 for SNMP trap messages on UDP.
Now that we have our SNMP trap in place, we can go back to the monitoring website and populate the remaining details and activate some monitoring of BES core components.
- Log back on to the monitoring site.
- On the Configuration menu expand Servers and select Manage Servers.
- Click on the spanner like icon next to BES server for which we want to turn SNMP monitoring on.
- Leave the SNMP port as 161 (unless you changed it in the previous paragraph).
- SNMP Community name is
public. - Place the tick in the box to Turn monitoring on.
- We can click on Test Connection to ensure all the services are running and that the information we entered is correct.
- Click on Save.
You will now be able to use the monitoring site to run reports on the network activity of your BES infrastructure.
..................Content has been hidden....................
You can't read the all page of ebook, please click here login for view all page.