
The Restaurant cell that we are setting up has many elements, so make sure to take your time. Make sure that you go to the Restaurant View Controller; let's get started:
- Select the prototype cell, called restaurantCell, in the Attributes inspector, and update the background color to white. Then, in the Size inspector, change the Size from Default to Custom:

- Then, update the following values:
- Width: 375
- Height: 312
- In the filter field of the object library, type view.
- Drag a View into the prototype cell.
- With the View selected, update the following values in the Size inspector:
-
- X: 75.5
- Y: 245
- Width: 224
- Height: 56
- Type label in the filter field.
- Drag a Label into the View we just added.
- With the Label selected, update the following values in the Size inspector:
-
- X: 0
- Y: 2
- Width: 224
- Height: 21
- In the Attributes inspector, update the following values:
-
- Text: Add Available Times into the empty text field under the Text
- Color: Black Color
- Alignment: Center
- Font: Avenir Next Condensed Bold 17
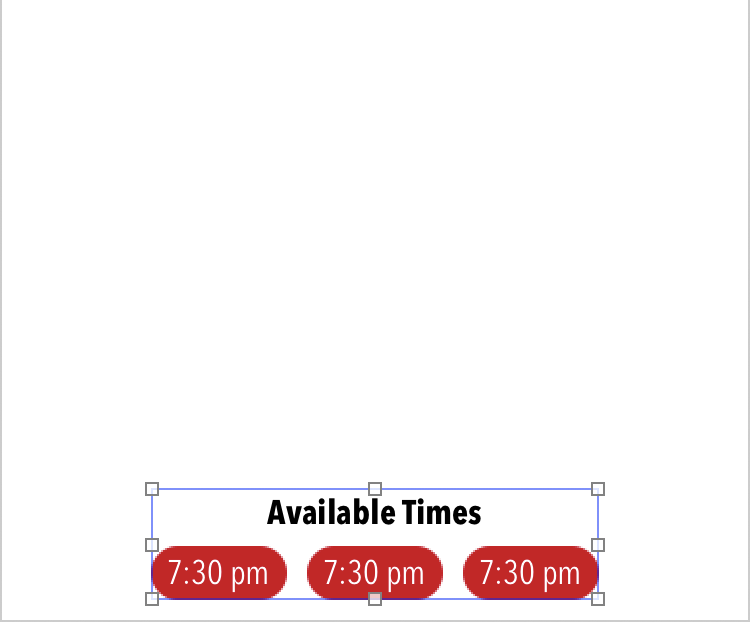
When you are done, you should see the following:

- Next, in the filter field of the object library, type button.
- From the Object library, drag the button from the into the View where we have the label.
- With the button selected, update the following values in the Attributes inspector:
-
- Type: System
- Title: Plain and then add 7:30 pm in the empty text field under the Title
- Font: Avenir Next Condensed Regular 17
- Text Color: White Color
- Background: time-bg
- In the Size inspector, update the following values:
-
- Width: 68
- Height: 27
- Select the button in the Outline view and hit command + C to copy.
- Hit command + V twice to paste. You should now have three buttons.
- Using the Outline view, command + click each button created and click on the Embed in View icon. The stack icon is two icons to the left of the Pin icon:
- Select Stack View in the dropdown:

- Select the stack view in the Outline view, and update the following values in the Attributes inspector:
-
- Axis: Horizontal
- Alignment: Fill
- Distribution: Equal Spacing
- Spacing: 10
- In the Size inspector, set X to 0 and Y to 29.
When you are done, you should see the following:
- In the filter field of the Object library, type view.
- Drag a View into the prototype cell.
- With the View selected, update the following values in the Size inspector:
-
- X: 11
- Y: 42
- Width: 353
- Height: 200
- Type image in the filter field.
- Drag out an Image view into the View we just added.
- Select the Image view in the Outline view and update the value of Image in the Attributes inspector with american. We are just using this image as a placeholder to see that our cells are set up correctly. Later, we will remove this and load the images using code.
- With the Image view selected, update the following values in the Size inspector:
-
- X: 0
- Y: 0
- Width: 353
- Height: 200
- Type label in the filter field.
- Drag two Labels into the prototype cell.
- Select one of the Labels and update the value of Font in the Attributes inspector with Avenir Next Condensed Demi Bold 17.
- In the Size inspector, update the following values:
-
- X: 10
- Y: 3
- Width: 355
- Height: 19
- Select the other Label and update the following values in the Attributes inspector:
-
- Color: LetsEat Dark Grey
- Font: Avenir Next Condensed Regular 14
- In the Size inspector, update the following values:
-
- X: 10
- Y: 22
- Width: 355
- Height: 16
We have completed our Restaurant cell setup, and it now looks like the following:
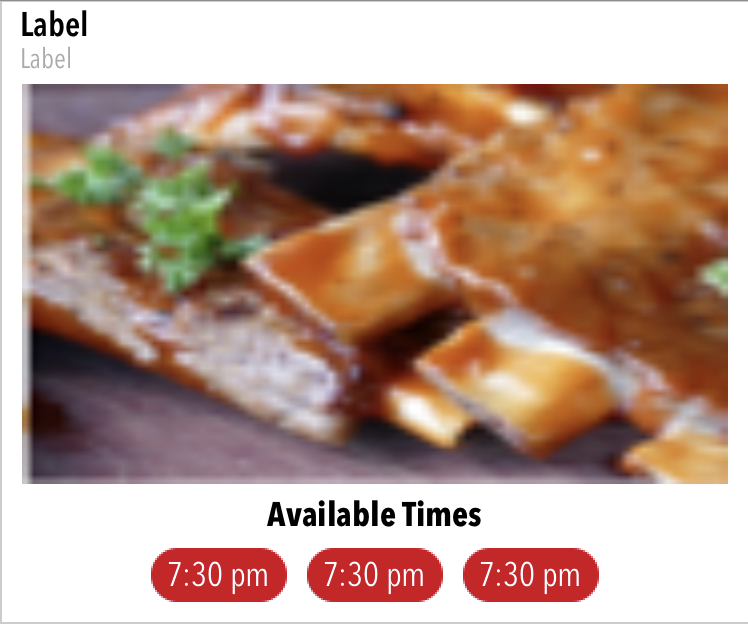
Now we need to add Auto Layout to all of the elements.