
Together with signpost logging, Apple introduced the ability to define custom Instruments Package. An Instruments Package exists as an XML file that describes the type of data that your app wants to track and how to visualize it. Apple uses this approach internally as well, which means that your own Instruments Packages can build upon Apple's own instruments packages. The most interesting type of custom instrument you can create is a signpost instrument. This type of instrument takes the data you log with the os_signpost API and you can decide how Instruments should visualize this data.
To create an Instruments Package, add a new target to your app. Instead of selecting the type of target from the list of iOS targets, go to the macOS tab and find the Instruments Package template:

Name the instrument MosaicLayoutInstrument if you want to follow along with the steps to create your own instrument. Xcode will create a new folder in your project that has a single file in it. The extension for this file is instrpkg. If you open this file, you will find a little bit of XML and a lot if commented-out information to guide you in creating your own instrument. You can remove all of these comments if you want.
Every instrument has roughly three main sections in the XML:
- Metadata about the instrument
- A schema that defines the data that is tracked
- The instrument itself
Depending on your exact needs, you might have multiple schemas or instruments. To track signposts, you need to add an <os-signpost-interval-schema> tag to the XML file. If you type os-signpost-interval-schema in the XML and hit Esc, Xcode will usually offer the option to automatically add a skeleton implementation for the implementation of the tag. The schema for this instrument will only track a single column, the number of sections that were involved in the layout calculation. Add the following implementation for the signpost interval schema:
<os-signpost-interval-schema>
  <!-- 1 -->
  <id>signpost-schema</id>
  <title>Layout Signpost Schema</title>

  <!-- 2 -->
  <subsystem>"com.donnywals.layout"</subsystem>
  <category>"layout"</category>
  <name>"Prepare Layout"</name>

  <!-- 3 -->
  <start-pattern>
    <message>"Preparing layout with numSections: "?num-sections</message>
  </start-pattern>

  <end-pattern>
    <message>"Done preparing layout"</message>
  </end-pattern>

  <!-- 4 -->
  <column>
    <mnemonic>num-sections</mnemonic>
    <title>Number of Sections</title>
    <type>string</type>
    <expression>?num-sections</expression>
  </column>
</os-signpost-interval-schema>
The preceding snippet is defined in four sections:
- Some metadata about the schema. The ID will be used later to refer to the schema in the instrument.
- Information about how the information is logged. These fields should match the corresponding values in your app.
- Patterns for the begin and end messages as they were used in your app. You use the ?num-sections notation to indicate the location of a variable and to extract it into a new variable that can be used in your schema.
- The columns that your schema contains. In this case, it's only a single column that uses num-sections as its identifier and corresponds with the ?num-sections variable extracted from the begin message.
After adding the schema, you are ready to create the instrument. Add the following implementation to the XML file, after the schema definition:
<instrument>
  <!-- 1 -->
  <id>com.donnywals.layout-instrument</id>
  <title>Layout Instrument</title>
  <category>Behavior</category>
  <purpose>Insight in layout preparation</purpose>
  <icon>Generic</icon>

  <!-- 2 -->
  <create-table>
    <id>layout-table</id>
    <schema-ref>signpost-schema</schema-ref>
  </create-table>

  <!-- 3 -->
  <graph>
    <title>Layout preparation</title>
    <lane>
      <title>Prepare</title>
      <table-ref>layout-table</table-ref>

      <plot-template>
        <instance-by>num-sections</instance-by>
        <value-from>duration</value-from>
      </plot-template>
    </lane>
  </graph>

  <!-- 4 -->
  <list>
    <title>Layout list</title>
    <table-ref>layout-table</table-ref>
    <column>num-sections</column>
    <column>duration</column>
  </list>
</instrument>
The preceding snippet defines all XML needed for a basic instrument. Again, there are four sections:
- Metadata about the instrument.
- Every instrument uses tables that refer to schemas. In this case, a table is created that uses the signpost-schema schema for its data.
- This section defines how the custom instrument should be drawn on the timeline. Every graph uses a table for its underlying data and then extracts the required data from the table. Note that you didn't manually define duration on the signpost schema. You get this property for free from the schema.
- A definition is given for how the instrument should be displayed in the detail area. The format of the detail area is a table, so in this section, you define the detail area in a table-like structure.
This is all the code you need to write a basic custom instrument. To test your instrument, select your Instrument Package target and use your Mac as the target define:

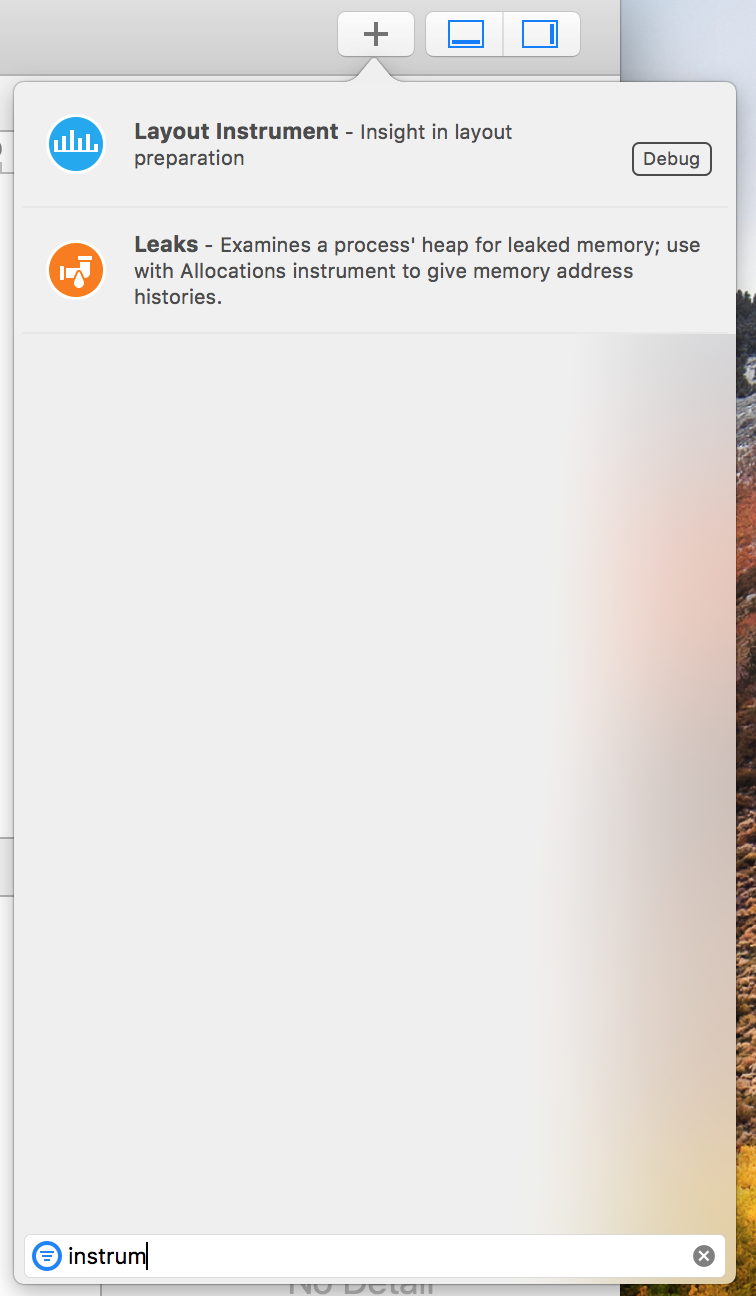
A special version of Instruments will launch. Pick a blank template and look for your custom instruments in the add menu:
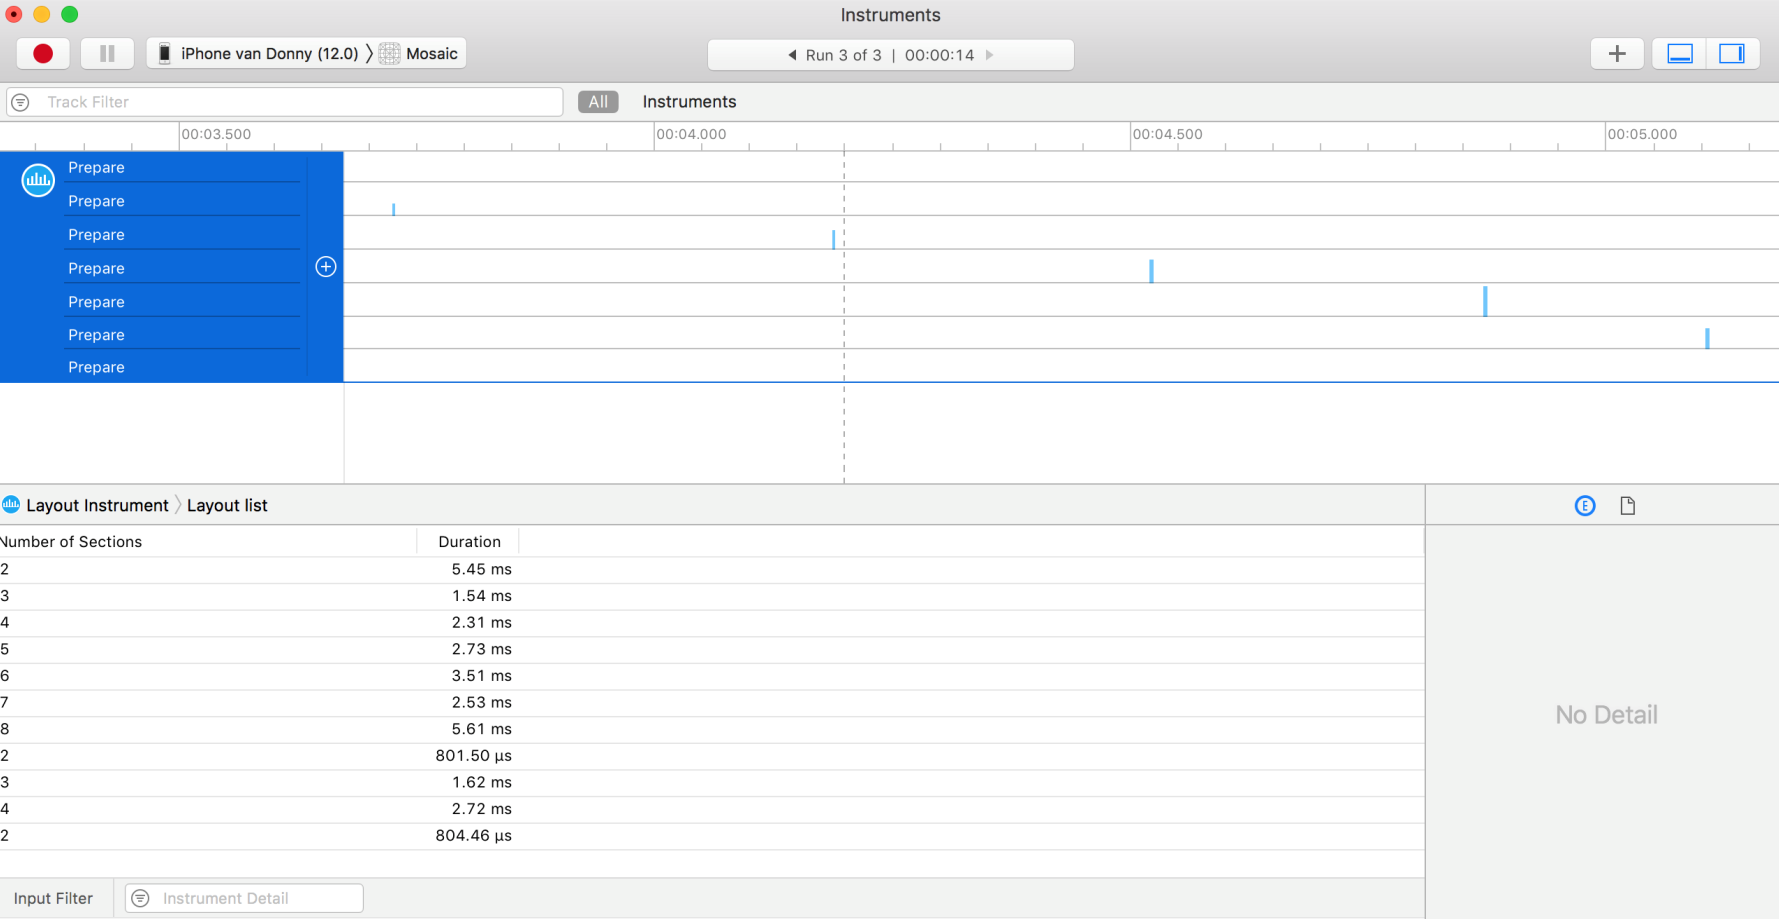
Once you have found your instrument, add it to the timeline area and profile your app. You should see all your signpost data appear as expected. The detail area should now show a single entrance for every time you call prepare() so you can easily compare performance between similar calls:
This sample was quite simple but it does an excellent job of showing that you can do powerful things with custom instruments. If you want to learn even more about what kinds of custom instruments you can build and how you can do some custom processing on your signpost data, make sure to catch the Creating Custom Instruments talk from WWDC 2018.