
After obtaining a USDZ file from Apple's gallery, also make sure to capture the image that belongs to this file. Taking a screenshot of the model should be fine for testing purposes. Make sure to prepare your image in the different required sizes by scaling your screenshot up to two and three times the size of your screenshot.
Create a new project in Xcode and pick a name for your project. The sample project in this book's code bundle is called ARQuickLook. Add your prepared image to the Assets.xcassets file. Also, drag your USDZ file into Xcode and make sure to add it to the app target by checking your app's checkbox when importing the file:

Next, open the storyboard file and drag an image view to the view controller. Add the proper constraints to the image, so it's centered in the view controller and give it a width and height of 200 points. Make sure to check the User Interaction Enabled checkbox in the Attributes Inspector and set your model image as the image for the image view.
After doing this, open ViewController.swift, add @IBOutlet for the image view, and connect the image in the storyboard to this outlet. If the details regarding outlets are a little bit fuzzy right now, refer to the sample project in the code bundle for a refresher. The image view in the sample project uses an outlet called guitarImage.
The next steps to implement Quicklook for the USDZ model are to add a tap gesture recognizer to the image view and then trigger the Quicklook view controller when a user taps on the image.
Quicklook uses delegation to object one or more items that it should preview from a data source. It also uses a delegate to obtain the source view from which the Quicklook preview should animate. This flow applies to all different kinds of files that you can preview using Quicklook.
To begin implementing Quicklook, you must import the QuickLook framework. Add the following import statement to the top of ViewController.swift:
import Quicklook
Next, set up the tap-gesture recognizer for the image by adding the following code to viewDidLoad():
let tapGesture = UITapGestureRecognizer(target: self, action: #selector(presentQuicklook))
guitarImage.addGestureRecognizer(tapGesture)
The next step is to implement presentQuicklook(). This method will create a Quicklook view controller, set the delegate and data source, and then present the Quicklook view controller to the user. Add the following implementation for this method to the ViewController class:
@objc func presentQuicklook() {
  let previewViewController = QLPreviewController()
  previewViewController.dataSource = self
  previewViewController.delegate = self

  present(previewViewController, animated: true, completion: nil)
}
This implementation should not contain any surprises for you. QLPreviewController is a UIViewController subclass that is responsible for displaying the content it receives from its data source. It is presented in the same way you would present any other view controller, by calling present(_:animated:completion:).
The final step is to implement the data source and delegates. Add the following extensions to ViewController.swift:
extension ViewController: QLPreviewControllerDelegate {
  func previewController(_ controller: QLPreviewController, transitionViewFor item: QLPreviewItem) -> UIView? {
    return guitarImage
  }
}

extension ViewController: QLPreviewControllerDataSource {
  func numberOfPreviewItems(in controller: QLPreviewController) -> Int {
    return 1
  }

  func previewController(_ controller: QLPreviewController, previewItemAt index: Int) -> QLPreviewItem {
    let fileUrl = Bundle.main.url(forResource: "stratocaster", withExtension: "usdz")!
    return fileUrl as QLPreviewItem
  }
}
The first extension you added makes ViewController conform to QLPreviewControllerDelegate. When the preview controller is about to present the 3D model, it wants to know which view is the source for the transition that is about to happen. It's recommended to return the view that acts as a preview for the Quicklook action from this method. In this case, the preview is the image of the 3D model.
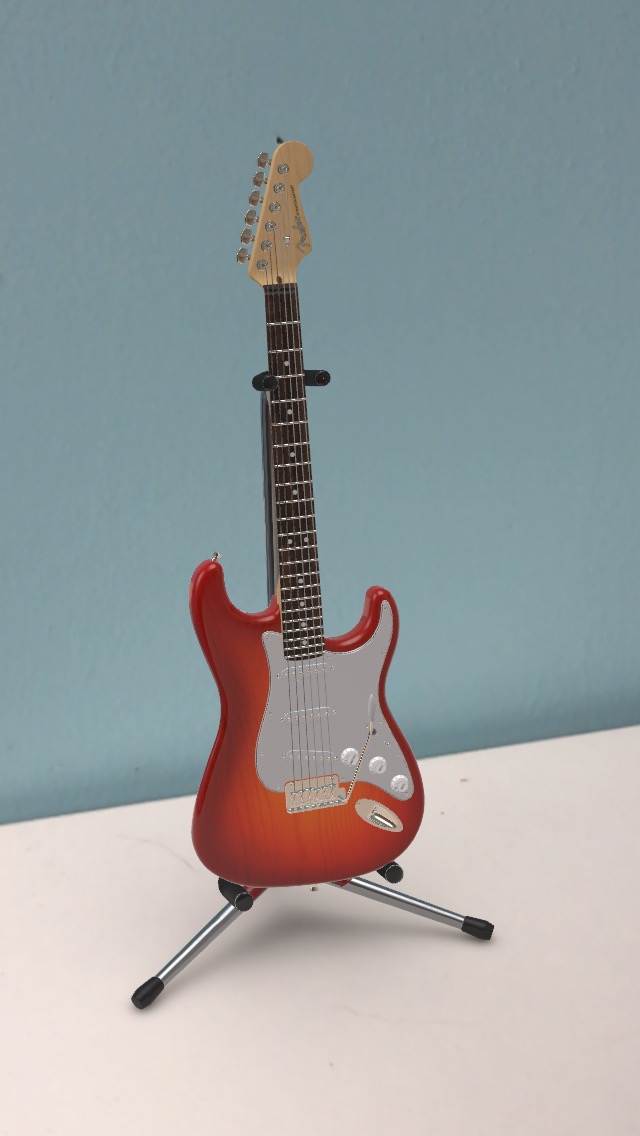
The second extension acts as the Quicklook data source. When you implement Quicklook for ARKit, you can only return a single item. So when the preview controller asks for the number of items in the preview, you should always return 1. The second method in the data source provides the item that should be previewed in the preview controller. All you need to do here is obtain the file URL for the item you wish to preview. In the sample app, the Stratocaster model from Apple's gallery is used. If your model has a different name, make sure to use the correct filename.
After obtaining the URL that points to the image in the app bundle, it should be returned to the preview controller as a QLPreviewItem. Luckily, URL instances can be converted to QLPreviewItem instances automatically.
If you run your app now, you can tap on your image of the 3D model to begin previewing it. You can preview the image on its own, or you can choose to preview it in AR. If you tap this option, the preview controller will tell you to move your device around:

To make a mapping of the world around you, ARKit requires some samples of the environment. When you move your device around, make sure not just to tilt it, but physically move it. Doing this will help ARKit discover trackable features in your surroundings.
Once ARKit has enough data about your surroundings, you can place the 3D model in the environment, scale it by pinching, rotate it, and move it around in the space. Note that the model is placed on a flat surface such as a table or the floor automatically rather than awkwardly floating around.
Also note that ARKit applies very realistic lighting to your object. The visual data that ARKit gathers about the environment is used to create a lighting map that is applied to the 3D model to make it properly blend in with the context in which the object was placed:
While playing around with ARKit like this is a lot of fun, it's even more fun to create your own AR experiences. Since ARKit supports several rendering techniques, such as SpriteKit and SceneKit, the next two sections will spend a little bit of time explaining the very basics of SpriteKit and SceneKit. You won't learn how to build complete games or worlds with these frameworks. Instead, you will learn just enough to get you started with implementing either rendering engine in an ARKit app.