
Changing Navigation
Easily adjustable navigation is another feature that CMS systems provide, and Google Sites can be a nice tool for putting content together and prototyping a site, including trying out different ways of organizing the pages and menus (navigation).
In an attempt to make things as easy as possible to use, Google Sites automatically places any new pages in the navigation automatically, so technically you don’t have to change anything. But if you want the pages to be in a particular order, you’ll need to learn how to manually build the navigation, and this is a good exercise in learning about CMS.
For example, the About page appears below Home. But what if you want to move it?
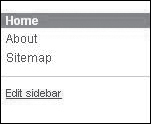
To switch to manual, click the “Edit sidebar” link (see Figure 2.24).
Figure 2.24. The “Edit sidebar” link allows you to change the navigation.
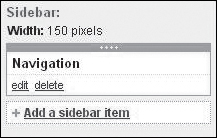
Then click the “Edit” link (see Figure 2.25).
Figure 2.25. Change navigation.
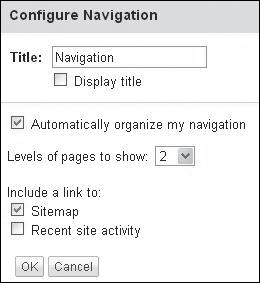
In the Configure Navigation window, uncheck the “Automatically organize my navigation” option (see Figure 2.26).
Figure 2.26. Turn off the Automatic navigation so you can arrange links as you’d like.
Then an organizer section will appear (see Figure 2.27).
Figure 2.27. The Navigation organizer.
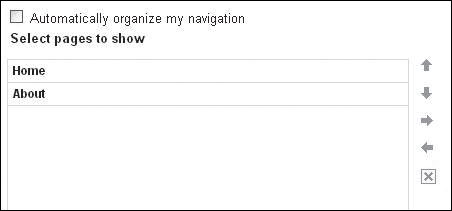
Click to select the page you want to rearrange (for example, About) and then use the arrows to move things around (see Figure 2.28).
Figure 2.28. Move a page into a different position in the Navigation organizer.
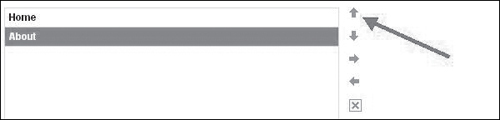
Side Arrows
The side arrows enable you to have menu items appear under others, so that you can have one page as an umbrella over other pages. Try it! See what happens.
After you click the arrow, the page will move in the list:
Then click the OK button when you’re done:
![]()
Then click the Save changes button:
![]()
And if you like, click the “Return to site” link to see how things look:

Important: Getting Pages to Appear
So when you uncheck the Automatic way of organizing navigation, Google Sites no longer automatically adds pages to your menu. The advantage of this is that you can work on pages, but not necessarily make them public yet. (And you can always go back and switch to Automatic navigation if you’d like.)
When you switch to manual, since the pages won’t automatically appear, you need to add them. To do so, after you create a page, follow the steps in the previous section to get to the window where you are editing how the pages appear, and in what order (see Figure 2.29).
Figure 2.29. When you turn off automatic navigation, you need to Add page, in order for the page to appear.
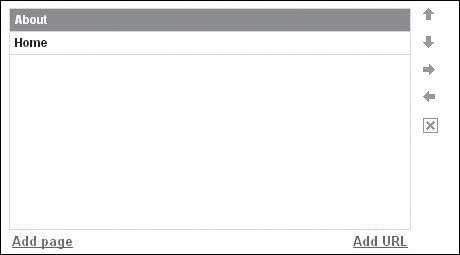
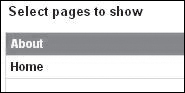
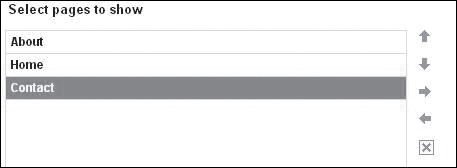
Then click the “Add page” link to add it to the navigation. In the next window, select the new page you created (see Figure 2.30). (I created a page called Contact before I came to this screen.)
Figure 2.30. Select a page to be added to the navigation.
![]()
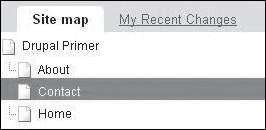
It will appear in the list, and you can move it if you’d like (see Figure 2.31).
Figure 2.31. The newly added page appears in the list.
Then click the OK button:
![]()
Click Save changes and return to the site if you’d like: