Starting a Hosting Account
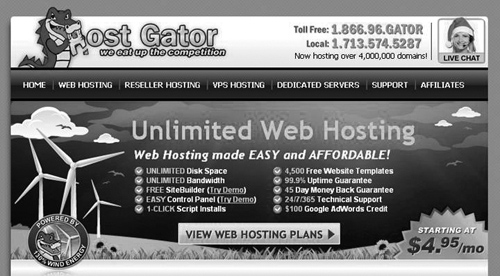
To start a hosting account, visit www.hostgator.com, and it will look something like Figure 5.1.
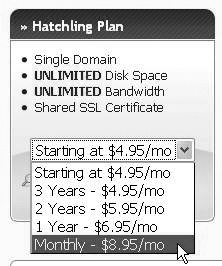
Click “View Web Hosting Plans” to start. I recommend going with a Hatchling Plan, and if you know you’re going to want this website for at least a year, you can save by paying ahead of time, and you’ll get a lower price. Prices may vary, but at the time of writing it’s $4.95/month. By going with the monthly option, you can try things out and cancel later. If you’re just learning and want to try things out, I’d recommend going with the monthly plan (see Figure 5.2).
Figure 5.2. Choose a monthly plan (prices subject to change).
Then when you’re ready, click Order Now, or “Compare All Hosting Plans,” as shown in Figure 5.3.
Figure 5.3. Order Now button and “Compare All Hosting Plans” link.

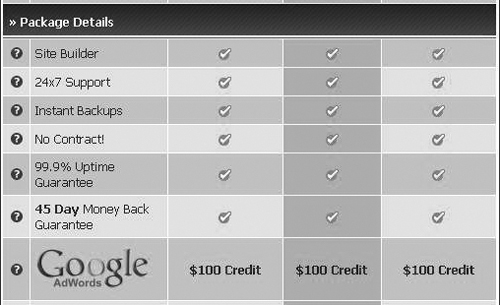
If you click on “Compare All Hosting Plans,” there’s a lot of information on the next page, and the most interesting is when Hostgator runs deals on getting free Google Adwords credit. You can scroll down and check to see if it’s running a deal (see Figure 5.4).
Figure 5.4. The section on the comparison page where there may be a Google Adwords Credit (if the promotion is still running).
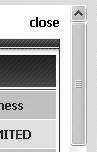
Then when you’re ready, scroll up and press the “close” link (see Figure 5.5).
Figure 5.5. The Close button (an “x”) is in the upper-right corner; you might have to scroll up to see it.
After clicking Order Now, Step 1 involves choosing a website name (see Figure 5.6).
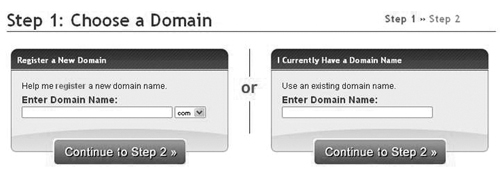
If you’re just learning, I’d recommend just picking a name for practice; don’t worry about it too much. The cost for website names is around $10/yr. You can come up with an idea for a name on the left, and you can also click the little drop-down “.com” and choose other endings, if the name you want is not available. If you do want to get your own new name, another thing you can do is to go to register.com and see what’s available, (but don’t register there). Then come and start the account at Hostgator when you’ve found one you like that is available.
Or, if you already have a name registered somewhere else, you can always “point” it to a new account. It’s like cell phone portability. If you get a new phone, you still own the number, and can point it at a new phone. Also, be aware that when you register a domain name, it’s separate from hosting. That is, if you start an account somewhere, and you register a name, and you also have hosting, you can keep the name, but ditch the hosting. A website name is a “domain” name, and you can have a domain-only account.
At any rate, if you have a website name already, just enter it in on the right, and then keep in mind that there will be things you need to do at your “registrar” account, or “domain” account (the place where you registered the website name), in order to repoint it. Contact your registrar/hosting company where you registered the name and ask how to point it to Hostgator. When you get a confirmation email from Hostgator, it will have a couple lines that are called nameservers, and basically you end up needing to point your website name toward those servers.
And when you’re ready, click Continue to Step 2 and finish starting your account. At some point, you’ll get a confirmation email. The “Control Panel” link is the one that you’ll use to log into your account. The email will also have your username and password (see Figure 5.7). Print it out! Write it down!
