
As we mentioned previously, Physical Analyzer can be used not only for parsing different types of forensic artifacts from acquired images but also for performing both logical and filesystem (and even physical, for older devices) types of extraction from iOS devices. Due to the fact that physical acquisition is actually only for older devices, the best option is an advanced logical acquisition.
We are going to acquire and analyze data from an iPhone running iOS 13.2.3. Let's get started:
- Connect the device through the appropriate cable to your workstation. Make sure it's trusted and launch the Physical Analyzer.
- Go to Extract | iOS Device Extraction. The iOS Device Data Extraction Wizard window will pop up:

- Since we are dealing with a modern iOS device, let's choose Advanced Logical extraction. If the device is recognized, you'll see the device's name, its UDID, and also its iOS version:

In our case, the iPhone's iTunes backup is protected with a known password, so the best method is Method 1:

- If you want the backup to be encrypted (recommended), you can choose this option on the next page:

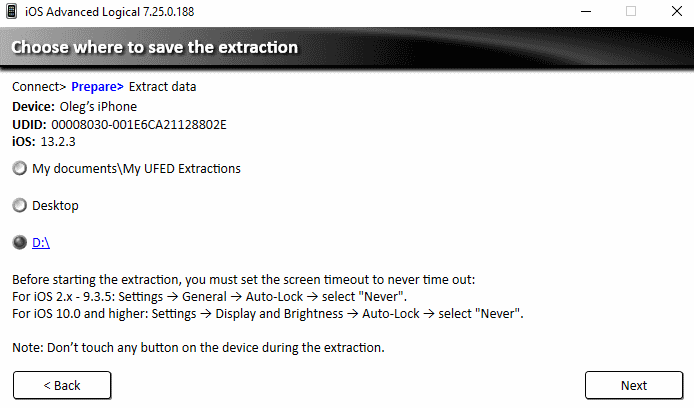
- It's time to choose where the data will be saved; in our case, it's the root of the D: drive:
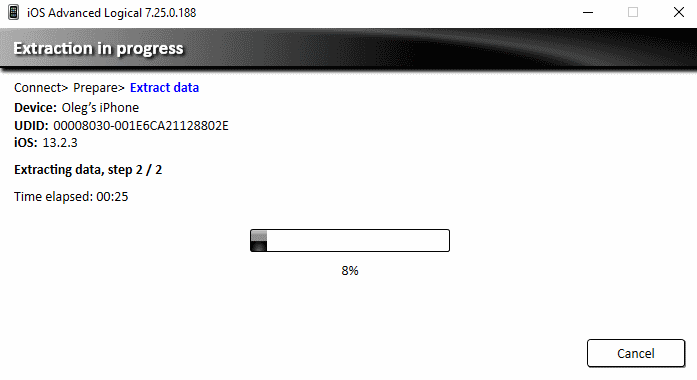
- Now, the acquisition process will start. Make sure the device is connected until the end of the process:
Once the extraction process has finished, the extracted data will be parsed with powerful Physical Analyzer plugins. As a result, you will get a set of artifacts divided into a number of categories:

The same can be said about the data files:
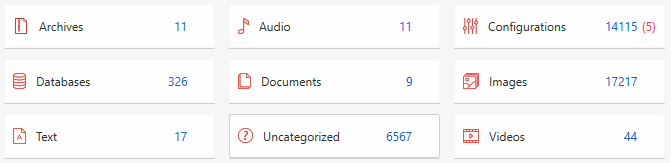
As you may have already noticed, there are red numbers in brackets – these are deleted records that have been recovered by Physical Analyzer's plugins. As you already know, it's not a miracle that deleted data can be recovered from SQLite databases, which are widely used in iOS.
Talking about SQLite databases, there is another amazing feature of Physical Analyzer that might be useful for adding custom artifacts to your mobile forensics reports and parsing unknown apps data – the SQLite wizard. You can find it under Tools | SQLite wizard:
- Let's start by choosing a database. Of course, it's good to choose an app that isn't parsed by Physical Analyzer automatically. In our example, this is an app called Scan:

- Make sure you have selected the Include deleted rows option; this will help you recover data automatically but, of course, it will increase the number of false positive records:

So, our app is used for scanning QR codes and contains four columns of interest – the scan date and time, latitude, longitude, and scan result. All of the rows are part of ZSCSCANEVENT:
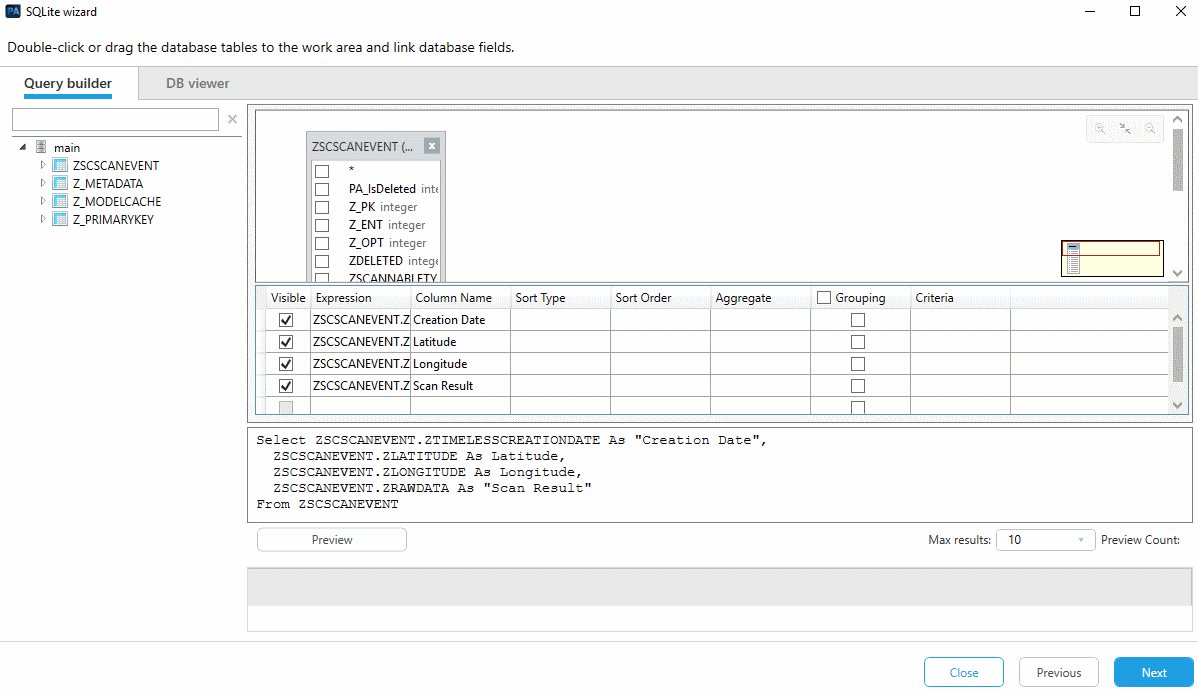
- The next step is selecting the timestamp. You've already learned quite a bit about iOS timestamps and should recognize the format in ZTIMELESSCREATIONDATE, but even if you don't, the SQLite wizard does this for you:

- The generic model will suit any database, but there are some existing Physical Analyzer models that can be used for typical content, such as Chats or Contacts. In our case, we are using the generic model:

Once you've chosen the model and field types for the column, you can run the query and add the new parsed artifacts to your extraction and, afterward, to your report.