
Once you have downloaded and installed Autopsy, follow these steps to add an image to Autopsy:
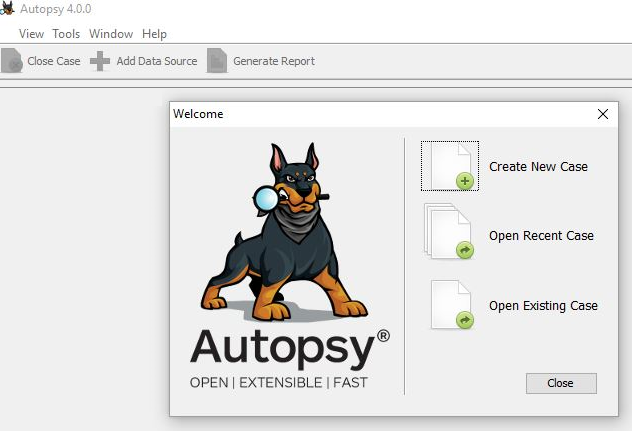
- Open the Autopsy tool and select the Create New Case option, as shown in the following screenshot:
Creating a new case in Autopsy
- Enter all of the necessary case details, including the name of the case, the location where data needs to be stored, and so on, as shown in the following screenshot:

Entering case information in Autopsy
- Enter the case number and examiner details, and click on Finish.
- Now, click on the Add Data Source button, add the image file to be analyzed, and click on Next:

Entering data source information in Autopsy
- On the next screen, you can configure what modules have to be run on the images, as shown in the following screenshot. It is recommended to select the Recent Activity, Exif Parser, Keyword Search, and Android Analyzer modules. In the next step, click on Finish:

Configuring modules in Autopsy
Once this is done, the tool usually takes a few minutes to parse through the image depending on its size. During this time, you might see some errors or warning messages if any are encountered by the tool. However, Autopsy provides the fastest access to the artifacts and the filesystem when compared to other tools.