
Running Applications on Eclipse
Eventually, you have to test your program out in the real world. I highly suggest you do it on an Android device, but you can use the emulator on Eclipse itself.
Creating an Emulator
Here is how you set an emulator up within the Eclipse workspace:
- Start up Eclipse, and open it to your workspace.
- Go to the top menu, click Window, and then Android SDK and AVD Manager. You should see a window like you see in Figure 12-13.
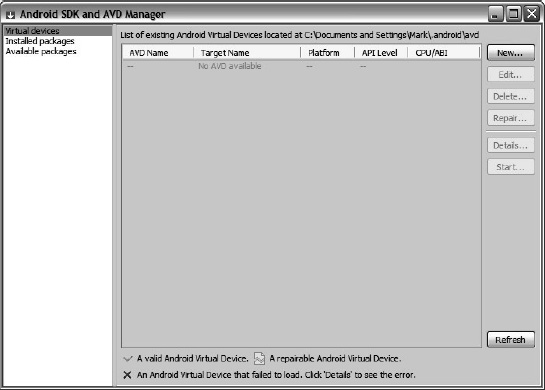
Figure 12-13. Android SDK and AVD Manager, where you can set up an emulator
- If it is not already selected, click the Virtual Devices column on the left.
- On the menu on the right, select New. You should see a window like in Figure 12-14.
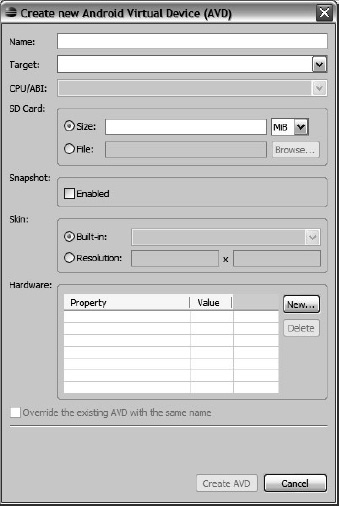
Figure 12-14. How to create an emulator of your own in Android
- Now it is time to fill in the appropriate information for the Android Virtual Device (AVD). For Name, you can pick anything you want as long as you remember it is an Android emulator. It doesn’t accept spaces, so keep that in mind.
- For Target, select the version of Android that you are working with. The SD Card section can be left blank, you don’t need to enable Snapshot, you can leave the skin at its default (HVGA), and you don’t need to select anything in the Hardware section.
- Click Create AVD, and you’ll have your emulator. You should see a window like in Figure 12-15.

Figure 12-15. Your Android emulator is ready to go!
Running Your Application on Your Emulator
Once you have your program ready and it is error free, your program can be run in several ways:
- You can right-click the top folder in Package Explorer, and select Run As
 Android Application.
 - Select the application in Package Explorer and click Run on the top menu.
- Select the green arrow at the top and select Run As.
- Select your application and click Ctrl+F11.
If you have chosen to use the emulator on Eclipse, prepare for a long wait. The screen on the left will show all manner of Android logos before it looks like Figure 12-16.. You might have to unlock the emulator like an Android phone, but use your cursor and mouse instead of a finger and touchscreen. That will make sense once it is up and running. You should see your application and interact with it like you would a web site on your computer.
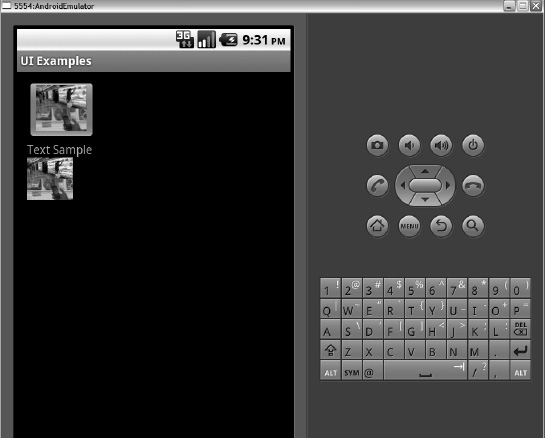
Figure 12-16. The Android emulator without a device
I have a five-year-old laptop that I use to write Android programs, and I find that the Eclipse emulator won’t do much before it crashes. For this reason and more, I highly recommend using your own Android device. Your application will show up on your Android phone or tablet almost instantly. In fact, the icon for your application will even show up on your home screen menu. The best part is you can use your Android application after you have disconnected your Android device. You will have to have your computer set up to recognize your Android device (I discuss this in Chapter 9 in the “How to Obtain a Screenshot of Your Android Device” section).