
Setting Up the Eclipse IDE to Work with the Android SDK
Go ahead and open up the Eclipse IDE. If you like, you can start a new workspace, or simply use the one that you may have been working with before. Once you select your workspace, you should see a screen like Figure 12-1.
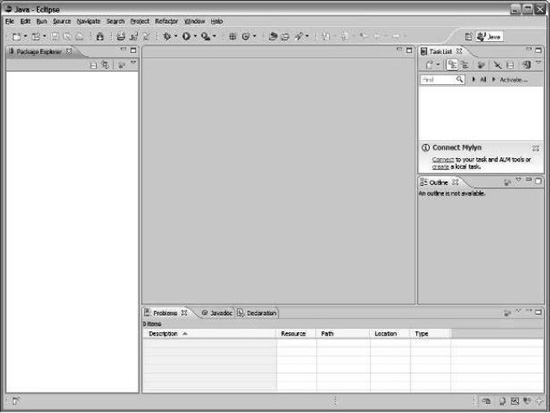
Figure 12-1. The Eclipse IDE workspace
The panel on the left is known as Package Explorer, which is a place for the folder hierarchy. The Task List and Outline panels on the right will also help you with your application. The panel at the bottom right is very helpful as well, as it will give you important information during various stages of your programming. The center panel (blank in Figure 12-1) is the editor, which is where you will be inputting your code.
If you are using a new workspace, then you are going to need to set up your project to work with the Android SDK. You will need to select Windows and then Preferences. You will see a window like Figure 12-2.
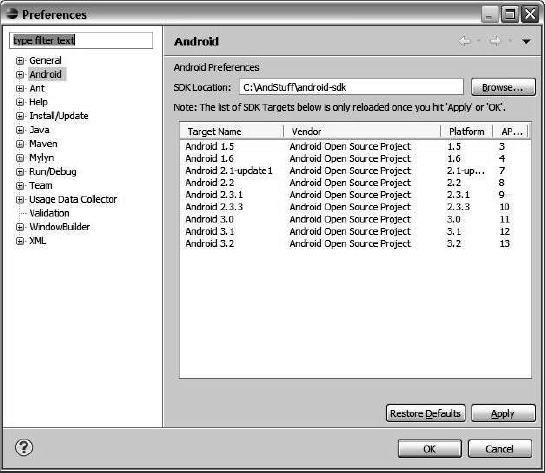
Figure 12-2. What you will see when you set up your preferences in the Eclipse IDE
In the Preferences window, you will see a list on the left. Select the Android option, as shown in Figure 12-2.
You will see a tab marked “SDK location.” Click Browse and find the directory where you put the Android SDK. You should see the area under the “SDK location” tab fill with information, as in Figure 12-2. Click Apply, and you can have a build target for when you create an Android project.