We can create a NAT instance as follows:
- Go to the EC2 dashboard, click on Instances from the left sidebar, and click on the Launch Instance button at the top of the page.
- Click on Community AMIs, search for NAT, and select the latest NAT instance that's available:

- On the Choose an Instance Type page, set Type to t2.micro and click Next: Configure Instance Details.
- Within the Configure Instance Details page, set our custom VPC to Network, set our public subnet to Subnet, leave the option for Auto-assign Public IP as is, and click Next: Add Storage:

- We can use the default configuration on the Add Storage page. Click Next: Add Tags.
- Add a tag in the Add Tags page with Key set to Name and Value set to My-NAT-Instance. Click on Next: Configure Security Group.
- On the Configure Security Group page, select Select an existing security group, select the security group that we created in the Getting ready section, and click on Review and Launch.
- Follow the instructions shown on the screen to complete the EC2 launch.
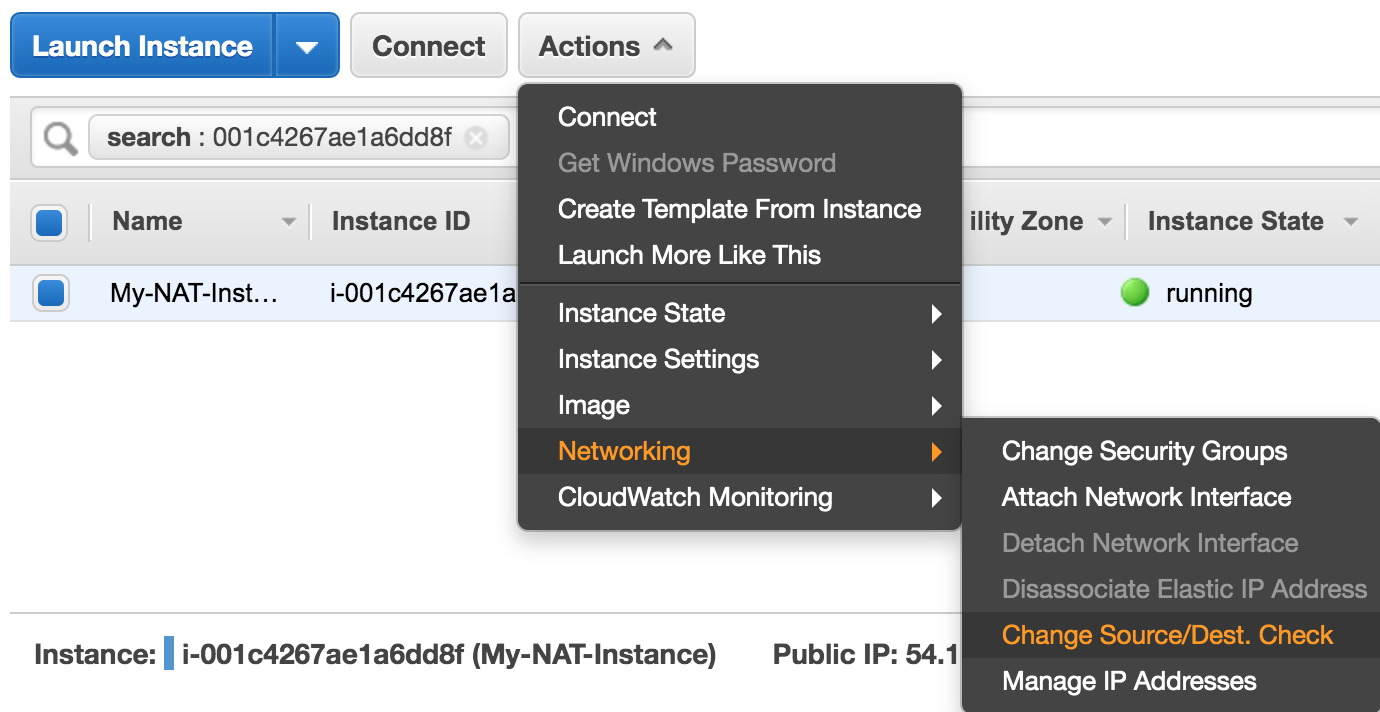
- Once the launch has completed, select our instance, click on Actions, click on Networking, and click on Change Source/Dest. Check:
We should see the following pop-up screen:
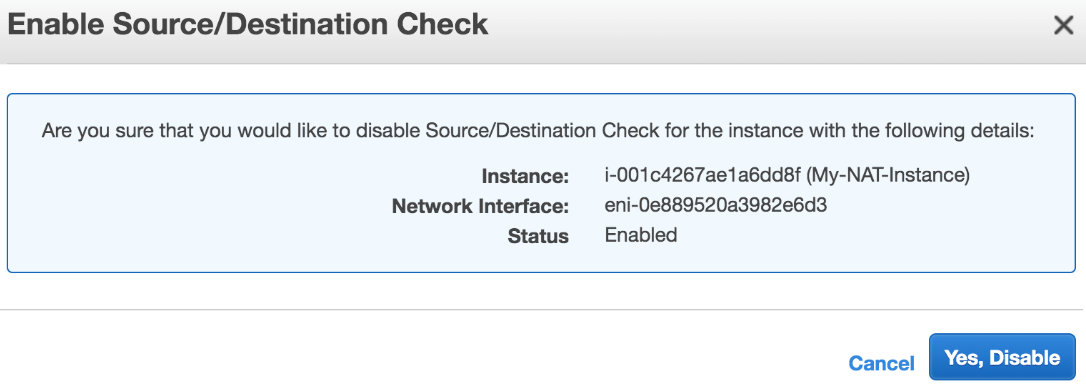
- Click on Yes, Disable on the Enable Source/Destination Check pop-up screen.
In the next section, we will create a route to this NAT instance in our main route table.