We can create and test an application load balancer as follows:
- Go to the EC2 service in the console.
- Click on Load Balancers from the left sidebar.
- Click on Create Load Balancer. We should see the options to create the three types of load balancers: Application Load Balancer, Network Load Balancer, and Classic Load Balancer.
- Under Application Load Balancer, click on Create.
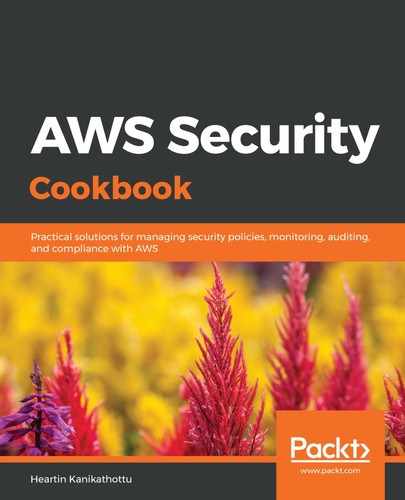
- On the Configure Load Balancer screen, enter a meaningful name in the Name field. For Scheme, select internet-facing. Finally, for IP address type, select IPv4:
- Under Listeners, set Load Balancer Protocol to HTTPS (Secure HTTP) and set Load Balancer Port to 443:

- Under Availability Zones, select the default VPC and select the availability zones that contain our instances:

- Click Next: Configure Security Settings.
- On the Configure Security Settings page, for Certificate type, select Choose a certificate from ACM (recommended), and for Certificate name, select the ACM certificate we created for this recipe. See the Getting ready section for more details:

- Click Next: Configure Security Groups.
- Select a security group that allows HTTP and HTTPS from 0.0.0.0/0. You may use the MyWebServerSG security group that we created in the Using EC2 user data to launch an instance with a web server recipe in Chapter 6, Working with EC2 Instances.
- Click Next: Configure Routing.
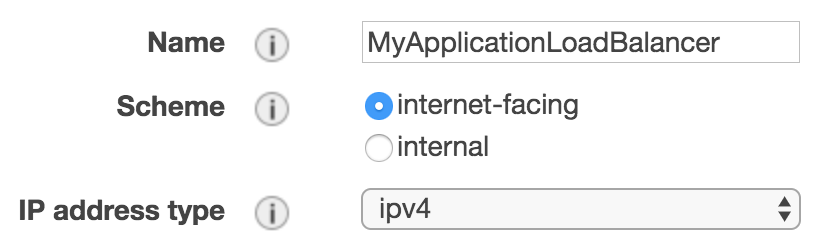
- On the Configure Routing page, select our target group in the Target group section:
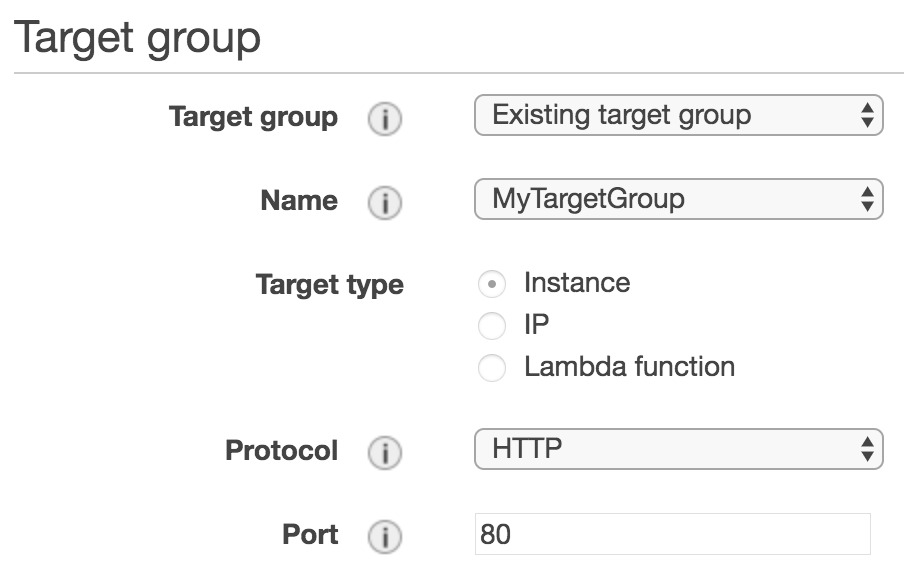
- Verify the health checks settings and click on Next: Register Targets:
- On the Register Targets page, verify our registered targets and click Next: Review.
- On the Review page, review the load balancer settings and click Create. If we go to the target group, the Status of our instances will be the first initial. After some time, the Status should change to healthy.
- Copy the DNS name from the ELB's Description tab and run this from a browser with an https:// prefix. If we get a warning that the connection is not secure, click on Advanced and click on the proceed button/link. We should see that our web page loaded from either web server 1 or web server 2:

We are getting a warning since our URL (ELB DNS) is not matching with the certificate's domain, which is *.heartin.cloud in my case.
- Optionally, create a CNAME record for the domain with Name (or Host) set to mywebserver.heartin.cloud (only mywebserver if the DNS service provider automatically appends domain name) and Value (or Points to) as our DNS name, which in my case is myapplicationloadbalancer-1459898280.us-east-1.elb.amazonaws.com. Now, I can run https://mywebserver.heartin.cloud and get a successful response:

Updating the DNS and any related changes may have a propagation delay, which is dependent on the DNS service provider.
There are multiple ways to point our domain with ELB, including creating a Route 53 account and changing the names of the servers of our domain, adding a CNAME record for a subdomain, and so on.