
We have been talking about home automation controlling electrical loads, but everything has a starting point. The most basic kick-starter is controlling Edison over the Internet—that's what it's all about.
When you have a device that is controllable over the Internet, we recommend controlling the electrical loads. In this other mini-project, we are going to control a simple LED that is already attached to pin 13 of Intel Edison. There is no need for any external hardware for this, as we are using an in-built functionality. Now, open your editor and type in the following code:
var mraa = require('mraa'), var mqtt = require('mqtt'),

varledPin=new mraa.Gpio(13); ledPin.dir(mraa.DIR_OUT);

var client = mqtt.connect('mqtt://iot.eclipse.org'), client.subscribe('avirup/control/#') client.handleMessage=function(packet,callback)

{

  var payload = packet.payload.toString() console.log(payload);
  if(payload=='ON')

  ledPin.write(1); if(payload=='OFF') ledPin.write(0);
  callback();

}
The preceding code will subscribe to the channel in the broker and wait for incoming signals.
Initially, we've declared the GPIO pin 13 as the output mode because the onboard LED is connected to this pin:

The location of the onboard LED is shown in the preceding image.
On having a close look at the code, we see that it initially imports the library and then sets the GPIO pin configuration. Then, we use a variable client to initiate the MQTT connection to the broker.
After that, we move on to subscribe our device to the channel, which in this case is named as avirup/control/#.
We have an event handler, handleMessage(). This event handler will deal with incoming messages. The incoming message will be stored in the packet variable. We've also implemented a callback method, callback(), which needs to be called from handleMessage().
This enables us to receive multiple messages. Also note that, unlike other Node.js snippets, we haven't implemented any loop. The functionality is actually handled by the callback() method.
Finally, inside the function we obtain the payload, which is the message. It is then converted to a string and then condition checking is performed. We also print the value received to the console.
Now push this code to your Edison using FileZilla and run the code.
Once you run the code, you won't see anything in the console. The reason behind that is there is no message. Now, go to the Android application, MyMqtt, and browse to the Publish section of the application.
We need to insert the channel name here. In this case, it is avirup/control:
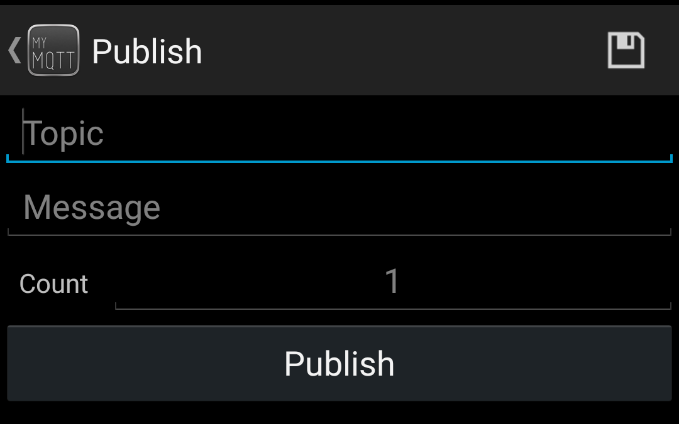
In the Topic section, enter the channel name, and in the Message section enter the message to be sent to Edison.
Now, in parallel, run your Node.js code.
Once your code is up and running, we will send a message. Type ON in the Message field and click Publish:

Once you have published from the application, it should be reflected on the PuTTY console:
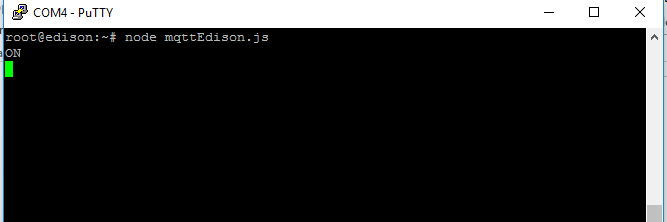
Now you should see that the LED is turned on.
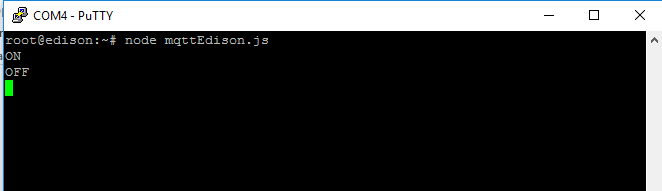
Similarly, send a message, OFF, to turn off the onboard LED:
It's also worth noting that this will work even if Edison and the device aren't connected to the same network.
Now you can control your Intel Edison with your Android application. Virtually speaking, you can now control your home. In the following section, we'll deep dive into the home automation scenario and also develop a WPF application to control.