
When the time comes to actually build your project, you'll find there are a number of features and options to think about. Later in the book we'll take a look at creating distribution builds, but for now let's look at what it takes to understand the basics, and get development builds on our devices.
First, let's discuss the only part of the Xcode window we haven't looked at yet: the main toolbar. Earlier we used the buttons on the right side of the toolbar, but we haven't looked at what's happening on the left:

Figure 2.23: The build options and commands in the upper left of the Xcode toolbar
The four buttons along the top (from left to right) are the build and run button, the stop process button, target selection, and platform selection. With these buttons, you can run most of the development builds you'll need.
To test this, let's run our project on the iPhone SE simulator. First, click on the platform selection button. You'll find that it's not a button, but a drop-down menu that allows you to select a target platform. Select the iPhone SE option. We won't be needing it at the moment, but the target selector is also a dropdown that lets you choose the target you wish to build.
Now that our target and platform are set, all we need to do is click the build and run button. This will build our app, launch the simulator, and then deploy and run the app. It might take a little time for the simulator to launch, but you should end up with a white screen on the simulator:
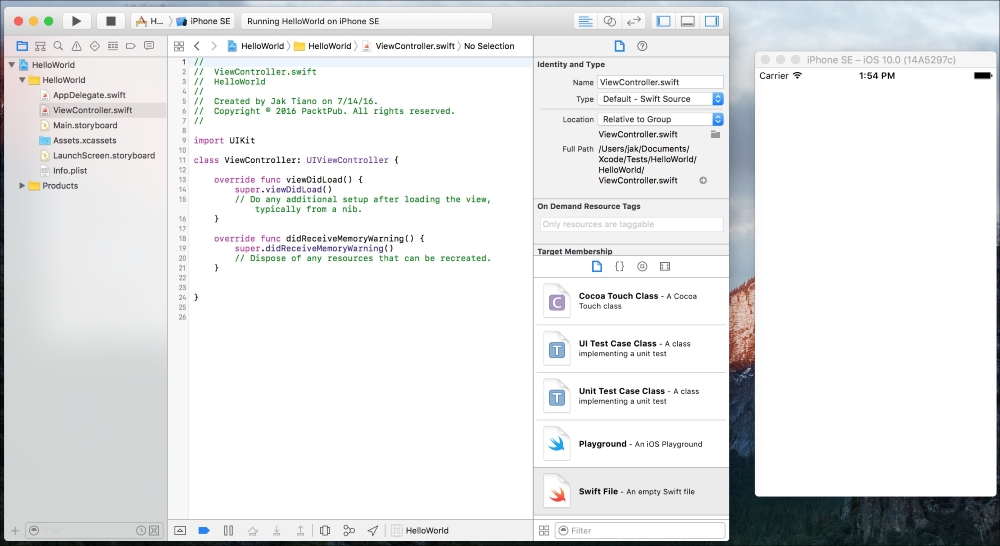
Figure 2.24: This is what your project and simulator should look like
Great! It doesn't look like much, but that's because the project is empty; our app is indeed running on the simulator. Now, to stop running the application, you can press the stop process button.
To speed up this process, you can use the keyboard shortcut command + R to build and run your project, and command + . to end the process.
The simulator is great on occasion, but most of the time we are going to want to test our apps directly on our devices. Luckily, Xcode makes this dead simple.
First, make sure your device is eligible (running the most recent version of iOS) and plugged into your computer. After a few moments, you should see your device name show up in the platform selection dropdown in the toolbar, at the top of the list.
Then, select your device from the platform selector. Before you run, make sure your device is unlocked if it has a passcode, since the passcode lock will prevent code from being deployed to the device. Finally, to run your project on your device, just press the build and run button, or use the shortcut (command + R). After a few moments of building and deploying, you should have your blank white screen properly running on your device!