
The app is uploaded and ready to go on iTunes Connect. Next, we'll put the final touches on the app record by uploading screenshots and icons, and filling out the necessary descriptions. Finally, we'll push out builds on TestFlight, and submit for review to the App Store.
So we've got an app, but how do we let customers learn about it before they download it? From iTunes Connect, we can upload a video, screenshots, description text, and icons to help potential customers get an idea of what the app is about. I've included a folder inside this chapter's resources called iTunes Connect Resources that you can use to fill out the information in this section:
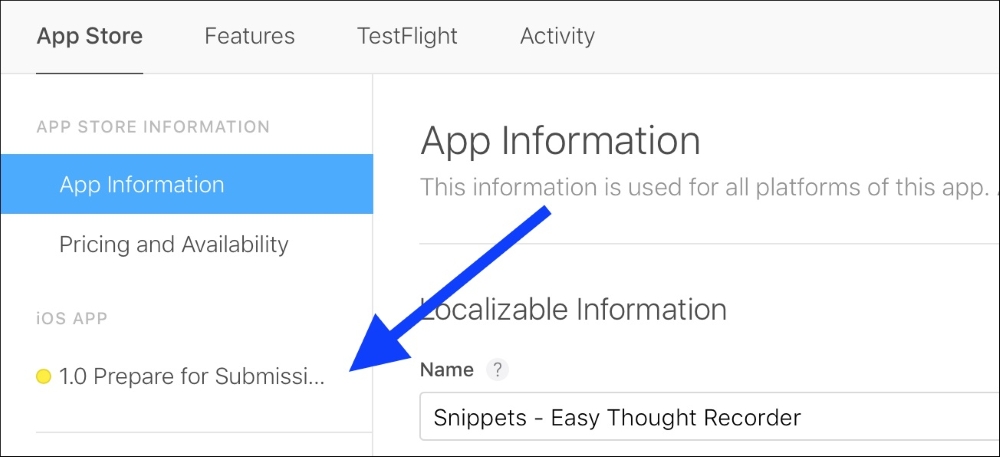
Figure 16.17: Our build is now available in iTunes Connect
First, let's go back to the app record in iTunes Connect. Once your archive has finished uploading and is processed, it will show up in the sidebar of the app record with the version number and status (Figure 16.17). Click on it to go to the information for that build. It is there that we will set the screenshots, icons, and descriptions for that version. At first, it should look something like Figure 16.18:
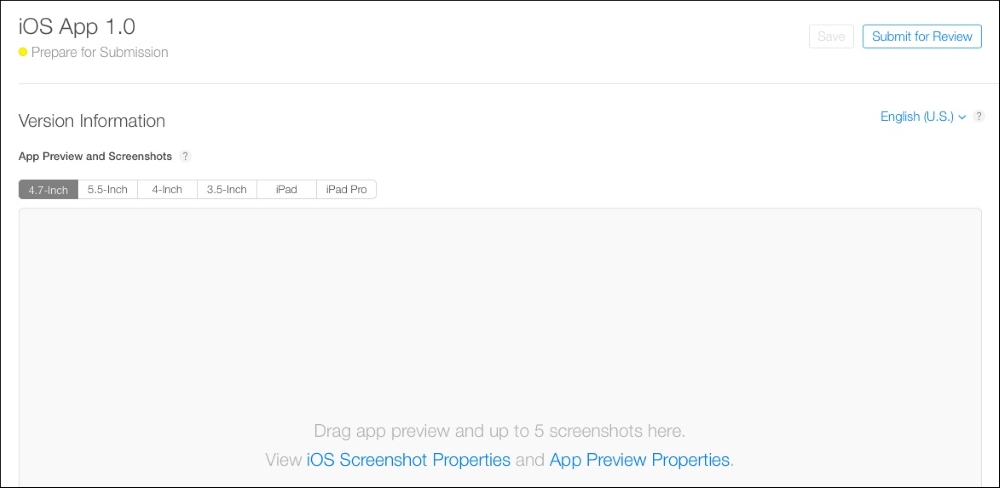
Figure 16.18: Our app's version settings
Now, since our app supports iPhone, we need to include screenshots for all four versions of iPhone. Inside the iTunes Connect Resources folder I gave you, there is a single screenshot for each device size. You can drag those screenshots right into the gray box to upload them. Below the screenshots, we have a box for the app description. In the iTC Resource folder is a text file containing an app description that I wrote, if you don't want to write your own. Copy and paste the description into iTunes Connect. You'll also need to fill in some keywords and a support URL for a real app submission:

Figure 16.19: Filling out the app description
Below the description is the area where we can set up the Apple Watch information for our app. We can include an icon for the watch app, in addition to screenshots. Again, I have an icon file and an Apple Watch screenshot available in the iTC Resources folder. Just drag them into the browser window:
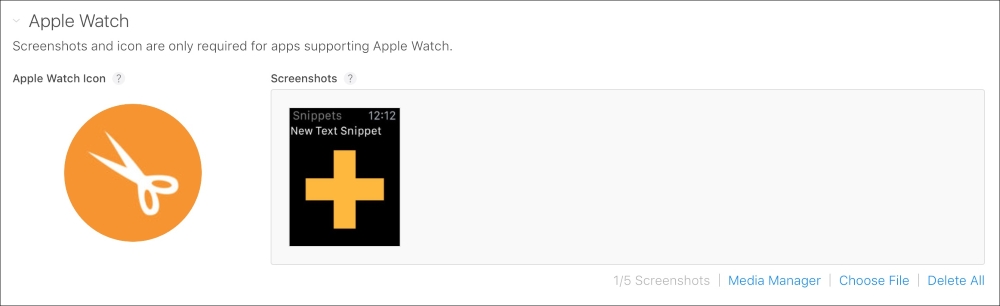
Figure 16.20: Filling out the apple watch app information
After the Apple Watch settings, we have to choose the actual build associated with this version. Click the Select a build text to bring up a box to select the build, shown in Figure 16.21. Select the build, and click done:
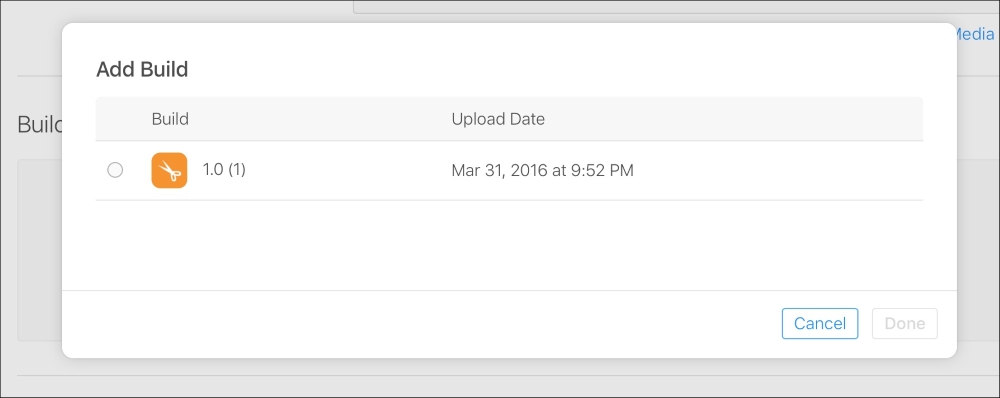
Figure 16.21: Selecting the 1.0 build we uploaded in out archive
Below the build selection, we have to upload the app icon that will be displayed on the store page. You can drag in the same icon_1024.png file from the iTC Resources folder for the icon. Make sure you also fill out the Copyright section.
Finally, all the way at the bottom of the page, we have the ability to select how the app gets released. Since the app needs to go through approval, we can have the app automatically go on sale when it is approved or we can manually release the app ourselves after it's approved. We can also set a date for the app to automatically release, assuming it has been approved by then. We're just going to leave this at Automatic release this version:
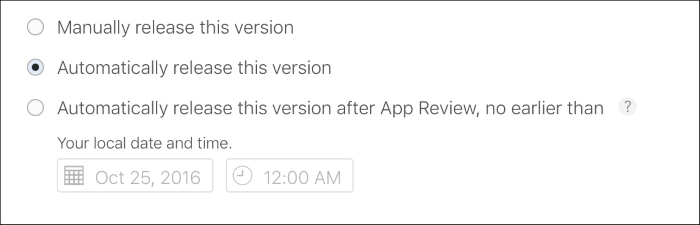
Figure 16.22: Selecting the option for how the version gets released once approved
Click the Save button in the upper right corner of the window to save all our changes. At this point, we're finished setting up the app version settings, but before we can move on to distribution we need to set some info on pricing and availability. On the sidebar above the version tab, click on the Pricing and Availability tab (Figure 16.23):

Figure 16.23: Moving the Pricing and Availability tab
Once in the pricing tab, we need to set a pricing tier, and the territories where the app will be available. By default, the app is available in all territories (countries), so we'll leave that as is:
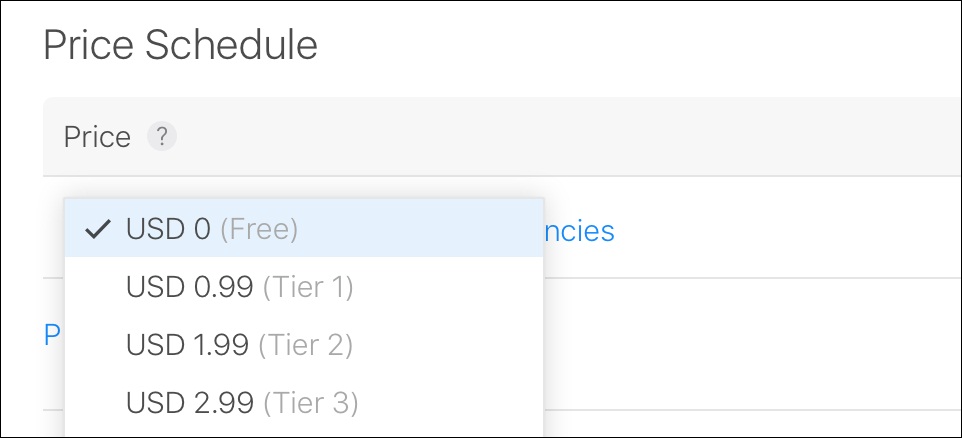
Figure 16.24: Choosing the free pricing tier for Snippets
To set the initial pricing tier, click on the dropdown that says Choose and pick a price that makes sense for your app. In this case, I'm choosing the free tier.
One last thing before we move on: we need to set a category for our app. Head back to the App Information tab, scroll down a bit, and change the Category to something that makes sense. I chose Lifestyle in this case:
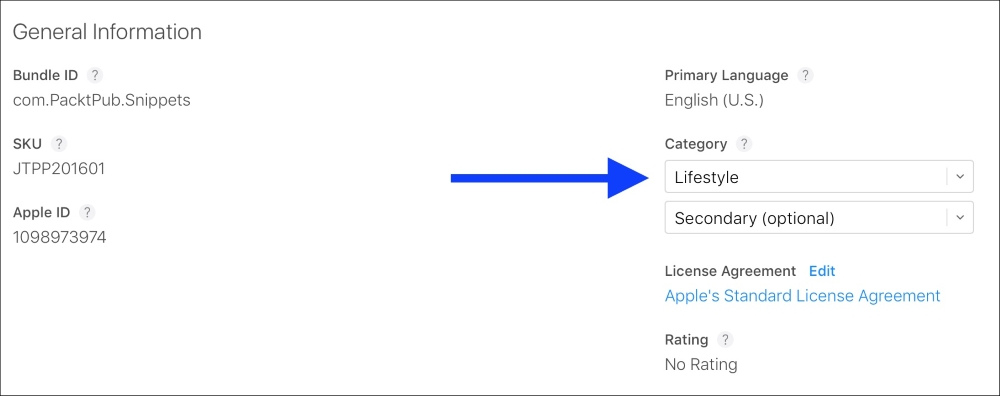
Figure 16.25: Setting the category for the app
The first method of distribution that we will look at is TestFlight. This is a platform that is used for beta-testing applications with a limited number of users. Once your app is finished, it is usually a good idea to distribute it to a small number of people first to check for bugs. No matter how thoroughly you check your own app for bugs, there will always be things you miss, and the best way to find them is to put your app in the hands of other people.
To distribute your app through TestFlight, click on the TestFlight tab along the top of the window (Figure 16.26):
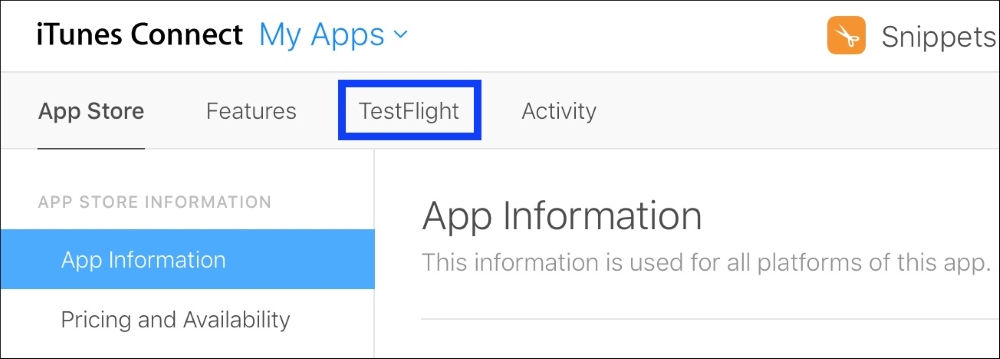
Figure 16.26: Moving to the TestFlight tab
Once in the TestFlight tab, you'll see some fields asking for a feedback email, and some marketing/privacy URLs. Fill those in with some placeholders for now, but when running a real app beta, you'll want to make sure you have a good system for dealing with beta users.
Along the sidebar in the TestFlight section, you should see tabs for Internal Testing and External Testing. Let's set up an internal test, since it's a bit quicker than an external test:
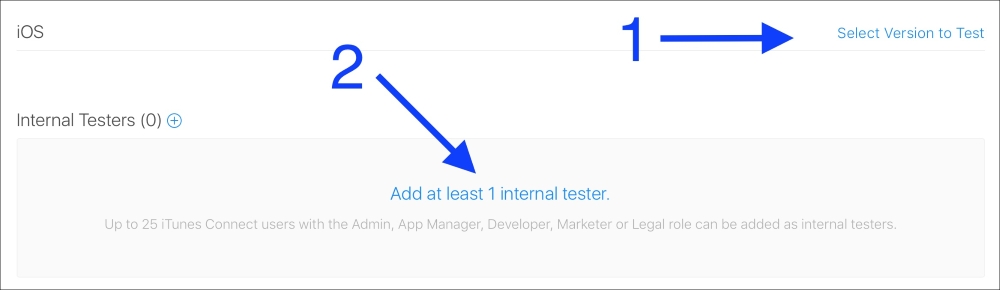
Figure 16.27: Setting up an internal test
To set up an internal test, you need to select a build and add testers. To select a build, click the Select Version to Test button (arrow 1 in Figure 16.27), and then choose our 1.0 build from the resulting dialog box. Next, add an internal tester to the build. Internal testers must be people that are part of your app development team on iTunes Connect, so right now that means only you. If you click on the text that says Add at least 1 internal tester (arrow 2 in Figure 16.27), you'll be given a list of eligible members. Select yourself. Now, if you look in the upper right corner, you can click the Start Testing button (Figure 16.28). This will send an email to you (and any other testers that might be added in the future) alerting them that a new TestFlight build is available to you/them.
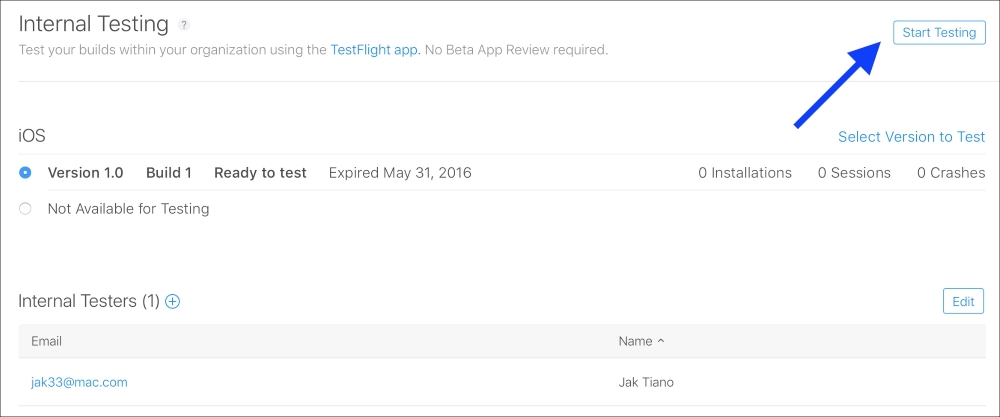
Figure 16.28: Start testing an internal build
External testing works in almost the exact same way, except that when you add a build you need to answer a few more questions and submit the app to a beta review, which is similar to the app store review process (except usually faster). With external testing, you're allowed to add anyone to the test with just their email, they don't need to be an iTunes Connect team member. You are also allowed up to 2,000 external testers, making it a great platform to get some widespread feedback without releasing to the full app store.
Actually submitting the app for review is pretty easy at this point. Back in the App Store section (not TestFlight), if you click on your version in the sidebar, there will be a button in the upper right corner that says Submit for Review. If you click this button, you'll be notified of any issues with your information. You may have to fill out some reviewer information, or clean up some fields you may have missed. However, if everything is in order, that's it. It's off to be reviewed, and in about a week your app will be live on the App Store, as long as it passes review.