
In the preceding screenshot, you may have noticed the link at the bottom of the window that allows you to define more details through the Prezi CSS editor. Don't worry if you're not familiar with CSS—we're going to walk through the basics together.
CSS stands for Cascading Style Sheets. It is a markup language that allows the style of a page to be coded separately from the content of the page. So, for example, one style sheet file can be applied to every page of a particular website.
Note
If a website does not use CSS and you decided to change a design element, such as the color used for headings, someone would need to edit the HTML code for each heading. However, if those headings were designed with reference to a style sheet, one would simply need to change a single line in the style sheet, and every heading on the site would automatically be updated. Style sheets make the design process easier and more flexible.
CSS works with Prezi in a very similar way to how it would with any other website. You can change just a few lines of CSS to change the style of an entire Prezi. This is so much easier than going through and making style changes to every single element that you would like to appear differently.
Let's take a look at a couple of examples so that we can understand the potential impact of editing the CSS and hopefully get some creative ideas flowing.
When you click on Use the Prezi CSS Editor from the Theme Wizard menu, you'll see a new window on the right-hand side of your screen:

Here, you'll see the actual code for the style sheet being applied to Prezi. Don't worry if you've never coded before. CSS uses some keywords that are fairly easy to recognize. For example, you probably noticed the word font in the preceding screenshot. Even if you don't know exactly what all of the code means, you can determine that this section of code is related to styling the font. Let's take a look at how we can change the font using the preceding code.
Tip
Be extra careful when you're editing the CSS. There's no undo button for the coding changes you make. A good idea is to copy the text you're editing into a text editor so you can refer to it if something goes wrong, or if you want to change back to the original code. However, don't stress too much! In the worst case scenario, you can always create a new Prezi and copy the original CSS code from that into the one you're working on, restoring it to default.
Prezi uses four different styles for the font in the presentations. You can tell what these styles are by looking at the font-class property that's defined under each @font-face section. In the preceding screenshot, you can see body, head, and strong font classes. If you scroll down, the fourth and last defined font class is actually an undefined class, which covers everything else.
Here's what a frame looks like with the default font for its heading:
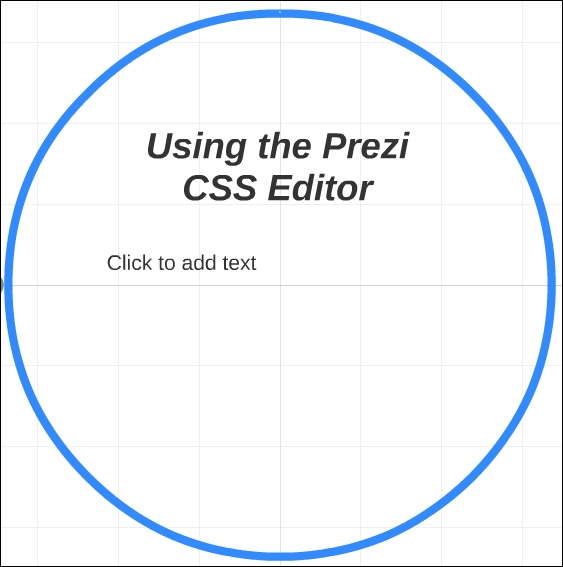
Let's change this to something that's not normally available in the 16 default fonts that Prezi allows us to choose from in the Theme Wizard. You will find the following code in the editor, which is for the font-class: strong:
@font-face
{
  src: url('Arimo-BoldItalic.keg'),
  font-class: strong;
  fontFamily: strong;
  font-style: italic;
  font-weight: bold;
}
We're going to change the actual font that's being used by editing in a new one:
@font-face
{
src: url('TVBS-Handwritting.keg'),
font-class: strong;
fontFamily: strong;
font-style: normal;
font-weight: normal;
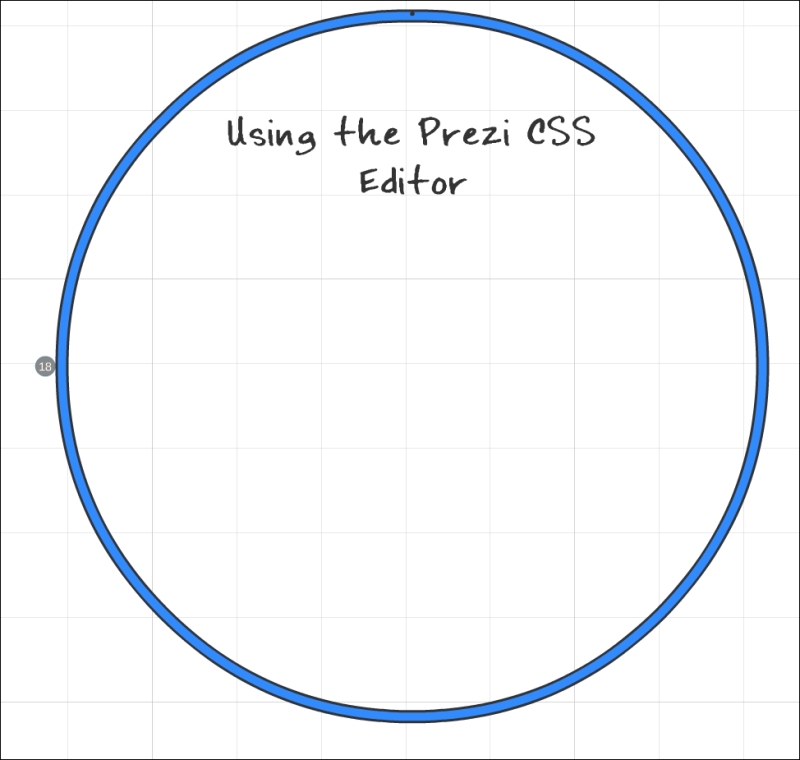
}You can see that on the src: url line, I replaced Arimo-BoldItalic.keg with TVBS-Handwritting.keg. Clicking on Apply will then change the font used in my frame:

Tip
For a list of 1,000 different fonts that are available for use in Prezi, visit http://www.vandijkcomputeropleidingen.nl/prezi-fonts. You can try the different font names in the CSS code and see what they look like when you apply changes.
We can also edit many other elements of our Prezi, though some of these changes require a little deeper understanding of the code. We'll explore how to add a border to a frame as a way to dig a little deeper into the CSS code. If you scroll further down the CSS sidebar, you'll find some code related to the circle frame that should look like this:
frame.circle
{
  borderAlpha: 0;
  borderColor: #333;
  borderThickness: 3;
  gradEndAlpha: 1;
  gradEndColor: #318bff;
  gradStartAlpha: 1;
  gradStartColor: #318bff;
  padding: 1.03;
  thickness: 3;
}
The name of this section of the code helps us understand that it relates to the circle frame, and some of the settings for the frame are also intuitive. Thickness, for example, will represent how thick the frame itself will be.
In order to add a border to our frame, the first thing we will have to do is change the value of borderAlpha. This setting affects how transparent the border is. The default setting of 0 means that the border is completely transparent, so even if we changed the color or made it thicker, we would still not be able to see it. You can set this to any value between 0 and 1. This means that 0.5 would be 50 percent transparent. In our example, if we change this value to 1, we can see that a black border appears on the frame:
After changing the value of borderAlpha, the code looks like this:
frame.circle
{
  borderAlpha: 1;
  borderColor: #333;
  borderThickness: 3;
  gradEndAlpha: 1;
  gradEndColor: #318bff;
  gradStartAlpha: 1;
  gradStartColor: #318bff;
  padding: 1.03;
  thickness: 3;
}
The output of the preceding code is as follows:
In order to match our earlier color scheme, let's create a white frame with a red border. You may have noticed that the CSS code doesn't use the same RGB color values that we used earlier, and instead uses the hexadecimal format. This is simply a different way to generate colors. It uses six numbers and characters as opposed to three sets of three numbers like RGB. Luckily, our corporate brand information also included the hex version of its colors.
Tip
If you don't have or don't know the corresponding hex color code, you can use a search engine to easily find a hex color converter, for instance, http://www.color-hex.com is a useful place to start.
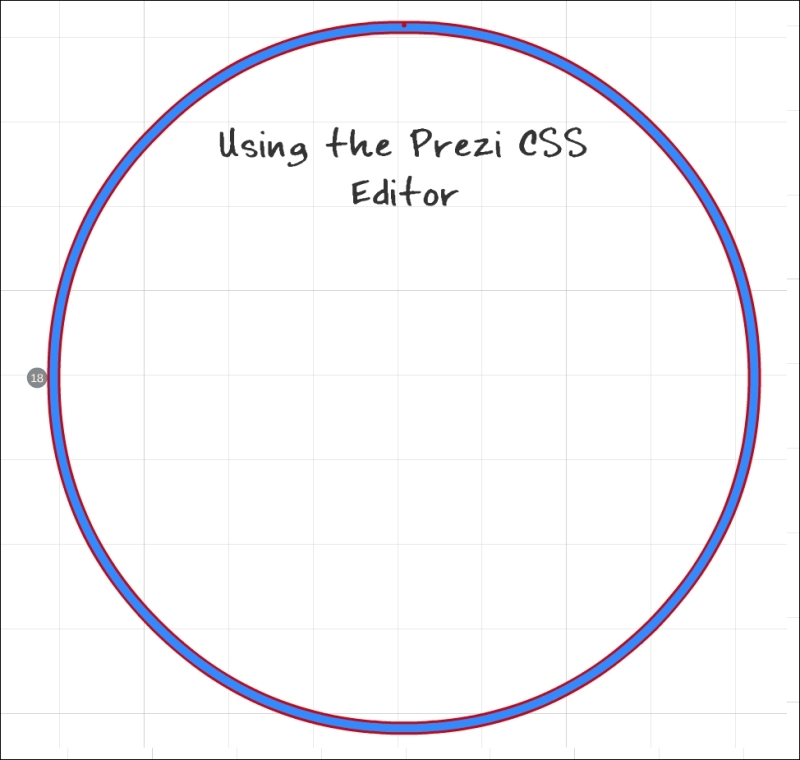
Next, let's change the border color to red. We'll do this by inserting the hex code #CC0000 as seen in the following code:
frame.circle
{
  borderAlpha: 1;
  borderColor: #CC0000;
  borderThickness: 3;
  gradEndAlpha: 1;
  gradEndColor: #318bff;
  gradStartAlpha: 1;
  gradStartColor: #318bff;
  padding: 1.03;
  thickness: 3;
}
The output of the preceding code is as follows:
Next, we will make the inner color of the frame white instead of blue. This will actually require two steps because we have to change both the gradEndColor property and gradStartColor property. If we change gradEndColor to #FFFFFF for white, we will see that the bottom half of the frame turns white and uses a gradient to fade in to the blue at the top:
frame.circle
{
  borderAlpha: 1;
  borderColor: #CC0000;
  borderThickness: 3;
  gradEndAlpha: 1;
  gradEndColor: #FFFFFF;
  gradStartAlpha: 1;
  gradStartColor: #318bff;
  padding: 1.03;
  thickness: 3;
}
The output of the preceding code is as follows:

Finally, we can change the gradStartColor property to #FFFFFF in order make the entire inside of the frame white:
frame.circle
{
  borderAlpha: 1;
  borderColor: #CC0000;
  borderThickness: 3;
  gradEndAlpha: 1;
  gradEndColor: #FFFFFF;
  gradStartAlpha: 1;
  gradStartColor: #FFFFFF;
  padding: 1.03;
  thickness: 3;
}
The output of the preceding code is as follows:

After clicking on Apply, you can see just how different the frame looks. You now have a look that wouldn't be possible through the Theme Wizard alone.
Of course, these changes are just the tip of the iceberg, and scrolling through the code you'll see you can edit other elements such as arrows, shapes, and even the highlighter. Using this CSS code, you can completely customize the Prezi to match your organization's brand and create a custom look not found in any other presentations.