
260
CHAPTER GALLERY OF PROJECTS
FINISHED BLOCK SIZE
7 inches (17.8 cm)
MATERIALS LIST
FINISHED SIZE
40×12 inches (101.6×30.5 cm)
“Fall Romance” foundation paper pattern
Foundation paper: 5 sheets
Gold 1:
1
⁄
8
yard (11.4 cm) (foundations)
Gold 2:
1
⁄
8
yard (11.4 cm) (Border 1)
Orange 1:
1
⁄
8
yard (11.4 cm) (foundations)
Orange 2:
1
⁄
8
yard (11.4 cm) (foundations)
Red 1:
1
⁄
8
yard (11.4 cm) (foundations)
Red 2:
1
⁄
2
yard (45.7 cm) (foundations, Border 2)
1
⁄
4
yard (23 cm) (binding)
I got married in the fall, so to me, autumn is all
about romance and colors that range from vivid
red to bright gold. Even if you live in an area that
does not experience a change in the color, you
can make this table runner come alive with the
colors you do see. Although this pattern uses the
same fabrics in each leaf block for simplicity, you
can use up your scraps and vary the colors from
block to block.
“Fall Romance”
Table Runner

261
PROJECT “FALL ROMANCE” TABLE RUNNER
CUTTING DIRECTIONS
Gold 1:
5 squares (A6) 2
3
⁄
4
×2
3
⁄
4
inches (7×7 cm)
(foundations)
Gold 2:
3 strips, 1×42 inches (2.5×106.7 cm) (Border 1)
Orange 1:
5 rectangles (A5) 3×4
1
⁄
2
inches (7.6×11.5 cm)
(foundations)
Orange 2:
5 rectangles (B4) 2×2
1
⁄
2
inches (5.1×6.4 cm)
(foundations)
Red 1:
5 rectangles (A4) 3×4
3
⁄
4
inches (7.6×9.5 cm)
(foundations)
Note: Trim the border strips to the right size after the quilt center is
sewn.
Red 2:
3 strips, 2×42 or 2
1
⁄
4
×42 inches (5.1×106.7 or 5.7×106.7
cm) as you prefer (binding)
3 strips 1
1
⁄
2
×42 inches (3.8×106.7 cm) (Border 2)
5 rectangles (B2) 3
1
⁄
4
×4 inches (8.2×10.2 cm)
(foundations)
Brown:
3 strips 1
1
⁄
2
×42 inches (3.8×106.7 cm) (Border 2)
5 rectangles (B3) 3
1
⁄
4
×4
1
⁄
4
inches (8.2×11.5 cm)
(foundations)
5 rectangles (A1) 2
1
⁄
4
×1
1
⁄
2
inches (5.7×3.8 cm)
(foundations)
Green 1:
5 rectangles (A2) 3
3
⁄
4
×4 inches (9.5×10.2 cm)
(foundations)
Green 2:
5 rectangles (A3) 2
1
⁄
2
×2
3
⁄
4
inches (6.4×7 cm)
(foundations)
Green 3:
5 rectangles (A7) 2
3
⁄
4
×4
1
⁄
2
inches (6.4×11.5 cm)
(foundations)
Green 4:
5 rectangles (A8) 3×8
1
⁄
4
inches (7.6×20.9 cm)
(foundations)
Green 5:
5 rectangles (B6) 3
1
⁄
2
×7
1
⁄
4
inches (8.9×18.4 cm)
(foundations)
Green 6:
5 rectangles (B5) 2
1
⁄
2
×4
3
⁄
4
inches (6.4×12 cm)
(foundations)
Green 7:
5 squares (B1) 3
1
⁄
2
×3
1
⁄
2
inches (8.9×8.9 cm)
(foundations)
Backing:
1 strip 18×42 inches (45.7×106.7 cm)
1 rectangle 5×18 inches (12.7×45.7 cm)
MATERIALS LIST CONTINUED
Brown:
1
⁄
4
yard (23 cm) (foundations, Border 2)
Green 1:
1
⁄
8
yard (11.4 cm) (foundations)
Green 2:
1
⁄
8
yard (11.4 cm) (foundations)
Green 3:
1
⁄
8
yard (11.4 cm) (foundations)
Green 4:
1
⁄
8
yard (11.4 cm) (foundations)
Green 5:
1
⁄
8
yard (11.4 cm) (foundations)
Green 6:
1
⁄
8
yard (11.4 cm) (foundations)
Green 7:
1
⁄
8
yard (11.4 cm) (foundations)
Backing:
2
⁄
3
yard (61 cm)
Batting: Scrap, at least 46×18 inches (116.8×45.7 cm)

262
CHAPTER GALLERY OF PROJECTS
1. Prepare foundations by copying the “Fall Ro-
mance” pattern onto foundation paper. Prepare five
foundations.
2. To create Block Z, foundation piece the first
section of one block (A1–A8). Trim this section,
being careful to retain the
1
⁄
4
-inch (.6 cm) seam
allowances. Repeat to complete the first half of all
five Block Zs.
3. Foundation piece the second section of Block Z
(B1–B6). Trim this section, retaining the necessary
seam allowances. Repeat to complete the second
half of five Block Zs.
4. Pinning carefully to match the seam allowance lines
on the foundations, pin the A and B sections of a
block together (right sides together). Sew with a
short stitch length. Repeat to complete five
Block Zs.
5. Trim each finished block to 7
1
⁄
2
inches (19 cm)
square, which includes the necessary seam
allowances.
Making the Foundation Blocks
B6
B5
B1
B2
B3
B4
A6
A8
A5
A4
A7
B6
A3
A1
Block Z (Make 5)
Block shown with colors in finished positions.

263
PROJECT “FALL ROMANCE” TABLE RUNNER
1. Using the Quilt Assembly Diagram, arrange blocks in a row on your design wall. Pay attention to the orientation of
the blocks in order to create the pattern shown. Sew the blocks together and press seams between blocks open. The
quilt center should measure 35
1
⁄
2
×7
1
⁄
2
inches (90.2×19 cm).
Unit
1
Assembling the Quilt Center
Quilt Assembly Diagram
Unit 1 (Make 48)
6. Using the Quilt Assembly Diagram, piece four Unit
1s together to make a side border. Pay particular at-
tention to the orientation of the squares to form the
pattern shown. Press seams in the same direction.
Repeat to make a second side border.
7. Sew the side borders to the short sides of the quilt.
Press to Border 1.
8. Using the Quilt Assembly Diagram, piece 20 Unit
1s together to make a top border. Pay particular at-
tention to the orientation of the squares to form the
pattern shown. Press seams in the same direction.
Repeat to make the bottom border.
9. Sew the top and bottom borders to the long sides
of the quilt. Press to Border 1. The quilt should
measure 40
1
⁄
2
×12
1
⁄
2
inches (101.6×31.8 cm).
Adding the Borders
1. Measure down the quilt center and cut two rectan-
gles from one of the Border 1 strips that length. Sew
these strips to the sides of the quilt center. Press
toward the strips.
2. Measure across the quilt center and cut the top and
bottom Border 1 strips that length. Sew these strips
to the top and bottom of the quilt center. Press
toward the strips. The quilt should now measure
36
1
⁄
2
×8
1
⁄
2
inches (92.7×21.6 cm).
3. Remove the foundation papers.
4. Using the method given for piecing strip sets, sew
one brown Border 2 strip to one red Border 2 strip,
and press to the dark. The set should measure 2
1
⁄
2
inches (6.4 cm) wide. Repeat to make 3 strip sets.
5. Subcut the strip sets every 2
1
⁄
2
inches (6.4 cm) into
squares 2
1
⁄
2
×2
1
⁄
2
inches (6.4×6.4 cm) (Unit 1) for a
total of 48 Unit 1s.
Block Z
7
1
⁄
2
×1 inches
(19×2.5 cm)
36
1
⁄
2
×1 inches (92.7×2.5 cm)
8
1
⁄
2
×2
1
⁄
2
inches
(21.6×6.4 cm)
40
1
⁄
2
×2
1
⁄
2
inches (102.8×6.4 cm)
264
CHAPTER GALLERY OF PROJECTS
Quilting and Finishing
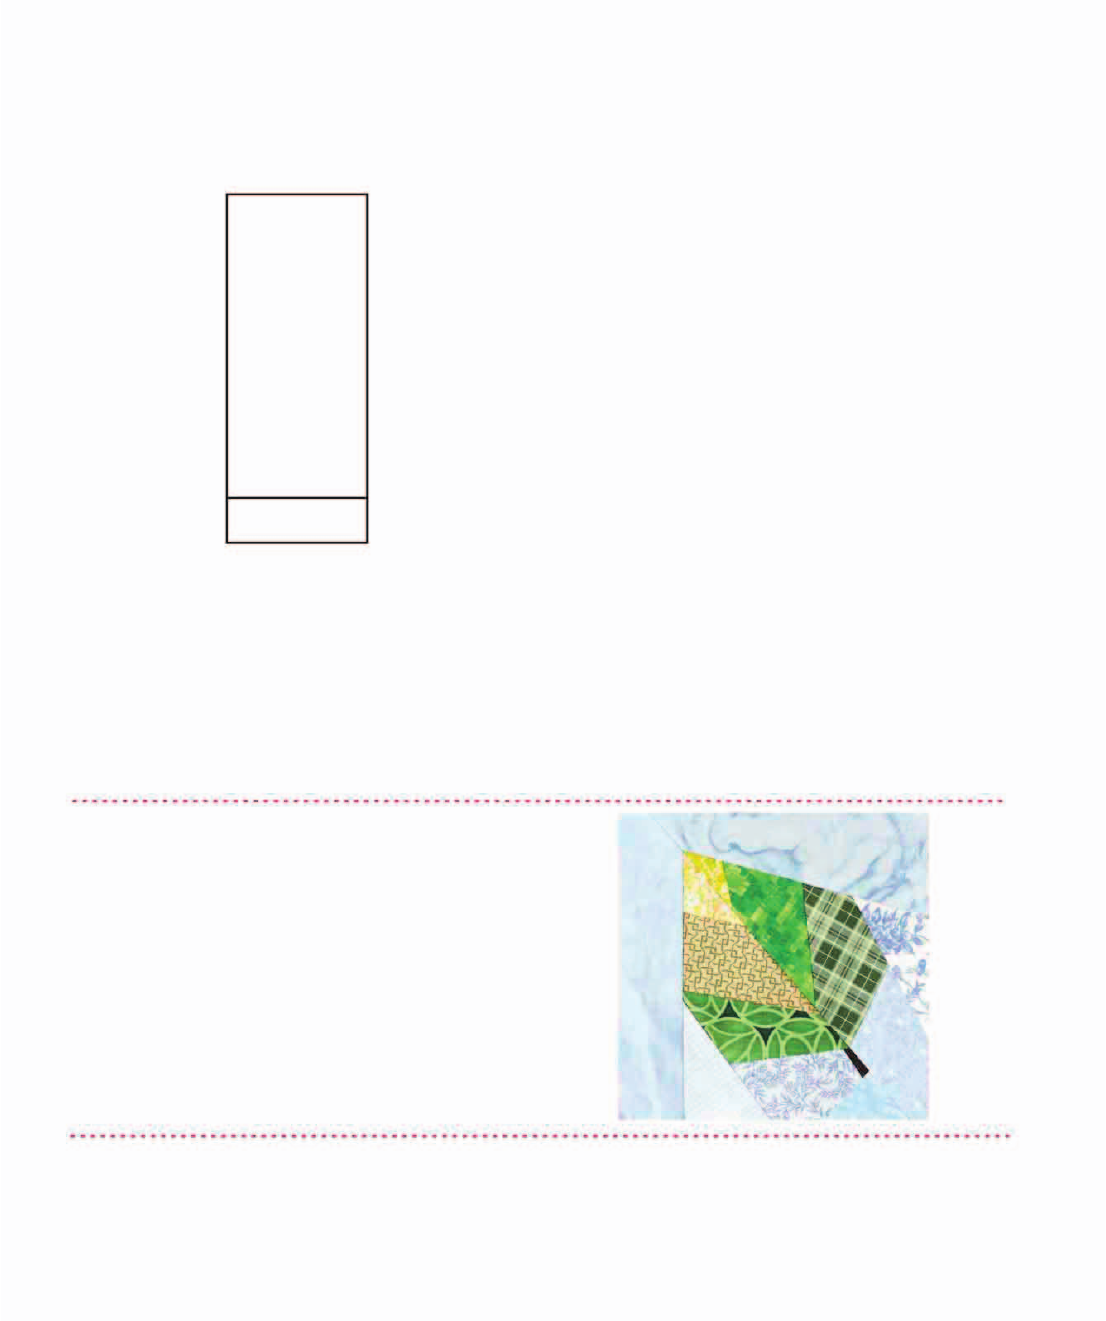
For a fresh look, make a table runner
with spring pastels instead of fall
colors.
1. Remove selvages from the backing fabric and piece
the back as shown in the Pieced Back Diagram.
Sew the two backing rectangles together using a
1
⁄
2
-inch (1.2 cm) seam allowance, along the 18-inch
(45.7 cm) edge. The result is a rectangle 18×46
inches (45.7×116.8 cm).
2. Prepare the quilt for quilting and quilt as desired.
The sample quilt was quilted in the ditch between
the leaf sections in each block, and in the borders.
The background behind the leaves was quilted with
a continuous line curvy meander.
3. Square up the quilted quilt and bind it. Add a label.
5 inches
(12.7 cm)
42 inches
(106.7 cm)
18 inches (45.7 cm)
Pieced Back Diagram
Diagram shows size of cut pieces.
..................Content has been hidden....................
You can't read the all page of ebook, please click here login for view all page.