
100
CHAPTER ADVANCED PIECING TECHNIQUES
Piece Y-Seams
As the name suggests, a y-seam joins three block pieces together in such a way that the intersecting
seams look like a “Y.” The top part of the seam forms a “V” and the bottom forms an “I.” Y-seams can
be challenging, but with careful pinning, they are doable, even for a beginner.
Sew the first two pieces together.
Arrange the pieces of the block (A, B, and C) next to your
sewing machine. Place the two pieces (B and C) that form
the “I” of the y-seam right sides together and pin. Sew the
seam, starting and stopping exactly at the marked dots.
Backstitch at the beginning and end of the seam.
21
Mark the sewing lines and dot the corners.
After cutting the pieces as directed by your pattern, lay
each piece right side down on a sandpaper board and mark
sewing lines
1
⁄
4
inch (.6 cm) from each edge. Place a dot in
each corner, at the intersection of the seams.
Pieces joined in a y-seam often have some bias edges, so be careful not to
stretch them as you sew. Starching your fabric before you cut your pieces and
pinning carefully before sewing will help to eliminate these problems.
A
CB
Sewing
lines
B
C
101
PIECE YSEAMS
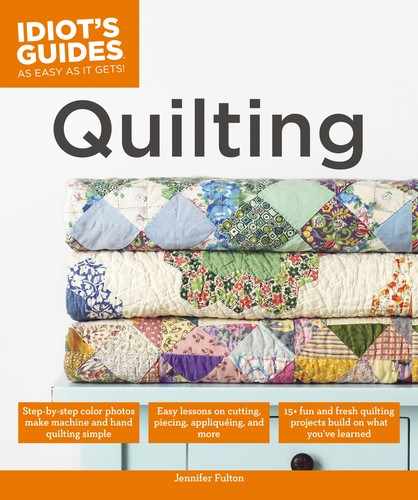
Finish sewing the inset piece.
Lift the presser foot. Align the other side of the inset piece
(A) with the edge of the remaining piece (C). Match the
dots and pin or hold the piece in place. Put the presser foot
down and sew to the last dot on the outer corner. Backstitch
at the end of the seam.
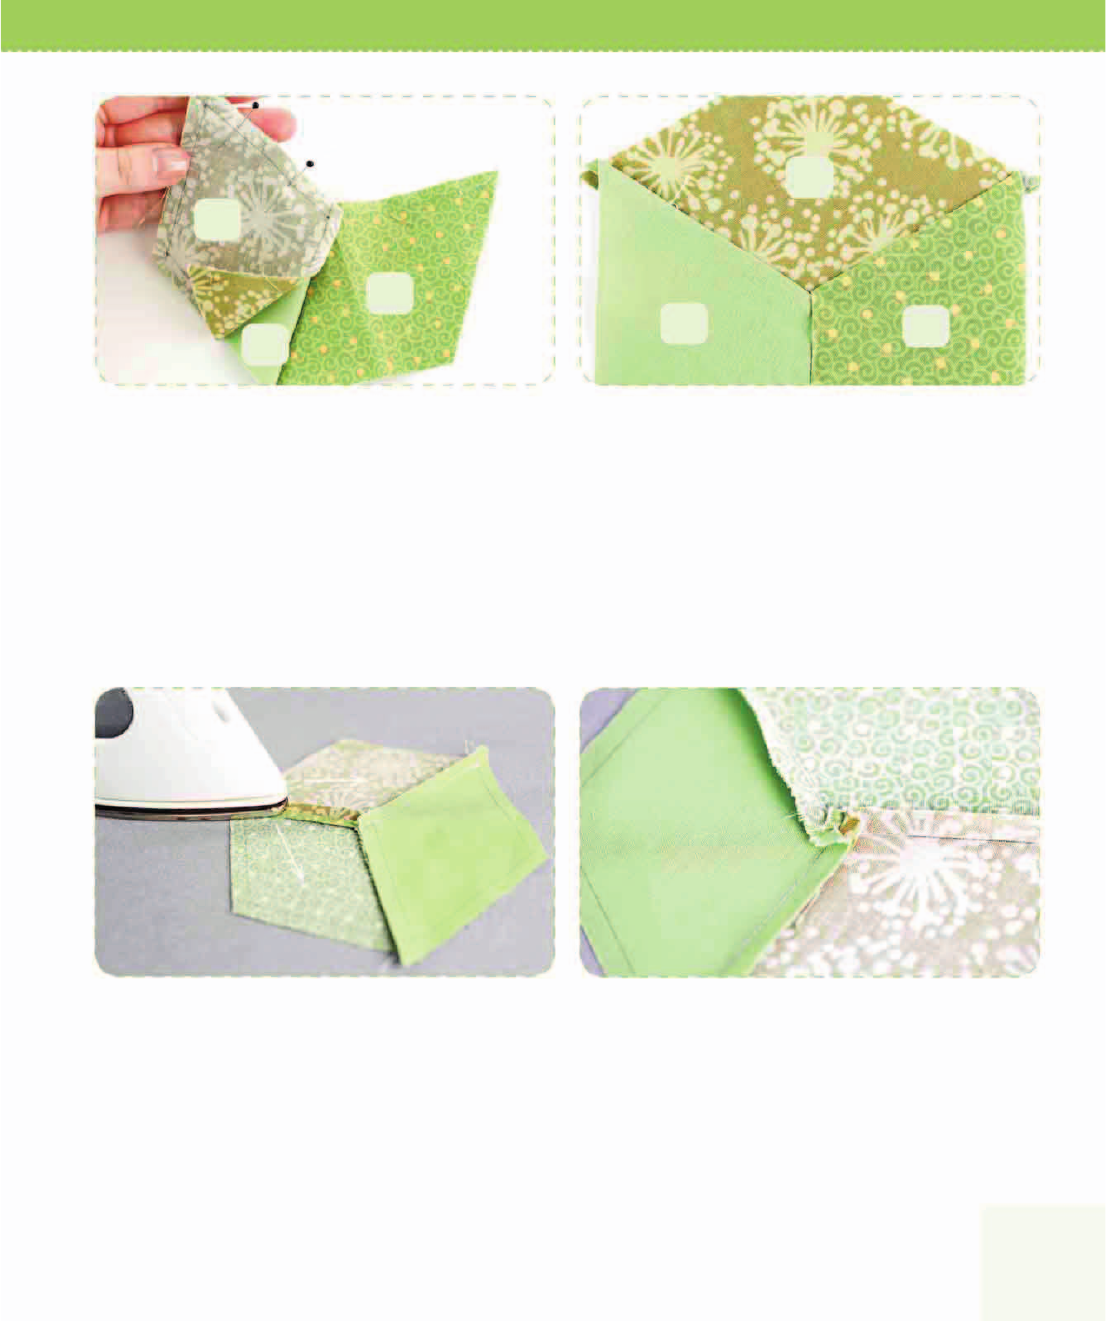
Press open the center seam.
Press the “I” part of the y-seam open. Finger press the seam
first, spritz with water, then gently press with the iron. Press
the two seams that form the “V” in the y-seam toward this
open center seam.
4
5
Begin sewing the inset piece.
Lay the inset piece (A) on top of the (B) piece, right sides
together, matching the dots. Pin, and then sew from dot
to dot, backstitching at the beginning of the seam. Sew
with the inset piece on the bottom, from the outside point
toward the center. Stop at the dot with the needle down.
Do not backstitch.
3
Alternatively, fan out the center seam.
Fanning out the center seam will reduce bulk. Finger press
the seams in the same direction first, and then press with an
iron.
C
B
A
A
B
C
..................Content has been hidden....................
You can't read the all page of ebook, please click here login for view all page.