180
CHAPTER QUILTING A QUILT
Hand Quilting
Hand quilting a quilt ties you to the past, when people made quilts entirely by hand. Although
hand quilting can be used to achieve an heirloom look, modern quilters oen hand quilt to provide
additional embellishment with colorful, thick threads. Hand quilting is done with a rocking motion
that creates stitches that are the same size on the front and back of your quilt.
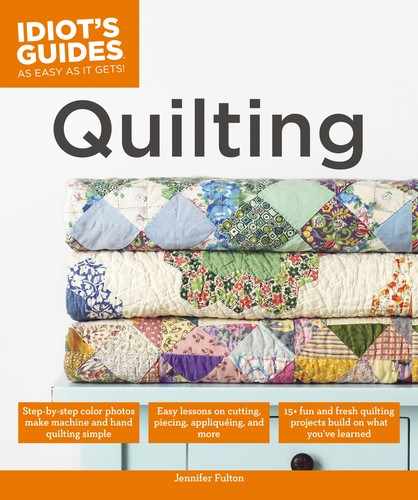
Place the center of the quilt in the hoop.
Tighten the hoop, but not too taut. You want some “give” to
help you make your stitches. You will quilt from the center of
the quilt out to the edges, quilting toward yourself or to the
side.
1
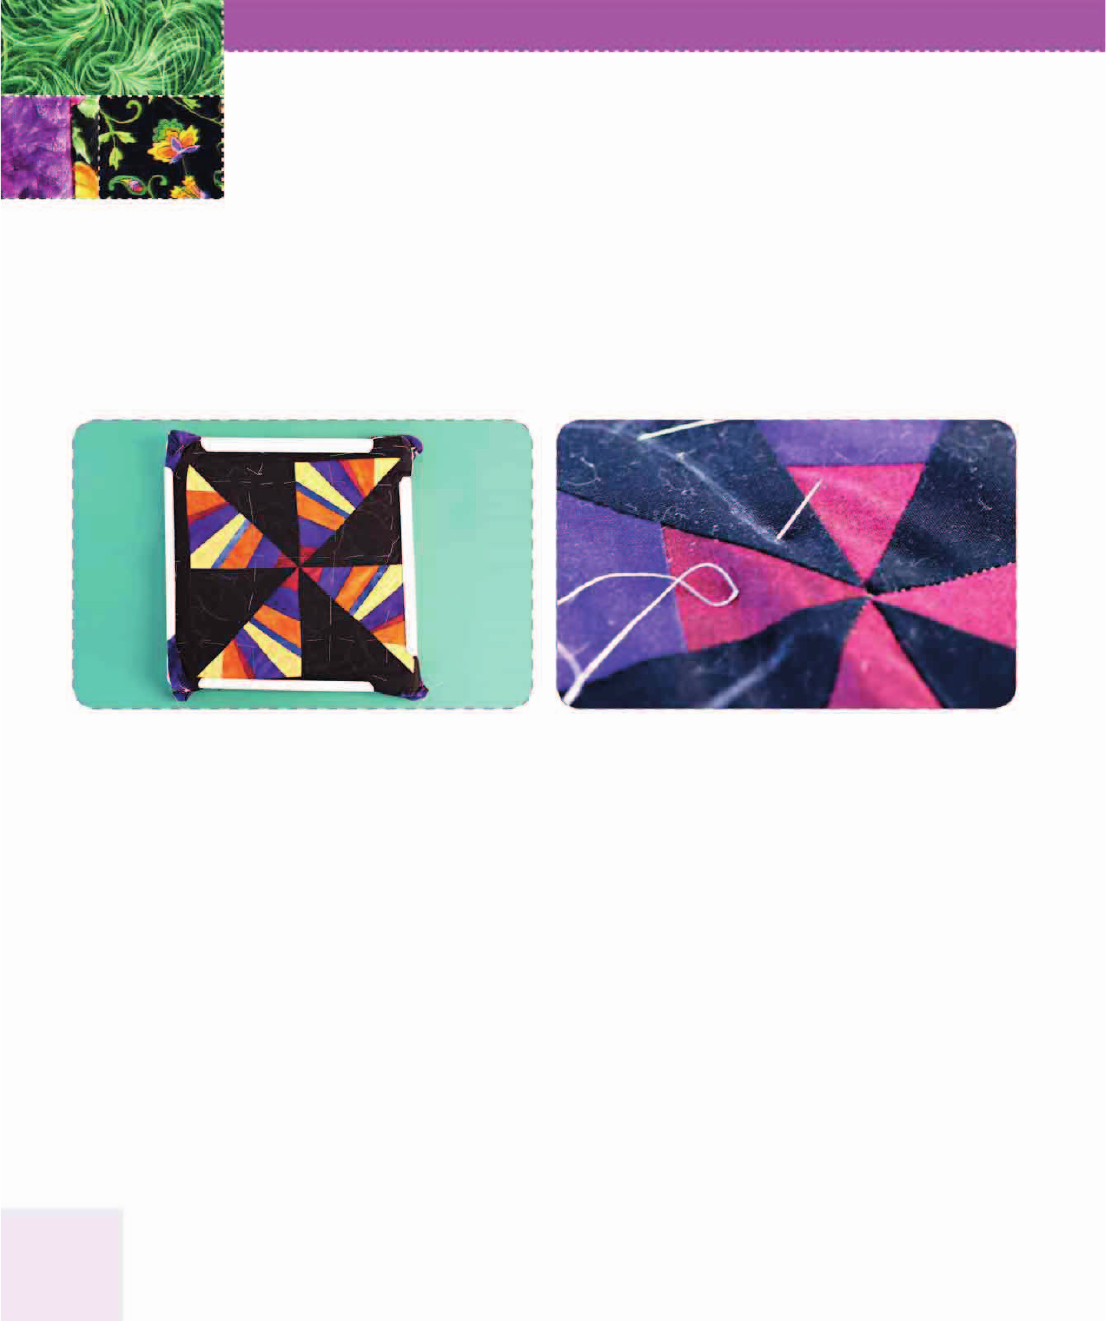
Take a shallow stitch.
Thread a size 9 or 10 Quilting or Betweens needle with
about 18 inches (45 cm) of hand quilting thread. Form a quil-
ter’s knot at the end of the thread. Poke the needle through
the quilt top about 1 inch (2.5 cm) from where you want to
start quilting. Don’t go through the backing, but instead take
a shallow stitch, coming back up at the point where you want
to start.
2
181
HAND QUILTING
Pop the knot into the batting.
Pull up gently, until the knot rests on top of the quilt. Hold
the thread right near the surface, and give it a gentle tug to
pop the knot through the quilt top and into the batting.
3
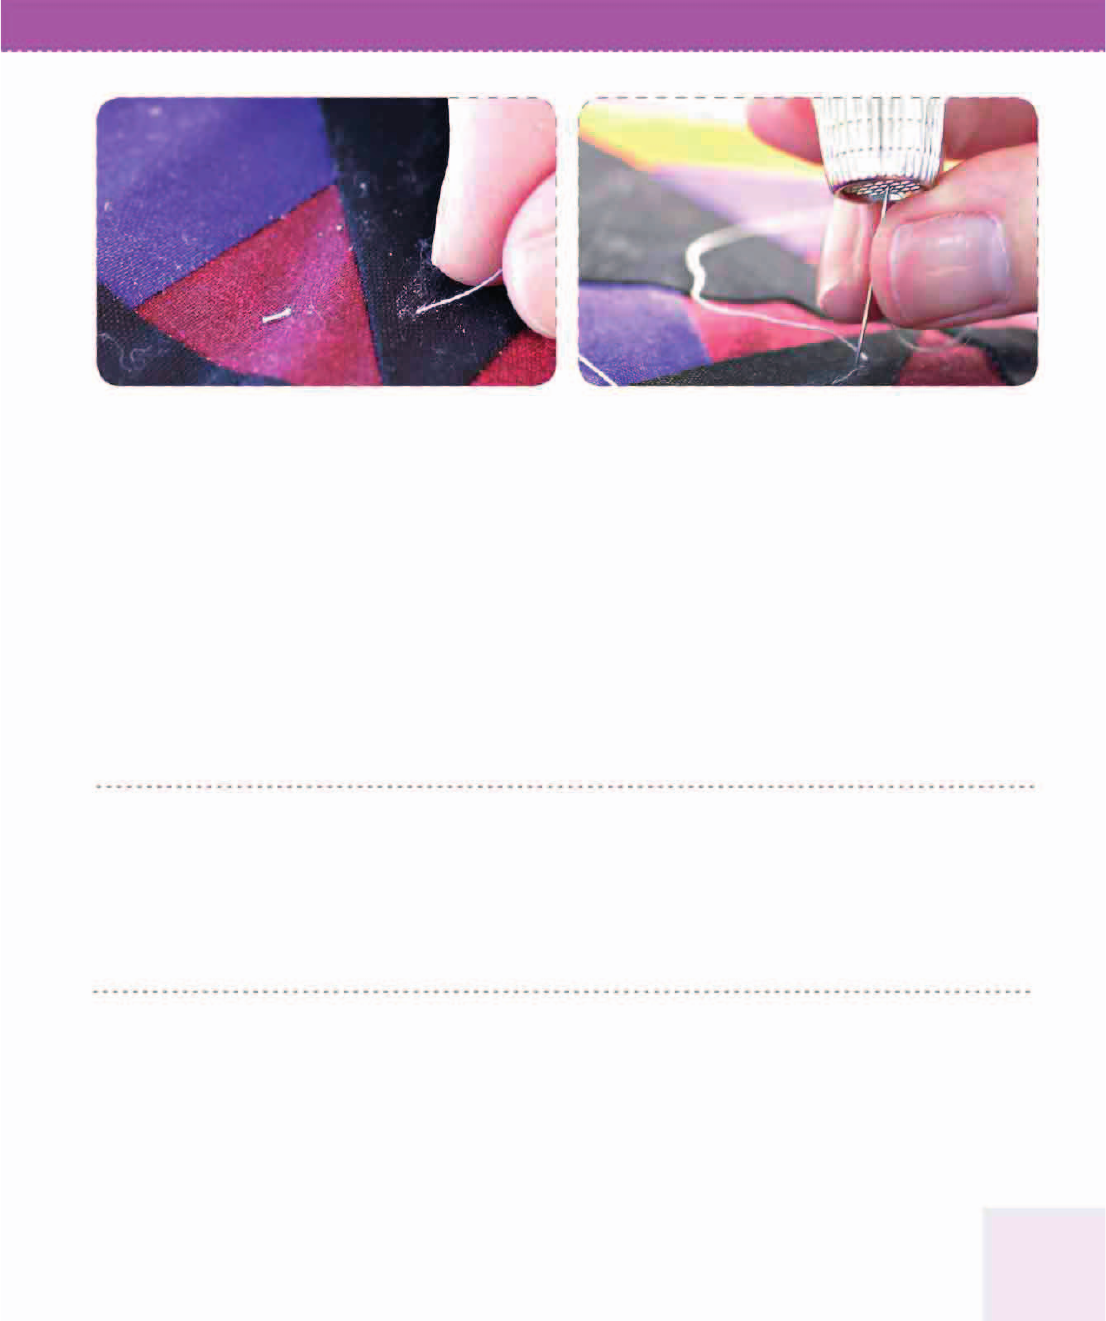
Poke the needle straight down until you feel it under-
neath.
Rest your middle (thimble) finger on the eye of the needle,
and grasp the needle with your ring finger and thumb. Push
the needle through the quilt (all layers) at a vertical angle to
the quilt top. Feel for the needle tip with your under finger
(forefinger or index finger of your nondominant hand). This
finger will guide the needle point back up through the quilt to
take your stitch.
4
Place a thimble on the middle finger of your dominant hand, and use this finger
to poke the needle through the quilt from the top. Leave your under finger bare
at first so you can feel the needle and gain control. Later, you might want to use
a self-adhesive thimble pad on that finger to protect it.

182
CHAPTER QUILTING A QUILT
Rock back with the needle and pinch to load the stitch.
Using your thimble finger, rock the needle gently back to a
horizontal position. Use your thumb to push the fabric down
in front of the needle, and your under finger to push up
toward the middle of the needle to form a hill. Push the tip of
the needle through this hill, taking a stitch that goes through
all three layers.
5
Pull the needle through.
Gently pull the needle all the way through, creating just
enough slack in the thread so you can take your next stitch.
You do not need to pull the thread through all the way with
each stitch, just every three stitches or so.
6
Repeat to take another stitch.
Poke the needle straight down a stitch away, and then rock
the needle back and pinch to take another stitch. Pull the
needle through.
7
Concentrate on making even stitches
on the front and back of your quilt.
When you feel comfortable, you can
repeat the rocking motion a few times,
loading two to three stitches on the
needle before pulling it through.

183
HAND QUILTING
At the end of a line of stitching, knot the thread.
Make a quilter’s knot and slip it down the thread, stopping
about
1
⁄
4
inch (.6 cm) away from the surface of the quilt top.
Push the needle down into the quilt a stitch length away, but
do not go through the backing. Bring the needle back up
through the quilt top some distance from the line of quilting
you’re making.
8
Pop the knot into the batting.
Pull gently on the thread to pop the knot into the batting.
9
Clip the thread.
Clip the thread close to the quilt top, being careful not to
accidentally cut the quilt. After you cut, the end of the thread
should fall back into the quilt, out of sight.
10
Reposition the hoop as needed.
You can quilt up to about 2 inches (5 cm) away
from the edge of the hoop before you have to
reposition it. Before doing that, you might want to
thread more needles and quilt from the center of
the hoop out in other directions. After reposition-
ing a hoop, take up an old needle and continue
that line of stitching. Remove basting stitches
when you’re done with the project.
11
..................Content has been hidden....................
You can't read the all page of ebook, please click here login for view all page.