
104
CHAPTER ADVANCED PIECING TECHNIQUES
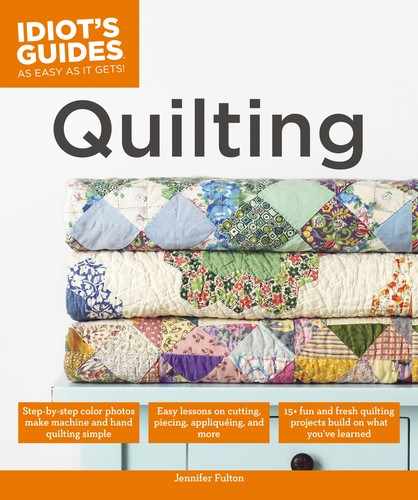
Foundation Paper Piecing
Foundation paper piecing allows you to piece blocks accurately by following a numbered pattern. The
pattern is printed on foundation paper, a thin but stable paper that you sew through and later remove
aer the block is pieced. Foundation paper piecing is tricky at first because you sew with the fabric on
the bottom and the paper pattern on top. Once you get the first two pieces sewn, however, it’s easy.
To figure out the size to
cut your fabric pieces,
measure the width and
length of that space on
the foundation pattern,
and add a generous
1
⁄
2
-inch (1.2 cm) seam
allowance on each side.
105
FOUNDATION PAPER PIECING
Pin fabric #1 to foundation paper.
Place fabric #1 face up on the back (unprinted side) of the
foundation. Pin in place from the front (printed side) of the
foundation. Hold the foundation up to the light and check
that the fabric covers the #1 space, leaving a generous
1
⁄
4
-
inch (.6 cm) seam allowance over the line between #1 and
#2. The fabric should also cover block edges by at least
1
⁄
4
inch (.6 cm).
2
1
Prepare foundation papers.
Copy the pattern onto foundation paper, enlarging it if
needed. You can copy the pattern by scanning it and print-
ing it onto foundation paper, or by tracing it. To enlarge a
pattern, copy it on a copy machine and enter the percentage
indicated on the pattern (such as 200%). Use paper specifi-
cally marked “foundation paper” for best results.
Make sure the
block’s outside
seam allowance
is also covered.
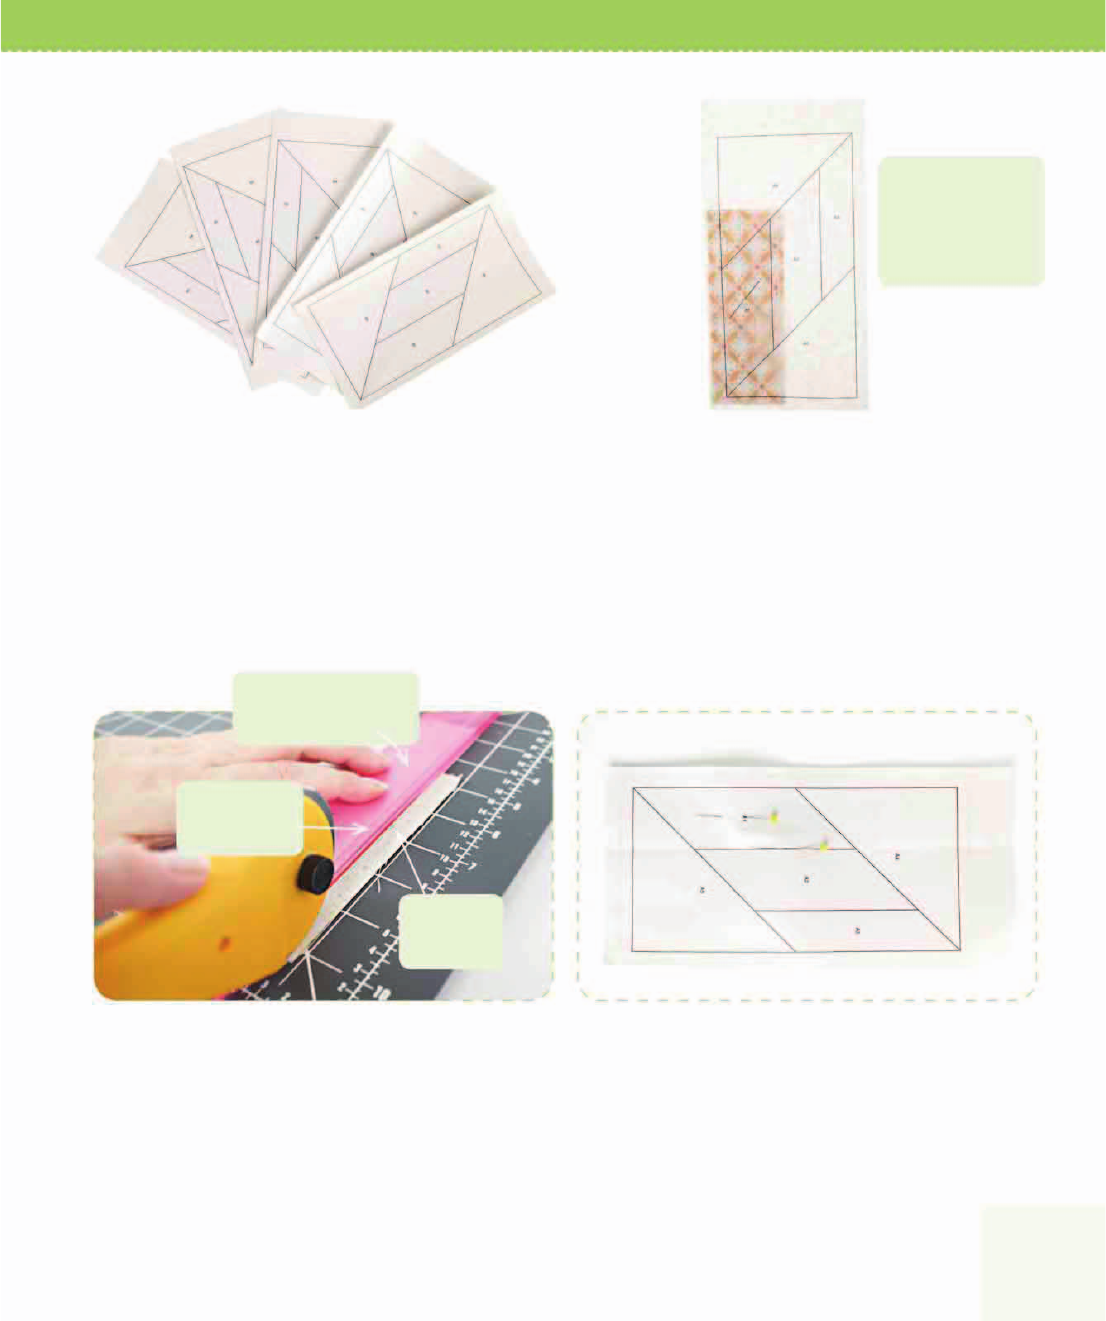
Trim fabric #1.
Flip to the front (printed) side of the foundation, and place
a small piece of cardstock on the line between spaces #1
and #2. Fold the foundation over the cardstock, and use an
Add-A-Quarter ruler to trim the excess fabric #1 to an exact
1
⁄
4
inch (.6 cm).
3
Add fabric #2 and pin.
Flip to the back (unprinted) side of the foundation. Place
fabric #2 on top of fabric #1, right sides together, aligning #2
on the newly cut edge of #1. Flip the foundation over to the
front (printed side) and pin on the line between #1 and #2.
4
Foundation folded
over cardstock
Excess
fabric
1
⁄
4
-inch seam
allowance
106
CHAPTER ADVANCED PIECING TECHNIQUES
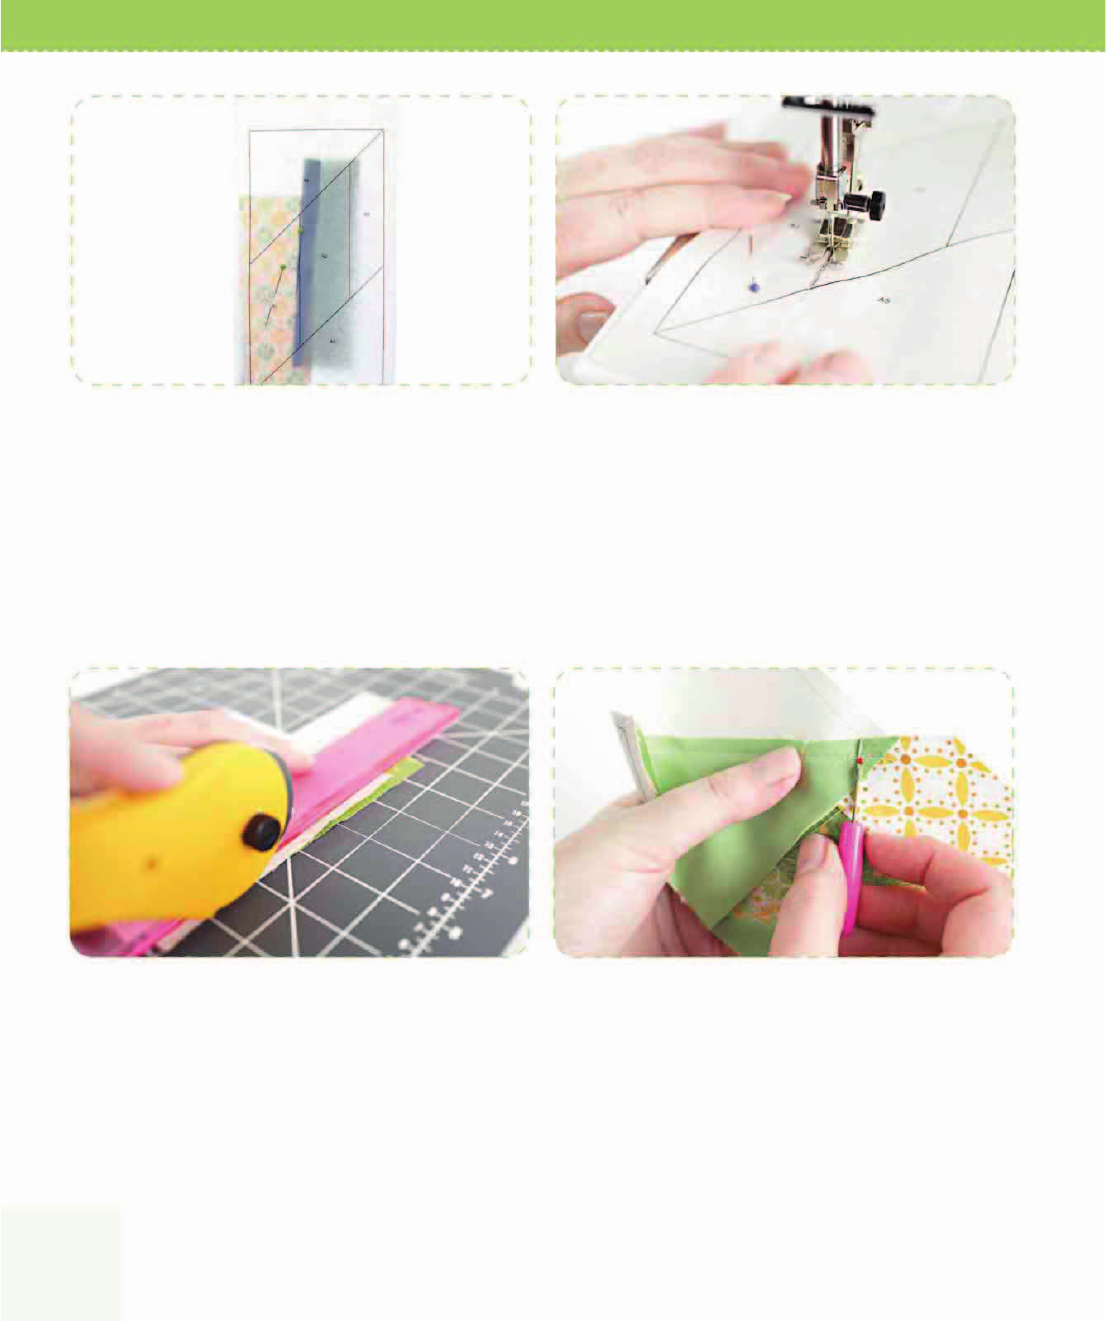
Trim the seam allowance.
On the right side of the foundation, place a small piece of
cardstock on the line between spaces #2 and #3. Fold the
foundation back over the cardstock, and use an Add-A-
Quarter ruler to trim the seam allowance to an exact
1
⁄
4
inch
(.6 cm). Repeat Steps 4–7 to add each fabric scrap in order.
7
Rip out the seam if you make a mistake.
If you make a mistake, tape the seam you want to undo
using removable tape. Tape the seam from the printed side,
and then flip the block over and rip out the seam. Resew
the seam, right through the tape, and then remove the tape.
Using the tape helps to stabilize the foundation paper so it
does not rip apart.
8
Double-check that fabric #2 is big enough to cover the
space.
Flip fabric #2 over the pin and hold the foundation up to the
light to check that it is large enough to cover the space for
#2 plus a
1
⁄
4
-inch (.6 cm) seam allowance on all sides. Adjust
fabric #2 as needed.
5
Sew the seam between fabrics #1 and #2.
Turn the foundation over to the printed side and sew on the
line between #1 and #2 using a short stitch length. Start and
end stitching just before or after the intersection line on the
pattern. To pierce the paper more easily, change to a Jeans
90/14 needle. Unpin fabrics, flip fabric #2 over the seam, and
press.
6

107
FOUNDATION PAPER PIECING
Trim the finished block.
When you’ve sewn all the pieces in order to the foundation,
trim the outer edge of the finished block, making sure to
include a
1
⁄
4
-inch (.6 cm) seam allowance.
9
Remove the foundation paper.
Wait until blocks are sewn together before removing the
foundation papers. Run your thumbnail over a seam and
pull gently to remove the paper. Use tweezers to remove
stubborn paper scraps.
10
..................Content has been hidden....................
You can't read the all page of ebook, please click here login for view all page.