
108
CHAPTER ADVANCED PIECING TECHNIQUES
English Paper Piecing
Like foundation paper piecing, English paper
piecing ensures that your finished shapes will
come out perfect, even if you’re a beginner. With
English paper piecing, you stitch fabric around a
paper shape, and then aer the shapes are sewn
together, you remove the paper. English paper
piecing takes some effort, but it also allows you to
sew complicated shapes such as diamonds and
hexagons with precision.
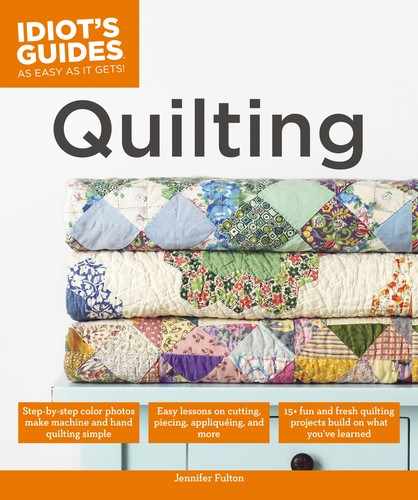
Baste the first corner down.
Thread a size 7 Betweens needle with hand sewing thread.
Use a contrasting color you can easily see to remove later.
Make a quilter’s knot. Fold one edge of the fabric over the
template, and then fold a neighboring edge down, forming
a corner. Take two stitches in place to hold the corner down.
Baste just through the fabric and not the template.
21
Pin the template to the fabric and cut around it.
You can make paper templates or purchase reusable ones.
Pin the template to the back side of the fabric. Cut out the
shape, leaving a rough
3
⁄
8
-inch (2 cm) seam allowance.
Fold to
form
corner
Template
Seam
allowance
109
ENGLISH PAPER PIECING
Baste the other corners.
Fold the next edge down, forming a corner. Take two more
stitches at the corner to hold it down. The fabric should be
taut against the template, but not so tight that the template
is pulled out of shape. Repeat this all the way around the
shape. Knot the end to hold it. Repeat Steps 1–3 for each
shape you’re using.
3
Sew the first two shapes together.
Thread an Appliqué needle with hand sewing thread that
matches your fabric. Place two shapes, one on top of the
other, right sides together. Make a quilter’s knot and come up
under the seam allowance to hide the knot. Whipstitch the
top edges of the two sides together, catching only the fabric
and not the template. Knot the end, then bring the needle
under the seam to bury the thread.
4
Sew the next shape to the other two.
Often, you’ll be sewing the next shape on in a y-seam. Knot
the thread, come up under the seam, whipstitch one edge of
the third piece to the edge of the first piece, and backstitch
to hold it in place. Match up the other edge of the third
piece with the second shape and whipstitch the two edges.
Backstitch to hold the second side.
5
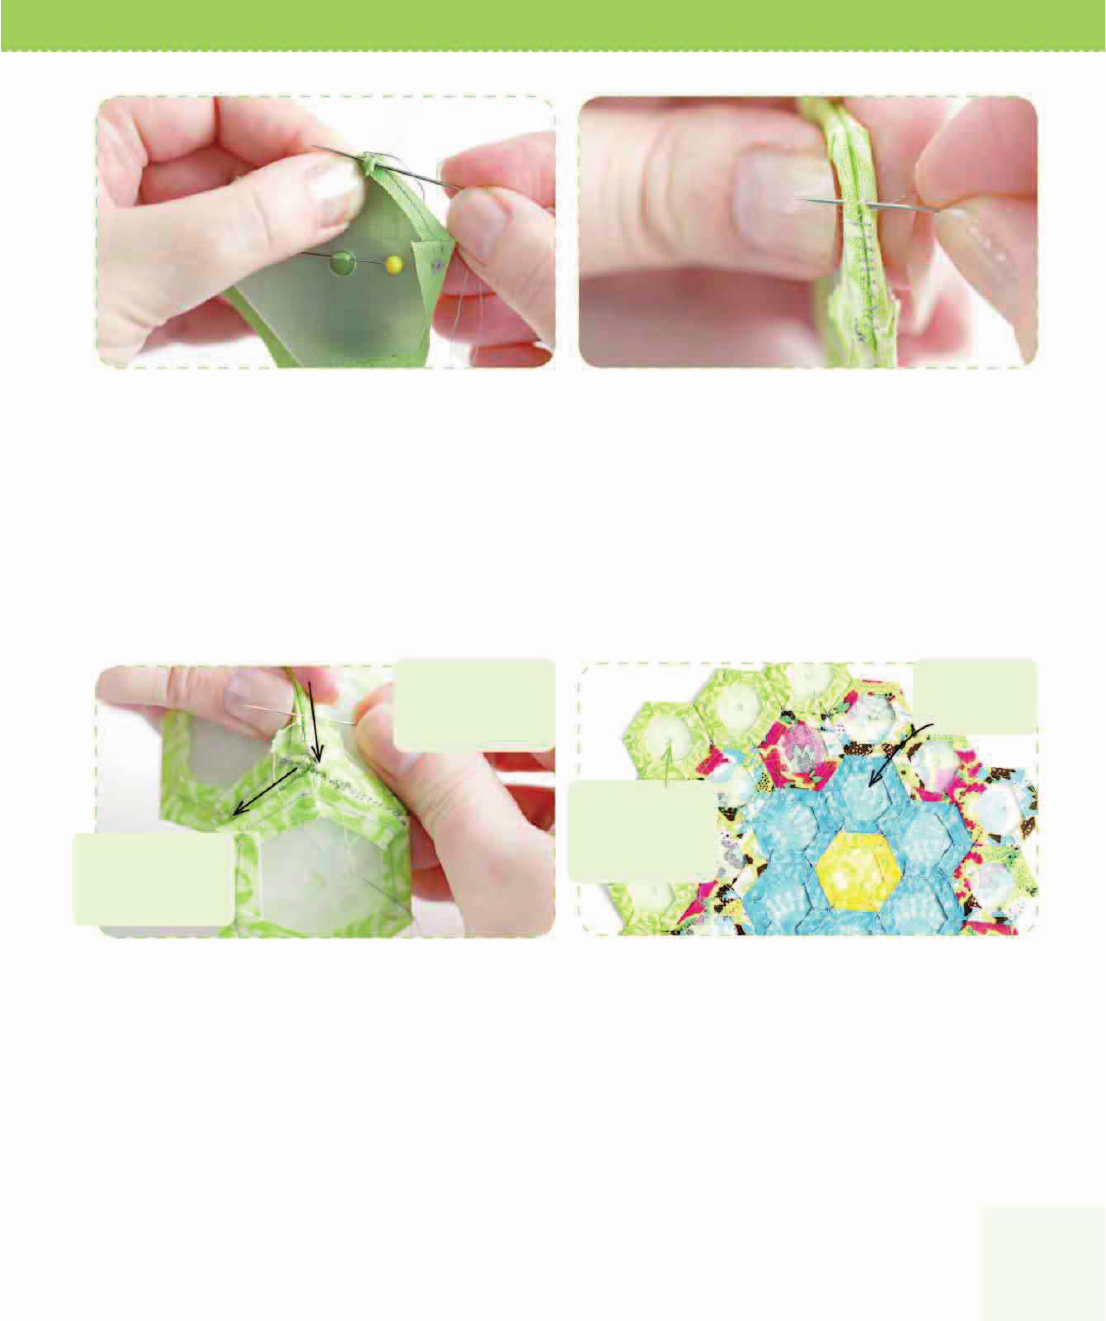
Remove the template.
After a shape is sewn to other shapes on all sides, you can
remove that shape’s template. Take out the basting stitches
and gently remove the template. Some templates come
with a hole in the center that helps you remove them with a
knitting needle or similar tool.
6
Remove this
template
Don’t remove
this template
yet
Whipstitch from
the corner to
the center
Then from the
center to the
outer edge
..................Content has been hidden....................
You can't read the all page of ebook, please click here login for view all page.