
72
CHAPTER PIECING QUILT BLOCKS
CUTTING DIRECTIONS
Light green #1: 1 square (A) 1
1
⁄
2
×1
1
⁄
2
inches (3.6×3.6 cm)
Light green #2: 1 rectangle (C) 1
1
⁄
2
×3
1
⁄
2
inches (3.6×8.4
cm), 1 square (A) 1
1
⁄
2
×1
1
⁄
2
inches (3.6×3.6 cm)
Light green #3: 1 rectangle (F) 2×6
1
⁄
2
inches (4.8×15.6 cm),
1 rectangle (D) 2×3
1
⁄
2
inches (4.8×8.4 cm)
Dark blue #1: 2 rectangles (B) 1
1
⁄
2
×2
1
⁄
2
inches (3.6×6 cm)
Dark blue #2: 2 rectangles (E) 2×5 inches (4.8×12 cm)
Backing: 1 square 6
1
⁄
2
×6
1
⁄
2
inches (15.6×15.6 cm)
MATERIALS LIST
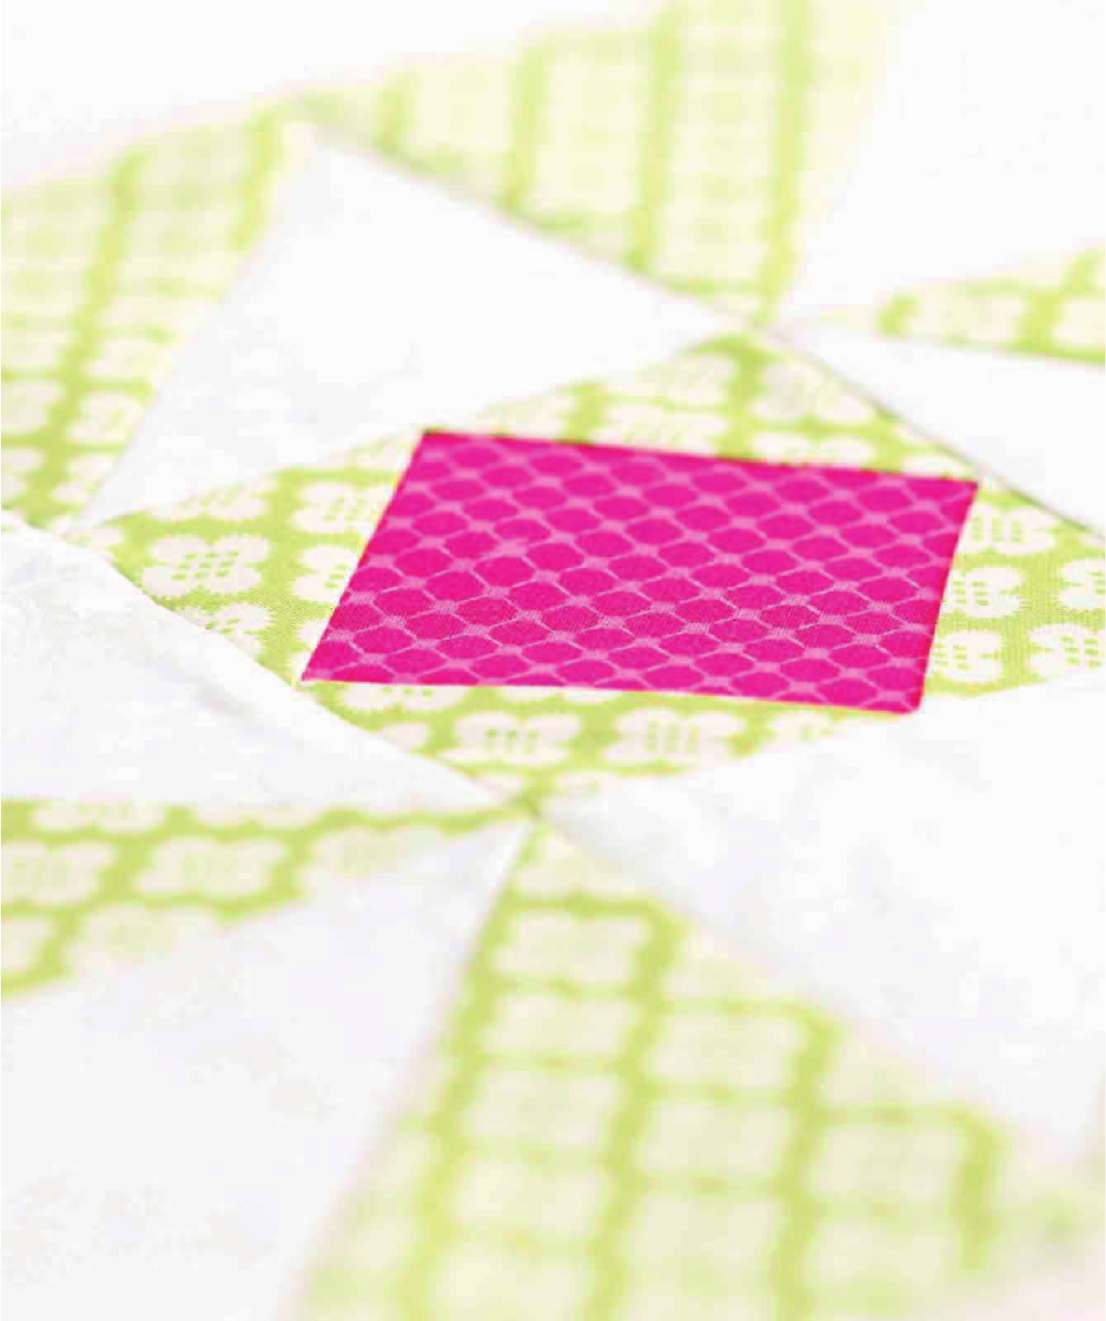
Mug Rug
A mug rug is a small quilt you can use as a coaster.
This mug rug uses a traditional quilt block called
Log Cabin. One side of a Log Cabin block
features light fabrics, and the other side dark.
PRACTICEPROJECT
FINISHED SIZE
6×6 inches (15.2×15.2 cm)
Light green #1:
1
⁄
8
yard (11.4 cm) or Fat Eighth
Light green #2:
1
⁄
8
yard (11.4 cm) or Fat Eighth
Light green #3:
1
⁄
8
yard (11.4 cm) or Fat Eighth
Dark blue #1:
1
⁄
8
yard (11.4 cm) or Fat Eighth
Dark blue #2:
1
⁄
8
yard (11.4 cm) or Fat Eighth
Backing:
1
⁄
8
yard (11.4 cm) or Fat Eighth
Batting: 6
1
⁄
2
inches (16.5 cm) square
73
PRACTICE PROJECT MUG RUG
Assembling the Block
A
A
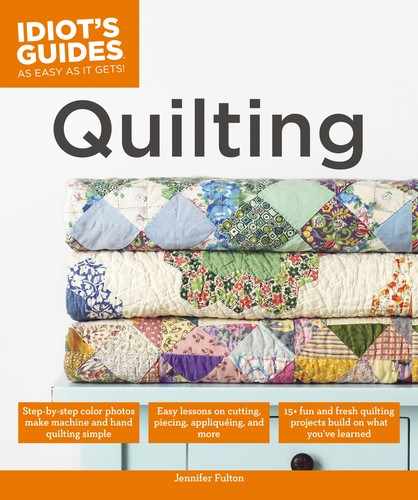
1. With the center square on the left, join light green
#1 and light green #2 A squares (Diagram A). Press
seam allowance away from the center A square.
A
A
B
2. With the center square on the left, sew one
rectangle B to the bottom of the log cabin block
(Diagram B). Pin so the A seam does not flip over.
Press to the B rectangle.
F
E
E
D
C
B
B
AA
Quilting and Finishing
A pillowcase finish does not use binding and is the
simplest way to finish a quilt, like this mug rug.
1. Trim batting just a bit smaller than the quilt back.
Place the block face up, and then layer the backing
(right side down) and batting on top and safety pin
all layers. (The batting is on top.)
2. Sew a
1
⁄
4
-inch (.6 cm) seam all the way around,
leaving a 2
1
⁄
2
-inch (4.8 cm) opening in the middle
of one side. Backstitch at the beginning and end of
the seam.
3. Clip the corners diagonally (this will help you when
you turn the mug rug right side out).
4. Turn the mug rug right side out. Push the corners
out with a knitting needle or similar tool.
5. Tuck in the seam allowances at the opening, and
press. Topstitch all the way around the edge of the
mug rug, sewing closed the opening. To topstitch,
simply stitch near the edge.
6. Quilt as desired. The sample mug rug was quilted
with straight lines running down the center of each
log, spiraling out from the center.
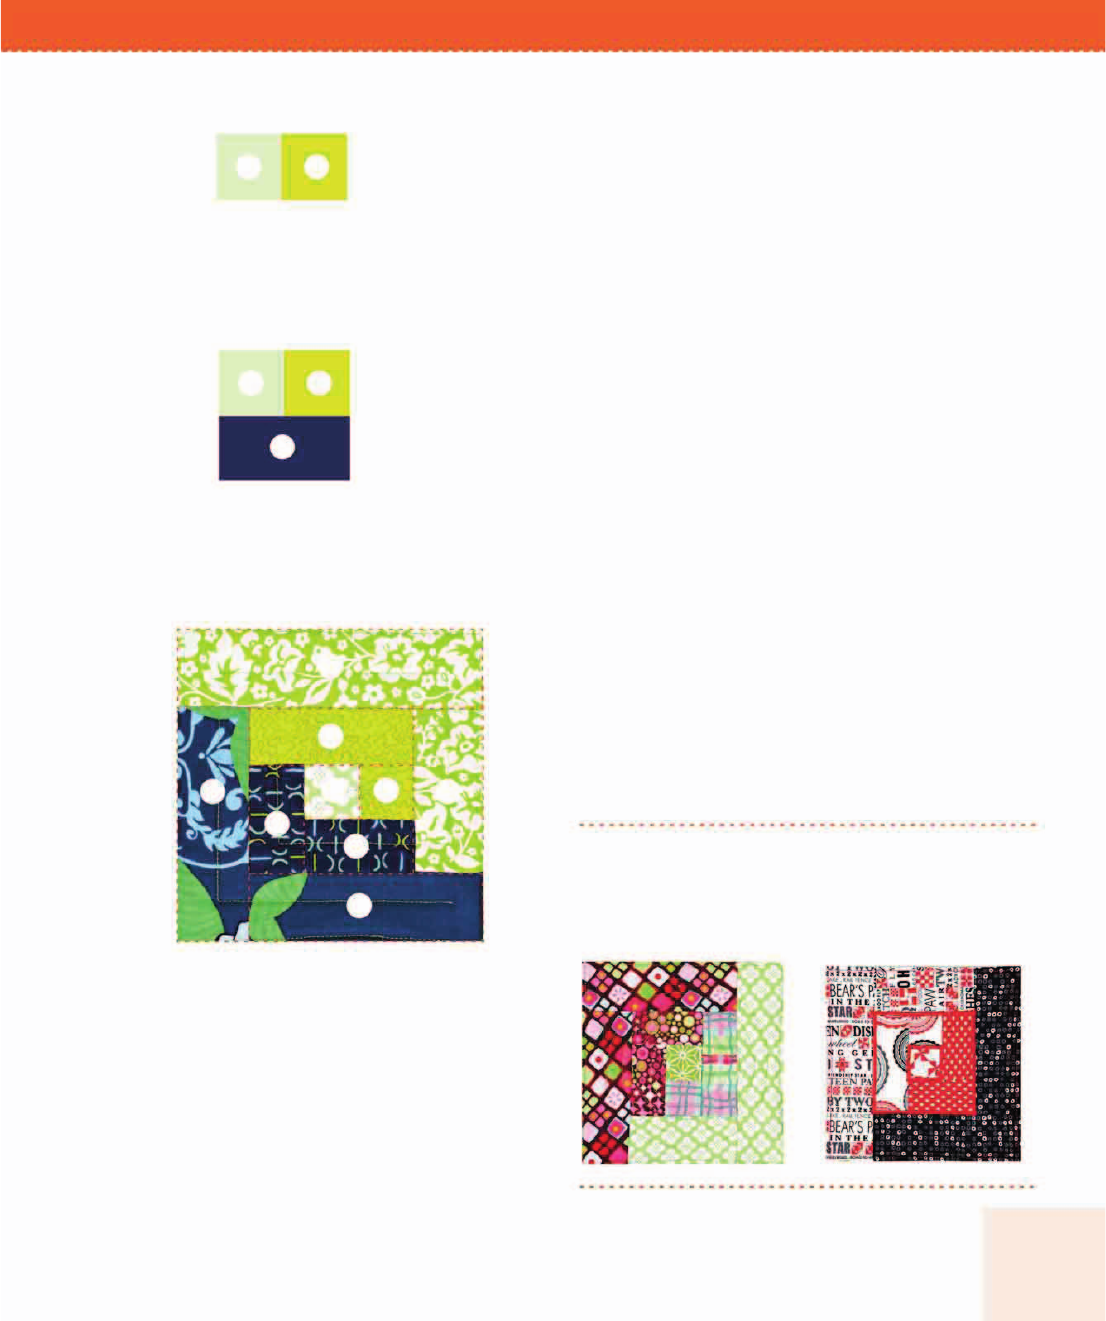
3. In a Log Cabin block, you sew “logs” to the center
square in a clockwise direction. After you sew one
B to the block and press, sew the other B, then C,
D, both Es, and F (see Quilt Assembly Diagram).
Press toward each new log after sewing it to the
Log Cabin block. The block should measure 6
1
⁄
2
inches (16.5 cm) square.
Experiment with fabrics and quilting
patterns on your mug rug.
Diagram A
Diagram B
Quilt Assembly Diagram
..................Content has been hidden....................
You can't read the all page of ebook, please click here login for view all page.