
When users click on the Account tab in Salesforce CRM they are presented with a screen that shows by default a Recent Accounts section within which is a list of their recently viewed accounts.
Below the Recent Accounts section are Reports and Tools sections, as shown in the following screenshot:
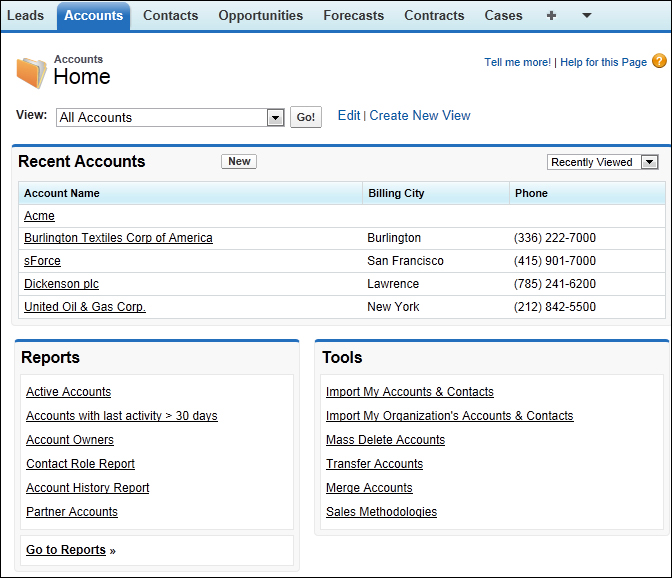
This screen can be very useful when users are aware of its capabilities, however less-experienced users are often confused when they click on the Account tab and are presented with a list of recently viewed accounts.
Users are sometimes concerned that they have "lost" their accounts as they expect to see them all when clicking on the Accounts tab and can be a little frustrated to have to click on the button marked Go! every time they want a list of all their accounts.
In this recipe you will see how you can override the standard Account tab's page and directly show a simple complete list of accounts owned by users (as part of an appropriate list view).
Not only does this recipe save users' time but it also de-clutters the screen by removing all the reports and tools links from the Salesforce Account tab's page.
Carry out the following steps to create a Visualforce page:
- Navigate to the Visualforce Pages setup screen by going to Your Name | Setup | Develop | Pages.
- Click on New.
- Enter
AccountTabOverridein the Label field. - Accept the default AccountTabOverride in the Name field.
- Paste the following code (as shown in the screenshot further down):
<apex:page sidebar="true" tabStyle="Account" >
    <apex:enhancedList type="Account" height="500" rowsPerPage="50" id="AccountList"/>
</apex:page>
- Click on Save.
- Now set the Security for the required profiles in your organization by navigating to Your Name | Setup | Develop | Pages.
- Locate the row for the Visualforce Page AccountTabOverride and click the Security link, as shown in the following screenshot:

- Set the security for the required profiles.
- Now, override the standard Account tab by going to Your Name | Setup | Customize | Accounts | Buttons and Links.
- On the Accounts Buttons and Links page locate the Accounts Tab row and click on Edit.
- Click on the Override With option and select Visualforce Page.
- Select the AccountTabOverride Visualforce page as shown in the following screenshot:
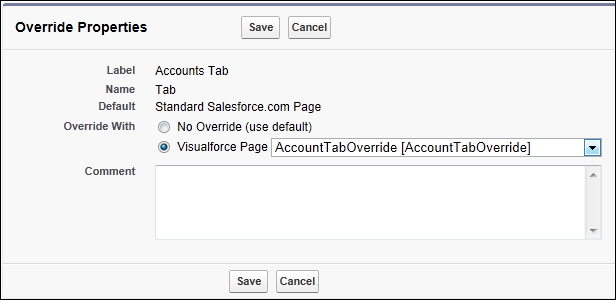
- Click on Save.
