
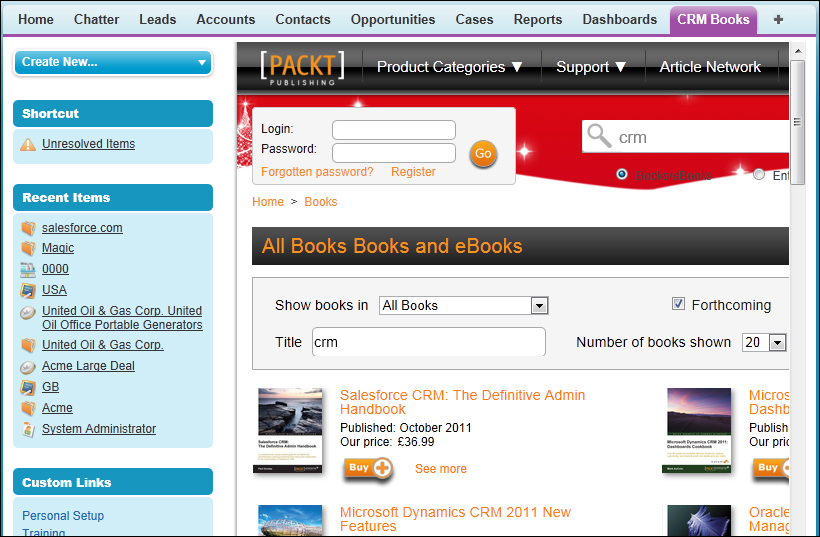
Having a custom Web Tab enables the display of web content or applications embedded within the Salesforce CRM application window.
You can create custom Web Tabs to allow Salesforce users to view the company intranet or a wiki that is used frequently so that they can find the information they need without leaving the Salesforce CRM application.
In this recipe we will display an example Web Tab where we pass information specified from within Salesforce, the purpose of which is to demonstrate the mechanism involved in setting up custom Web Tabs for your specific external web applications.
Carry out the following steps to create a Web Tab to display an external web application:
- Navigate to the custom web tab setup page by going to Your Name | Setup | Create | Tabs.
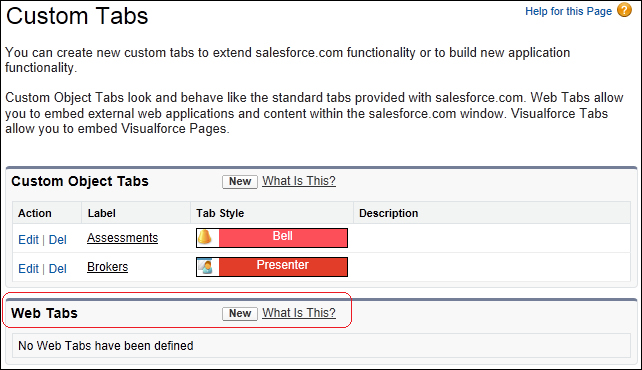
- Scroll down to the Web Tabs section as shown in the preceding screenshot.
- Click on New.
- Select the 2 columns with salesforce.com sidebar option (as shown in the following screenshot).
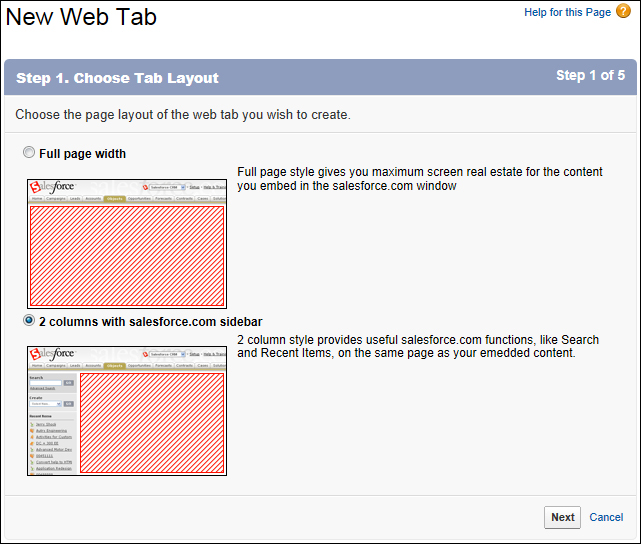
- Click on Next.
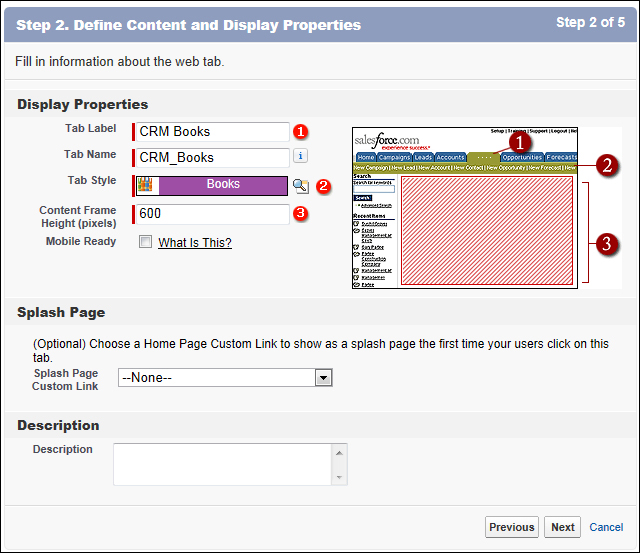
- Enter CRM Books in the Tab Label textbox.
- Accept the default CRM_Books, auto populated text in the Tab Name text box.
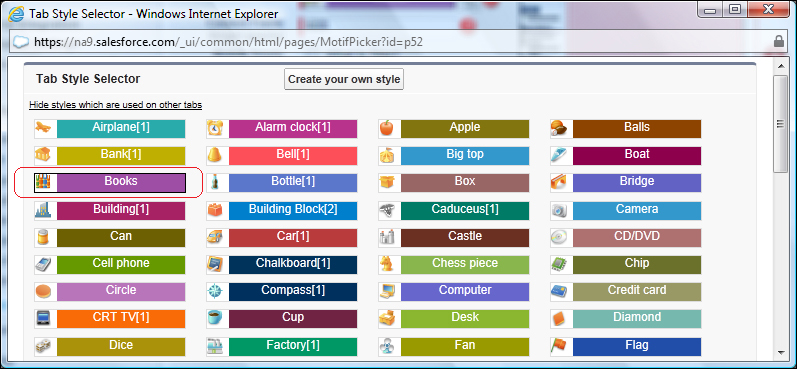
- In the Tab Style field, click on the lookup icon and select an icon for the new Web Tab. Here we are selecting the Books style (as shown in the following screenshot).
- Leave the Content Frame Height (pixels) setting at 600.
- Optionally select a splash page and add a description. Here we are leaving these sections blank (as shown in the following screenshot).
- Click on Next.
- Paste the following web URL into the Button or Link URL textbox (as shown in the following screenshot).
http://www.packtpub.com/books?keys=crm

- Click on Next.
- Select the profiles to which you want to grant visibility to this web tab. Here, we are setting tab visibility for all profiles (as shown in the following screenshot).
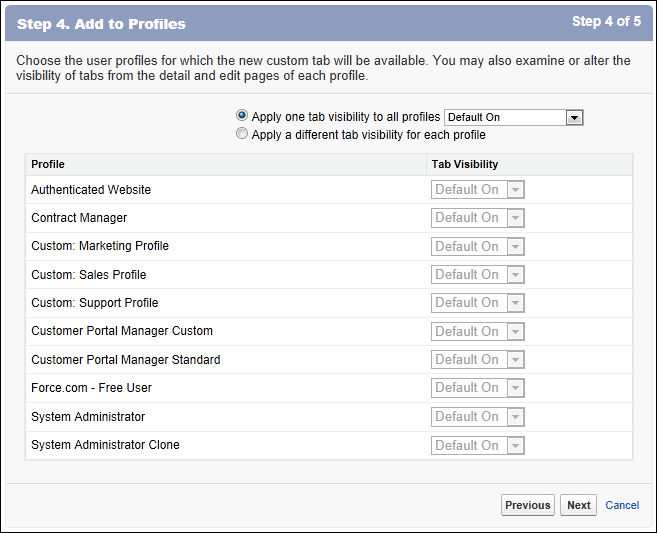
- Click on Next.
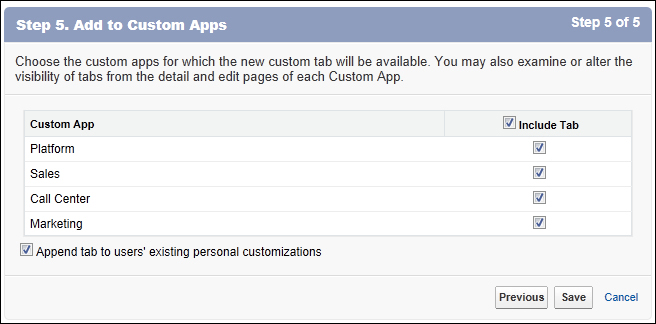
- Finally, click on Save.
..................Content has been hidden....................
You can't read the all page of ebook, please click here login for view all page.