Now that we have created an Outlook Configuration, we can download and install the Salesforce for Outlook software to our local machine.
Before proceeding with the setup and installation, you should decide which Outlook contacts folder you want to use for the link between Salesforce and Outlook.
For this recipe, we are creating a contacts folder in Outlook specifically for the sync with Salesforce. We are naming the folder Salesforce and it is created in Outlook using the following steps:
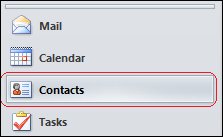
- Click on the Contacts icon in the left-hand side pane as shown in the following screenshot:
- Click on one of the existing contact folders and then right-click on that folder to display the following options:
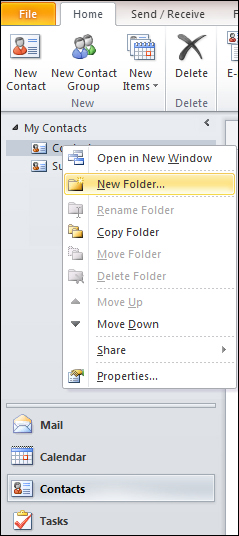
- Click on New Folder.
- In the Name: text entry field, type
Salesforce. - Ensure that the Folder contains: selection is set to Contact Items as shown in the following screenshot:
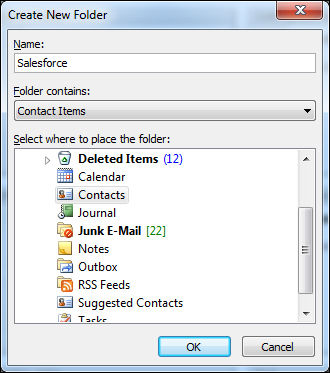
- Click on OK.
Some further factors to consider for the setup and configuration of the Salesforce for Outlook software are as follows:
- The syncing method between Salesforce and Outlook
Salesforce for Outlook uses the Outlook folder to limit which records sync with Salesforce. If you sync only from Outlook to Salesforce, whenever users move a record out of the synced Outlook folder, that record is then deleted from Salesforce.
If you set up the sync to be both ways or set the sync from Salesforce to Outlook whenever users delete a record in Salesforce, then that record is then deleted in Outlook.
If records are undeleted in Salesforce or they become available because of a change in sharing permissions, these records will appear in Outlook within 24 hours or when users manually sync using the icon shown in the system tray (described in detail further on).
- Setting of a common time zone for users in Salesforce and Outlook
Ensure that for every user that is going to sync using Salesforce for Outlook, Windows has a matching time zone set on their local computer to the time zone that is set for their user account in Salesforce.
- Automatic insertion of e-mails into Salesforce when your users e-mail their contacts in Outlook
You can set up the integration so that users' e-mails sent from Outlook are automatically inserted into Salesforce. The option presents an Add to Salesforce button from within Outlook and when activated the Salesforce for Outlook facility will attempt to associate e-mails to Salesforce contacts, leads, and/or opportunity records by checking the e-mail address that has been set using both the To and Cc fields within the e-mail. This is implemented using the Salesforce Email to Salesforce feature.
Carry out the following steps to install the Salesforce for Outlook software on a local machine:
- Close Outlook.
- Navigate to the Salesforce for Outlook download page by going to Your Name | Setup | Desktop Integration | Salesforce for Outlook.
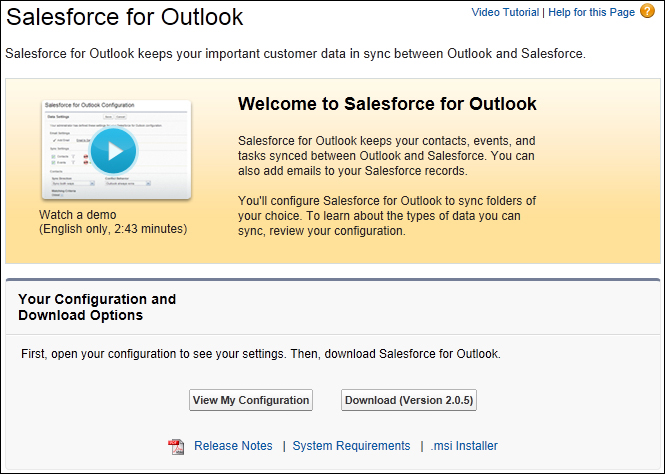
- Click on Download.
- Depending on your browser type, choose the option to save the file and select a folder to save the the installation
.exefile as shown in the following screenshot: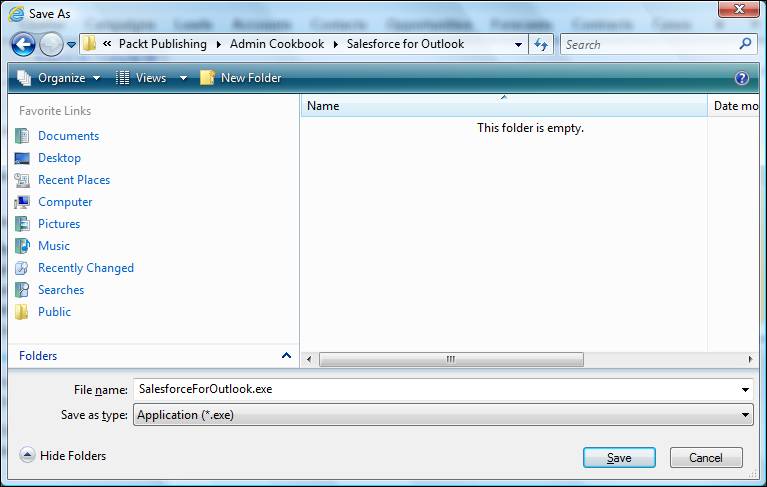
- Click on Save.
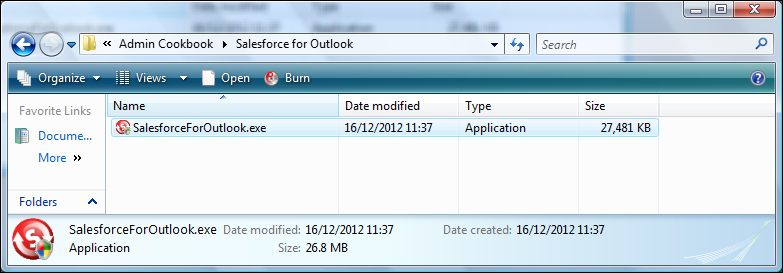
- Navigate to the folder and click on the SalesforceForOutlook.exe file as shown:
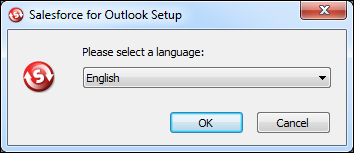
- Select a language and click on OK as shown in the following screenshot:
- Click on Next when prompted as shown in the following screenshot:

- Select the option to accept the terms in the license agreement and click on Next as shown in the following screenshot:

- Provide the location for installation on the Select Your Installation Location page as shown in the following screenshot:
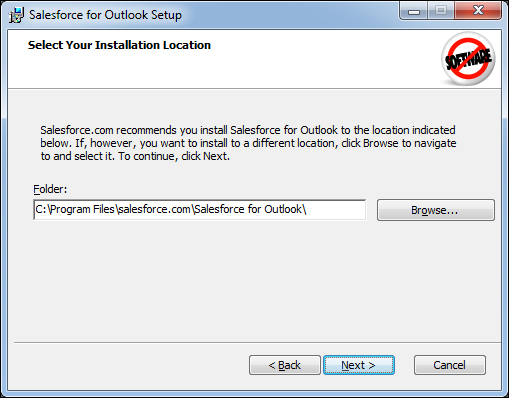
- Click on Next.
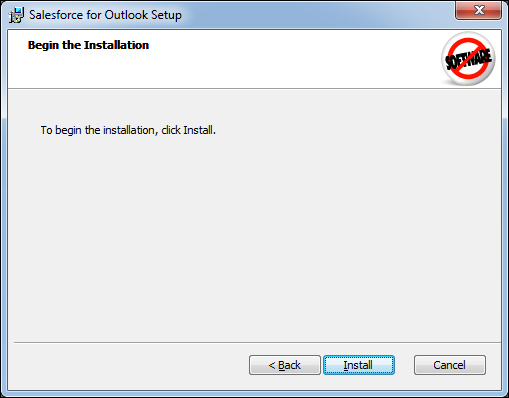
- Click on Install to complete the installation as shown in the following screenshot:
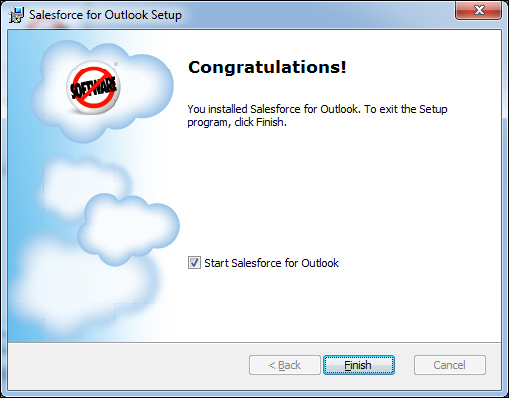
- Finally, leave the Start Salesforce for Outlook checkbox checked and click on Finish as shown in the following screenshot:
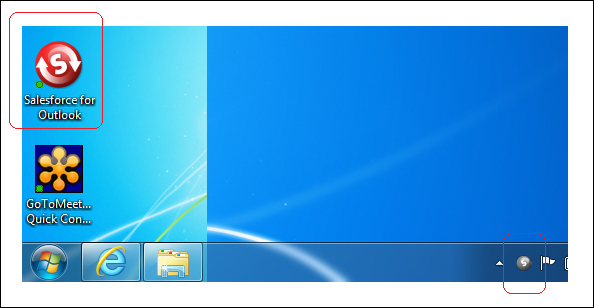
- After the setup wizard completes, a Salesforce for Outlook shortcut appears on the desktop with a red icon (shown on the left of the screenshot) and a small gray icon appears in the system tray (at the bottom-right of the screen as in the following screenshot):