
Salesforce.com provides many useful field types from formulae and roll-up summaries to the simple URL field. One field that can be a little frustrating for users, due to the way it only allows a limited selection of year values to be chosen from the pick list, is the date field.
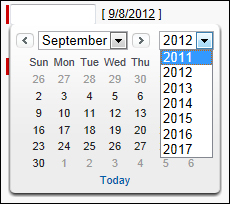
When clicking on a date field, the user is automatically presented with a pop up calendar and when selecting the year pick list, they can only select from a range of seven years. The seven-year range is based on the current year.
The minimum year selectable is the year prior to the current year and the maximum value of year that can be selected is the current year plus five years.
For example, when accessing the calendar in 2012, the year range is from 2011 to 2017 as shown:
There are many business requirements to choose historical dates and so this feature poses user experience issues.
Here we are going to improve the user experience and enable historic years to be selected with this recipe.
Carry out the following steps to show historic year selections on calendar pop ups for all date fields in Salesforce:
- Navigate to the home page components setup page by going to Your Name | Setup | Customize | Home | Home Page Components.
- Click on New.
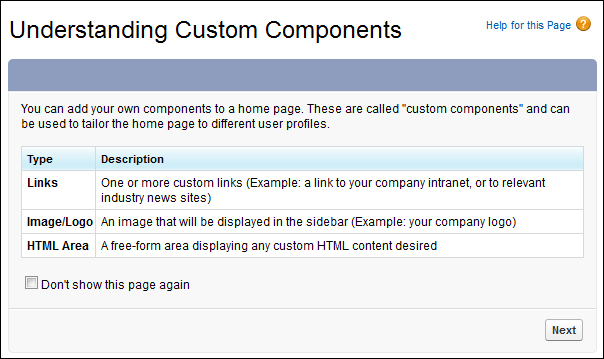
- Click on Next (on the Understanding Custom Components splash screen if shown).
The Next button is found on the Understanding Custom Components splash screen (this page is only shown if the checkbox Don't show this page again has not been previously checked) as in the following screenshot:
- Enter the Custom Component name in the Name field. For this recipe, type the text
Calendar Year Historic. - Select the HTML Area option from the Type options list.
- Click on Next.
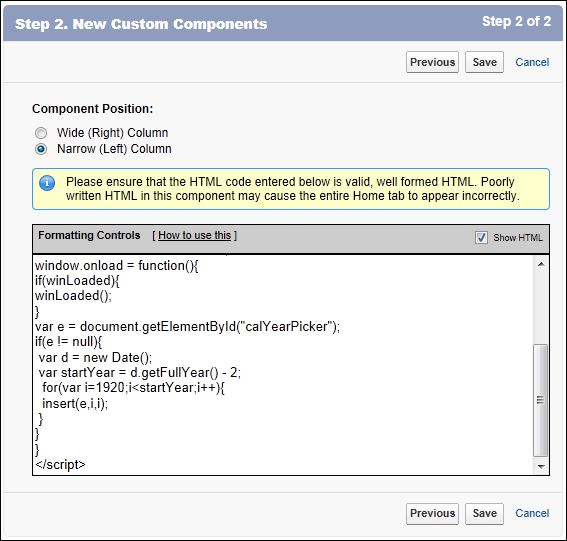
- Ensure the Narrow (Left) Column option is selected within the Component Position option list.
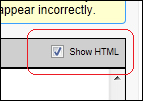
- Check the Show HTML checkbox.
- Paste the following code:
<br>

<script type="text/javascript">

function insert(pobjSelect, psText, psValue){

 var lobjOption = document.createElement("Option");

lobjOption.text = psText;
 lobjOption.value = psValue;
 pobjSelect.options.add(lobjOption);

}

var winLoaded = window.onload;

window.onload = function(){

if(winLoaded){

  winLoaded();

 }

 var e = document.getElementById("calYearPicker");

 if(e != null){

  for(i = wavelength - 1; i>=0; i--){

   e.remove(i);
  }

  var d = new Date();

 var startYear = d.getFullYear() + 6;

  for(var i = 1920; i<startYear; i++){
   insert(e, i, i);
  }
 }

}

</script>
This is shown in the following screenshot:
- Click on Save.
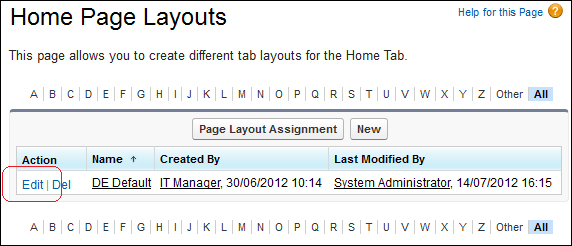
- Navigate to the home page components setup page by going to Your Name | Setup | Customize | Home | Home Page Layouts.
- Determine which home page layout to place the component on and click on Edit. Here, as shown in the following screenshot, we are editing the home page layout named DE Default:
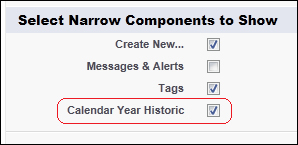
- Check the Calendar Year Historic checkbox in the Select Narrow Components to Show section as shown:
- Click on Next.
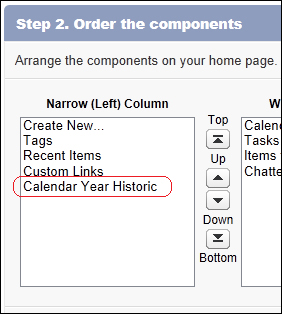
- Position the Calendar Year Historic at the lowest position in the Narrow (Left) Column text area using the Arrange the component on your home page section as shown:
- Click on Save.
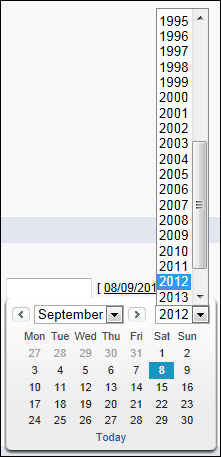
By using JavaScript, we are able to override the standard year pick list options. You can see what this looks like in the following screenshot:
If you wish to shorten or extend the year range, you can modify the highlighted section of the code and replace it with a suitable value of your choice:
…

 var startYear = d.getFullYear() + 6;
  for(var i = 1920; i<startYear; i++){
   insert(e, i, i);
…
When entering HTML and JavaScript code into the HTML editor section (in step 2 of the New Custom Component wizard), you must ensure that the code is valid.
There is a maximum of 20 custom components that can be added to a home page layout.
This solution will show the historic year range for all pages where you are able to display a sidebar, hence it will not work for pages where there is no sidebar such as the Reports tab.