
As I noted earlier in the chapter, there is no one right size or shape for a mosaic. Instead, the technique can be applied to complete pictures (like the one of Izzy shown in Figure 8-17) or can be a much smaller arrangement of pieces that you use to embellish a model (like the dollar sign example just discussed).
If you add a mosaic section to a larger model, the work will display itself. If you decide to try your hand at an image, be sure to show it off once you’re done, like in Figure 8-25. Let people know what interests you, and show them how you’ve captured that in LEGO pieces.
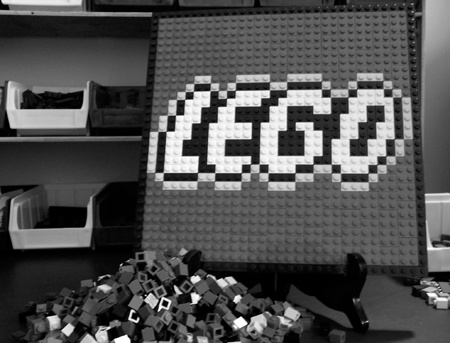
Figure 8-25. Of course, if you haven’t noticed already, it’s worth pointing out that the LEGO name itself makes for a great mosaic subject.
There is no one rule to guide you in determining how large a mosaic should be or which of the two basic techniques you should use. Let the requirements guide your decisions. If you need to spell out a company name on the side of a building, then build your mosaic letters to an appropriate size. If, on the other hand, you’re creating a portrait of a favorite relative, be sure to make it large enough to capture their entire personality.