
Humanizing your song with Playlist works similarly to Piano roll because you will be working with the snap and zoom settings. Since Playlist allows you to work with audio files, its greatest ability may be that it can adjust the settings of the files. You can, of course, adjust your patterns on the playlist in the same manner, but moving your audio samples or slices is most helpful. As usual, it will come down to your individual workflow. We will be sliding our audio or musical parts forwards or backwards ever so slightly.
To start humanizing your parts in Playlist, you simply need to press F5 or select the playlist icon.
Humanize your parts inside Playlist using the following steps:
- Zoom in and resize the playlist window in order to work with the audio file. We are working with the audio file titled Audio VOX as per the following screenshot:
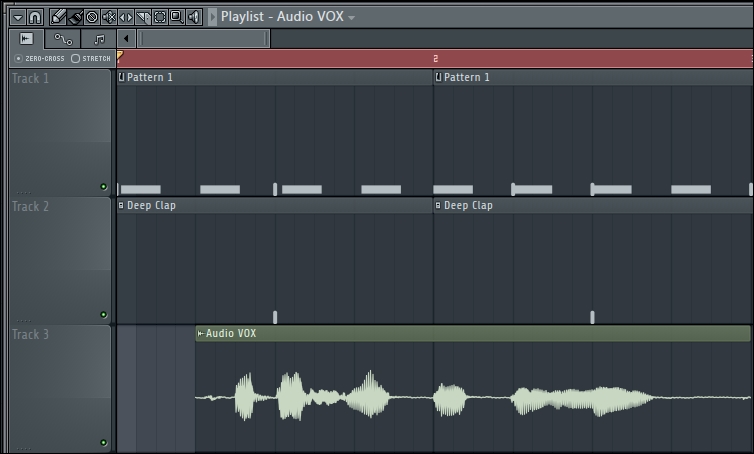
Fig 9.9
- Select (none)—the button that looks like a magnet—from the Snap to grid setting as per the following screenshot:

Fig 9.10
- Use the Draw or Paint tool and slide your audio to either the left or right, as shown in the following screenshot:
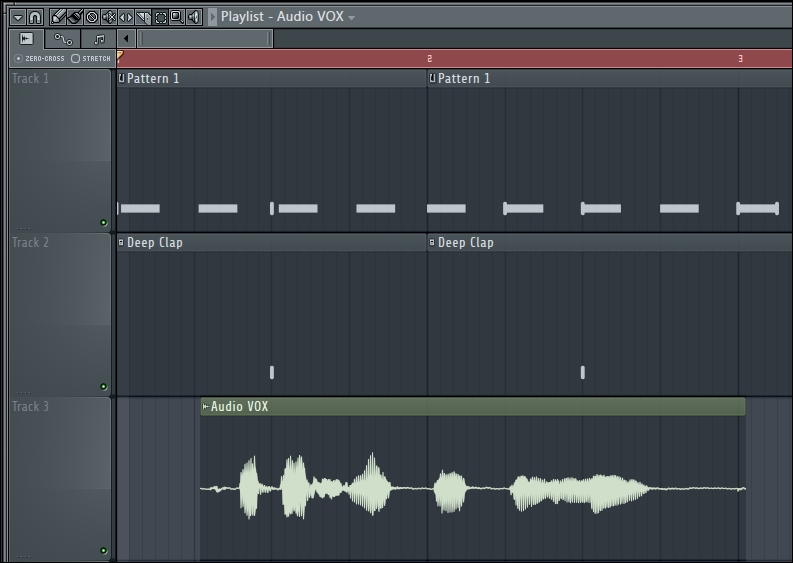
Fig 9.11
When we select (none) in the Snap to grid setting, it enables us to be free of the beats and bars grid on the playlist. Make sure you zoom in as close as possible because your minute sliding action will only correlate to very small durations of time. This was reviewed in Chapter 5, Using the Playlist, so please make sure you take a look at it.
You can test how certain parts sound when they are moved ever so slightly to the left or right, which is forwards or backwards in musical time. Sometimes, an effect or percussion sound you have in your song might need to be more in sync with your groove and less robotic. Alternatively, it may simply begin too quick or too late in time. Using this feature in Playlist allows you to fix these types of situations. It ignores the rigid nature of the cells/beats/bars that are actually needed and valued in the music-making process, but only to a point. Remember to put your snap setting back to Cell or whatever setting you need it to be after making changes using the (none) setting.
All four recipes in this chapter can be used on any type of sound in your project. This means that they can be used on all percussion, vocals, audio, and virtual instruments. To give your project a truly human feel, you can choose to record external audio into it. When you actually use your voice (sound effects or vocals), hands (for clapping), other physical percussion, a guitar, or a keyboard, the recorded part will clearly have human nuances because you are a human! Nobody is perfect, and no human recording can be perfectly timed. It is this fact that makes live music very enjoyable to musicians and their audience. You will also feel more connected to and proud of your music project if you record some of your own parts with a microphone or another instrument.
As with anything, a good balance of your DAW, a good recording level, and your human talent will provide the best results. For example, creating your initial rhythm with wave samples inside the step sequencer is extremely quick and intuitive. You might then want to physically play in an analog keyboard as audio.
- The Exploring Channel settings recipe in Chapter 3, Working with Step Sequencer and Channels
- The Working with Graph editor recipe in Chapter 3, Working with Step Sequencer and Channels
- The Using the Piano roll recipe in Chapter 4, Building Your Song
- The Viewing the Playlist recipe in Chapter 5, Using the Playlist
- The Recording external audio recipe in Chapter 6, Using the FL Studio Mixer and Recording Audio