
Since each mixer track in the FL Studio Mixer can have its own chain of effects, there are ways to save your work and develop your own templates over time. FL Studio also has some defaults to get you going and improve your understanding of certain mixer chains. Remember that each mixer slot can have its own chain from 1 to 8 in the vertical list.
To get started with using your mixer to the best of your abilities, you simply need to have audio enabled on any of the mixer tracks. This was reviewed in the Sending a channel to a mixer slot recipe in Chapter 3, Working with Step Sequencer and Channels. You can press F9 to bring up the FL Studio Mixer.
- Bring up the FL Studio Mixer and engage a mixer track.
- Choose your chain of effects. In Fig 6.23, we have engaged / faintly highlighted the Snare mixer track (INS 2) and selected Fruity Compressor on the first slot, Fruity Parametric EQ 2 on the second effect slot, and Fruity Flangus on the third effect slot. In this example, we have already tweaked each of the plugin parameters and we are satisfied with the result.
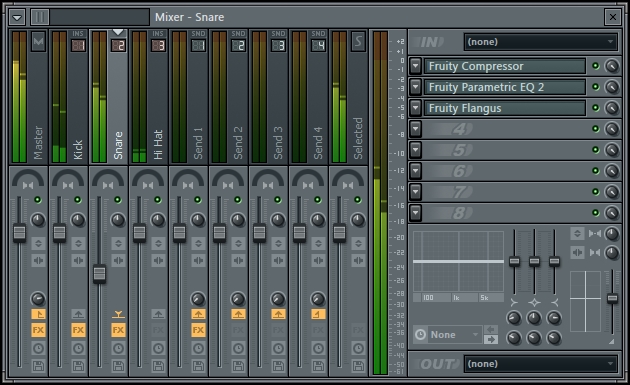
Fig 6.23
- Select the small triangular drop-down box in the left-hand corner of the FL Studio Mixer as shown in Fig 6.24.
- Hover your mouse over File and then click on Save mixer track state as….
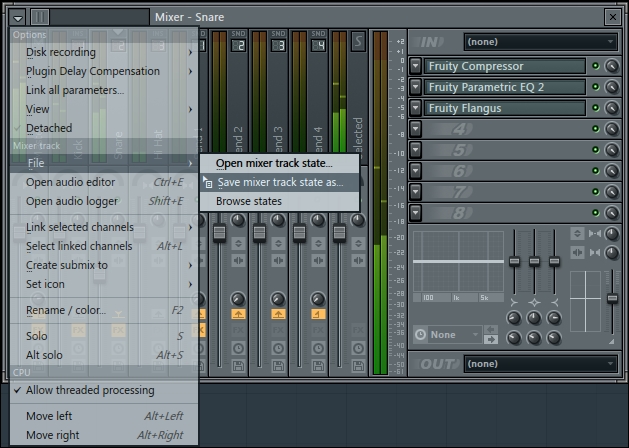
Fig 6.24
- You will be able to save your effect chain for this given mixer track as shown in Fig 6.25. This action will save your effect chain and all of the parameters within each plugin in the chain.
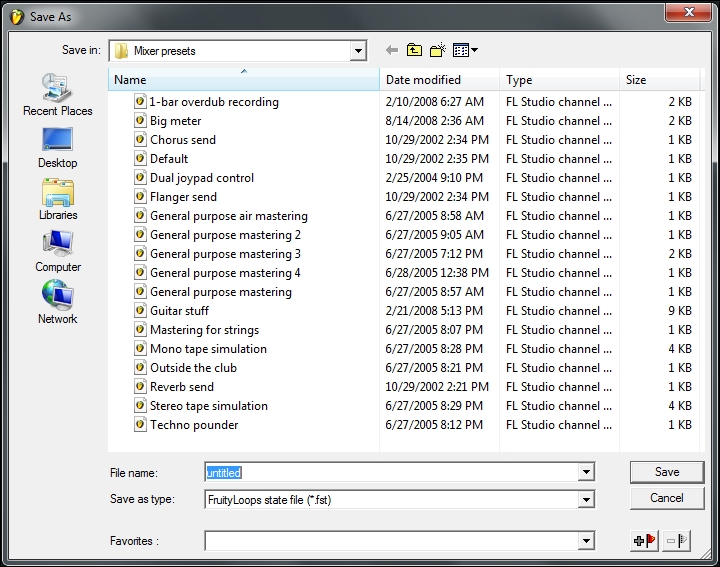
Fig 6.25
- If you are working with two screens or monitors, you can move the FL Studio Mixer to a new screen using the triangular drop-down box in the left-hand corner of the mixer.
- Click on the triangle and make sure that Detached is clicked. You can now slide your mixer to a new screen to create more screen real estate and organization for your project.
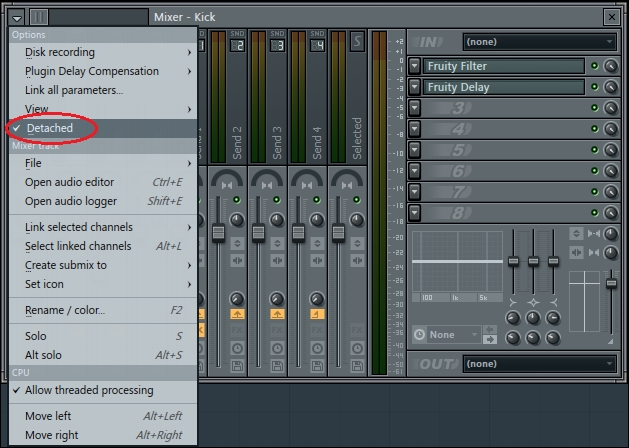
Fig 6.26
The reason for saving your mixer track state is so you don't have to carry out the same manual process time and again. Sure, each project will have its own sounds and concepts, but saving your mixer track state will basically create a template of the mixer track, which you can bring up for quick recall. From that point on, you can tweak it to your liking, but the fundamental settings are apt, or at least close to what you desire. You can rename these mixer track states to whatever you like. This can save hours of time in the long haul.
Additionally, FL Studio includes presets to help you get started. Use the triangular drop-down box, hover your mouse over File, and select Open mixer track state… to test some of FL Studio's mixer states. Anything you previously saved on your own will also be populated in this area.
When you are mixing your song and have a multitude of instruments and sounds on many mixer tracks, you can right-click on the Mute / solo button in order to solo any mixer track you desire. You want to hear your mix in the context of all of the sounds at once, but sometimes you may want to solo a mixer track in order to finely tweak the sound and ensure that it is crisp. The mixing process takes time, and you will get better with experience. The best way to learn how to mix by ear is through experimentation. Listen to other mixes that you consider successful and break down why they are deemed a good mix/master. Rename your mixer track by pressing Shift + clicking on a track or highlighting a track and then pressing F2; doing so helps to organize the mixer.
As always, you can use a MIDI controller with physical knobs and sliders to adjust the parameters on the mixer instead of using a mouse. You may also automate many of the controls on the mixer, which will be reviewed in Chapter 10, Recording Automation.
- The Sending a channel to a mixer slot recipe in Chapter 3, Working with the Step Sequencer and Channels
- The Working with MIDI controllers and MIDI pads recipe in Chapter 4, Building Your Song
- The Using automation for virtual instruments and effects recipe in Chapter 10, Recording Automation
- The Installing virtual instruments and effects recipe in Chapter 1, Configuring FL Studio