
Performing a vulnerability assessment with only nmap is insufficient since vulnerabilities keep increasing in number, day after day. There are many vulnerabilities reported within a month, and therefore it is recommended that you make use of more than one vulnerability scanning tool. In the previous chapter, we saw how we can export the output of the nmap scan to an XML file; here, we will learn how to integrate the nmap output with Metasploit for vulnerability assessment purposes.
We will have to first set up and update Metasploit in the Kali Linux machine.
One thing to note is that, for demonstration purposes, we have added more services to the Windows operating system to understand the activity better, since by default only a handful of ports are shown open. To prepare for the activity, we perform a scan on the Windows machine and save an XML output for the same.
- We will first save the nmap XML file for the Metasploitable 2 server using the following command:
nmap -sT -oX Windows.xml <IP Address>The file will be saved in the current working directory of your terminal.
- In order to start Metasploit, we will start the services involved in the Metasploit program. We will start the Postgres SQL service and the Metasploit service. To do this, use the following command:
      service postgresql start
      service metasploit start
The output will be as shown in the following screenshot:

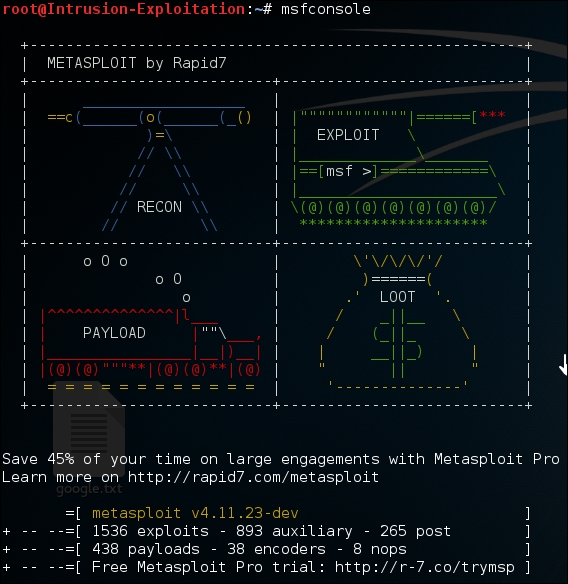
- Once the service is started, we'll start Metasploit by entering the following in the command line:
msfconsoleThe output will be as shown in the following screenshot:
- First, we will import the nmap scan into Metasploit. To do so, enter the following command:
      db_import /root/Windows.xml
      db_import <path to the file>
The command imports the file from the specified path. Make sure to keep a note to import from the path where the reader has stored the file.

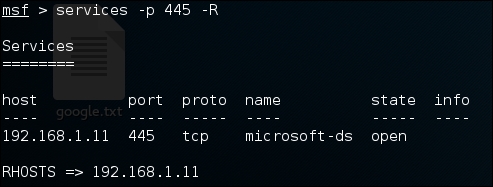
- Once the import is successful, we will search for the IP running the SMB service, using the following command in Metasploit:
Services -p 445 -RThe output for this will be as follows:
- Now that we have found that there is a port of interest, we will try to dig deeper. Let's try to display the SMB shares. Enter the following in the Metasploit console:
use auxiliary/scanner/smb/smb_enumsharesThe output will be as shown in the following screenshot:
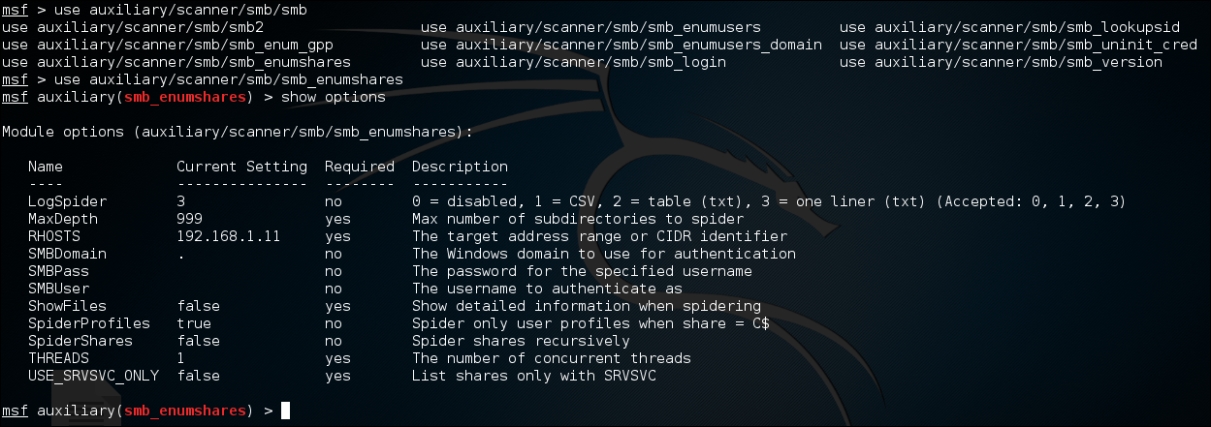
- In order to list the available shares, we will run the scanner auxiliary module. Simply type
runorexploitin the Metasploit console; both commands work for the job.The output will be as shown in the following screenshot:

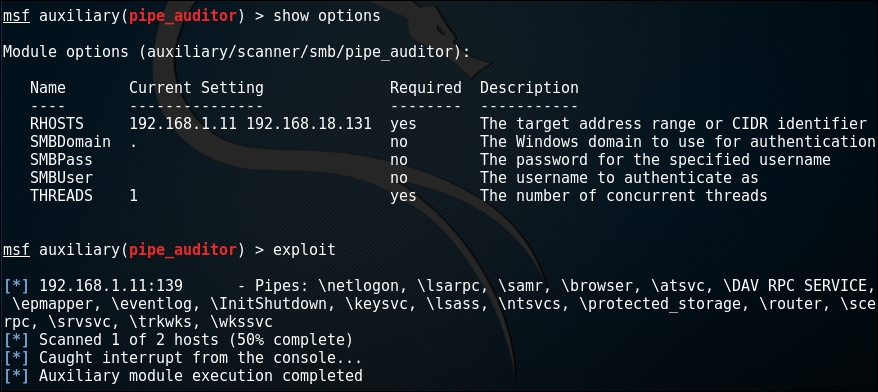
- As we can see, we were able to receive the details of one IP address. Let's look a little closer at the live host. We will try to enumerate the type of pipe auditors available for this host. Type the following in the Metasploit console:
use auxiliary/scanner/smb/pipe_auditorA named pipe serves as an endpoint for communication; it is a logical connection between the client and the server; an
smbname pipe is related to the connection with respect to Server Message blog. If we are lucky, we might be able to retrieve information like available public shares.Once you are done, you can check that all the parameters are entered properly. Since there are a few tabs that must be entered before the exploit can be checked for the attack, you can use the following command:
      show options
      run
It should look like this:
- After checking online for any vulnerability on the given port, it was found that SMB shares are vulnerable to
ms08_067_netapiattacks for all Windows versions earlier than Windows XP Service Pack 2. Let's try and find out if our live host is vulnerable to this attack. Enter the following to load thems08_067_netapimodule in the Metasploit window:use exploit/windows/smb/ms08_067_netapiTo check if the IP is vulnerable, use the
checkcommand and you will get the output stating if it can be a successful attack vector:
As you can see, the target is vulnerable.
As you can see, we first imported the nmap result into Metasploit. This is very convenient when we have a bulk list of IP outputs in nmap, as we can import all of them and, at our convenience, perform the vulnerability assessment phase. Let us have a look at the understanding of all preceding the commands we used:
service postgresql start: This starts the Postgres SQL service.service metasploit start: This starts the Metasploit client servicemsfconsole: This starts the Metasploit consoledb_import: This command allows Metasploit to import the nmap result from the XML file and adds it to the database containing the host list with all the information available via nmapservices -p ( port no) -R: This command shows the service running on the specified port and, if an IP exists which satisfies the criteria, then it would add it to the Metasploit host list via the-Rcommanduse <scanning module>: Theusecommand selects the type of module you want to select from Metasploitcheck: In certain scenarios Metasploit allows the user to run the check command which in turn fingerprints the service and tells us if it is vulnerable or not. However it will not work in cases of DDOS modules.