
In this recipe, we will be using the Burp scanner that is part of the Burp Suite Pro, which is a paid software. It costs around $350 per year. It is loaded with functionalities, some of which are not available or restricted in the free version.
Burp suite is not as expensive as other web application scanners out there, and it provides a lot of functionalities, which are quite helpful in web app penetration testing. Not covering these recipes would be inappropriate as it is a widely used tool by penetration testers for web application penetration testing. All that said, let's quickly dive into it.
To step through this recipe, you will need a running Kali Linux running in Oracle Virtualbox or VMware and an Burp Suite Pro license.
For this recipe, you need to perform the following steps:
- Open Firefox and navigate to Preferences | Advance | Network | Settings | Manual Proxy Configuration and set the host as
127.0.0.1and the host port as8080and check Use this for all protocols, as shown in the following screenshot:
- Open the terminal and pull the Docker container from the Docker hub, if you haven't pulled the Docker image already, using the following command:
docker pull ishangirdhar/dvwabricksYou should see the following output:
        docker pull ishangirdhar/dvwabricks
        Using default tag: latest
        latest: Pulling from ishangirdhar/dvwabricks
        8387d9ff0016: Pull complete
        3b52deaaf0ed: Pull complete
        4bd501fad6de: Pull complete
        a3ed95caeb02: Pull complete
        790f0e8363b9: Pull complete
        11f87572ad81: Pull complete
        341e06373981: Pull complete
        709079cecfb8: Pull complete
        55bf9bbb788a: Pull complete
        b41f3cfd3d47: Pull complete
        70789ae370c5: Pull complete
        43f2fd9a6779: Pull complete
        6a0b3a1558bd: Pull complete
        934438c9af31: Pull complete
        1cfba20318ab: Pull complete
        de7f3e54c21c: Pull complete
        596da16c3b16: Pull complete
        e94007c4319f: Pull complete
        3c013e645156: Pull complete
        235b6bb50743: Pull complete
        85b524a6ea7a: Pull complete
        Digest: sha256:        ffe0a1f90c2653ca8de89d074ff39ed634dc8010d4a96a0bba14200cdf574e3
        Status: Downloaded newer image for         ishangirdhar/dvwabricks:latest
- Run the downloaded Docker image using the following command:
docker run ishangirdhar/dvwabricksYou should see the following output:
        docker run ishangirdhar/dvwabricks
        => An empty or uninitialized MySQL volume is detected in         /var/lib/mysql
        => Installing MySQL ...
        => Done!
        => Waiting for confirmation of MySQL service startup
        => Creating MySQL admin user with random password
        => Done!        ====================================================================
        You can now connect to this MySQL Server using:
        mysql -uadmin -pzYKhWYtlY0xF -h<host> -P<port>
        ======= snip===========
        supervisord started with pid 1
        2016-07-30 20:12:35,792 INFO spawned: 'mysqld' with pid 437
        2016-07-30 20:12:35,794 INFO spawned: 'apache2' with pid 438
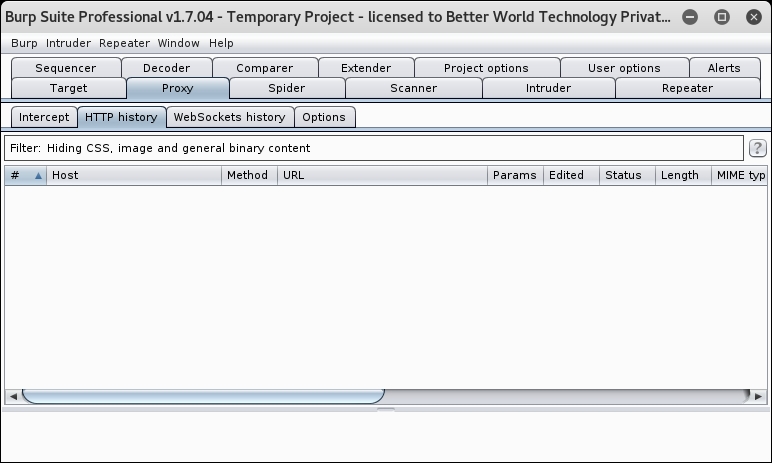
- Now, to start Burp go to the Proxy tab, click on turn intercept on to turn it off, and then go to the HTTP history tab, as shown here:

- Now, everything is set up and ready; we just need to find out the IP address of the container running vulnerable web applications. Run the following command:
docker ps - You should see the following output:

- Copy the container ID and run the following command:
docker inspect dda0a7880576 | grep -i ipaddress - You should see the following output:
      "SecondaryIPAddresses": null,
          "IPAddress": "172.17.0.2",
            "IPAddress": "172.17.0.2",
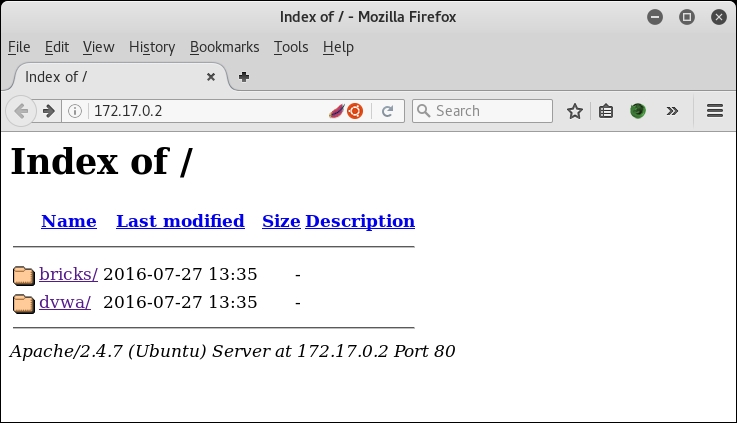
- Switch to the Firefox window and type the preceding IP address in the address bar, and you should see what is shown in the following screenshot:
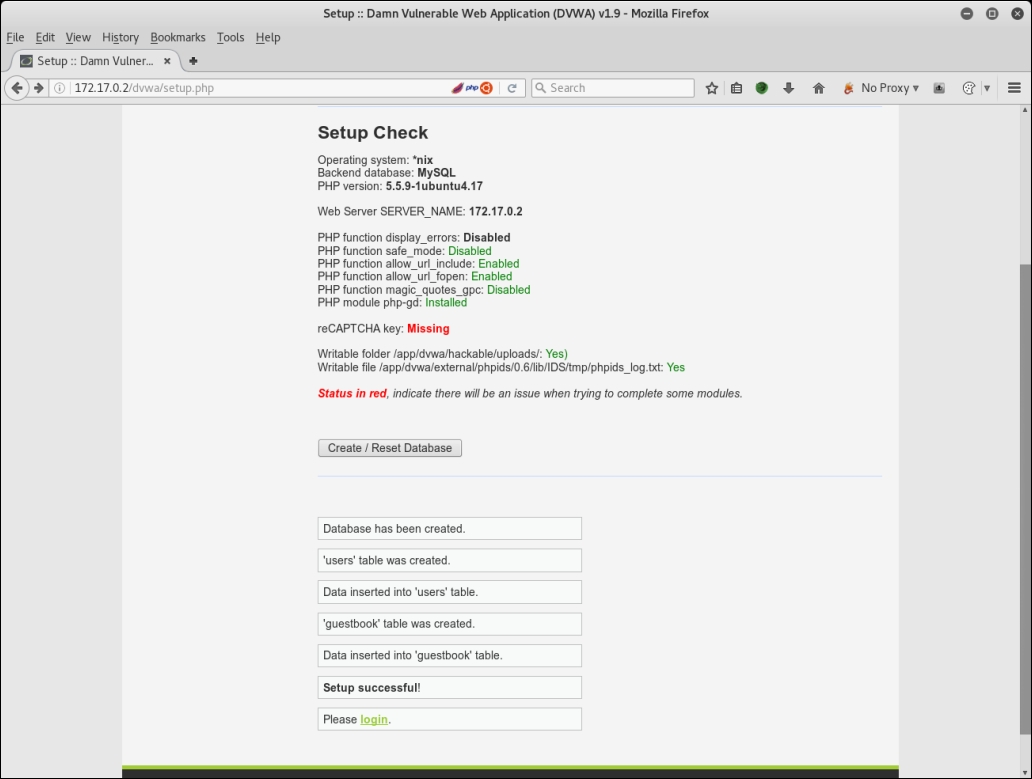
- Click on dvwa and then click on Create/Reset Database, as shown in the following screenshot:
- You will be redirected to the login page; enter the username as
adminand the password aspassword, which is the default user and password fordvwa. After login, you should see the following screenshot:
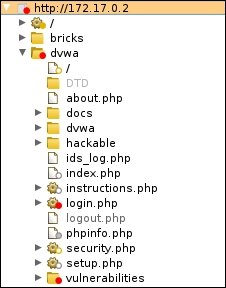
- Traverse the whole application, use different modules, and click on all possible exercises and try them once.
- Switch to the Burp window and you will see that Burp has captured all the requests in the HTTP history tab, as shown here:

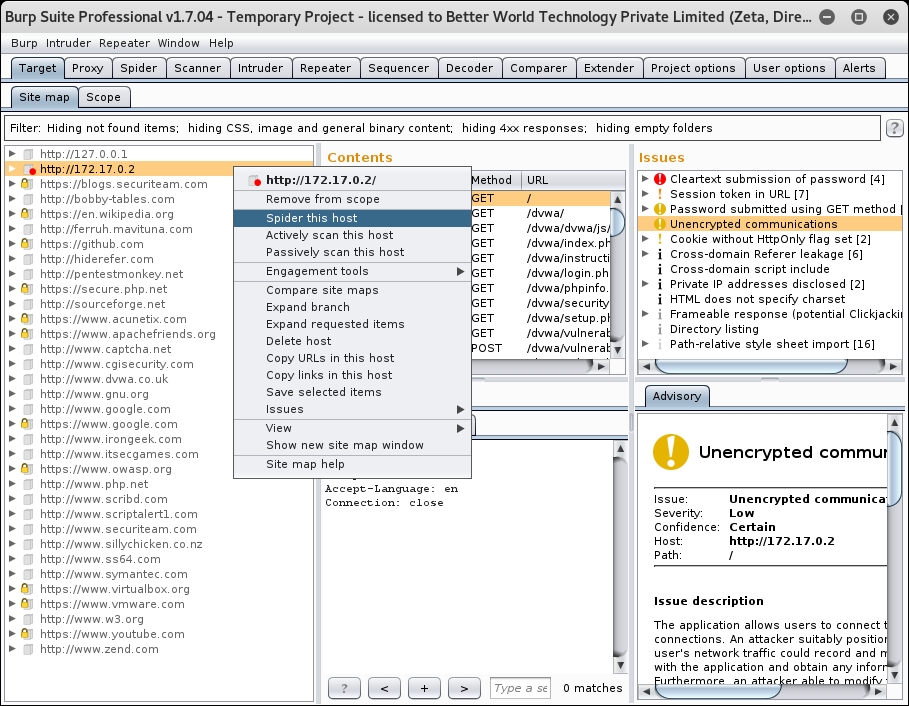
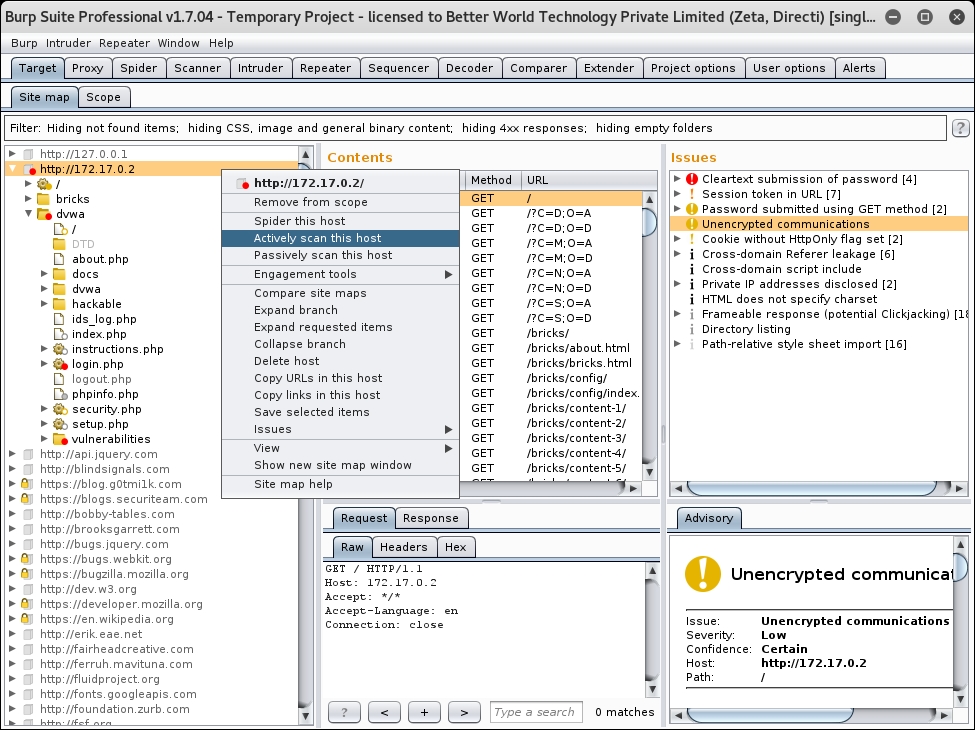
- Now, go to the target tab and find your IP address, right-click on it, and click on Add to scope, as shown in the following screenshot:

- Then, right-click on the same IP and this time, click on Spider this host, as shown in the following screenshot:
- Answer any pop-up screens that may appear appropriately and note the additional application paths being discovered and listed in the Target tab, as shown in the following screenshot:
- Now, right-click on the same IP, and this time, click on Actively scan this host, as shown in the following screenshot:
- You have a few options to select and customize before the scan starts; check the last point that says Remove items with the following extensions [20 items], as shown in the following screenshot:

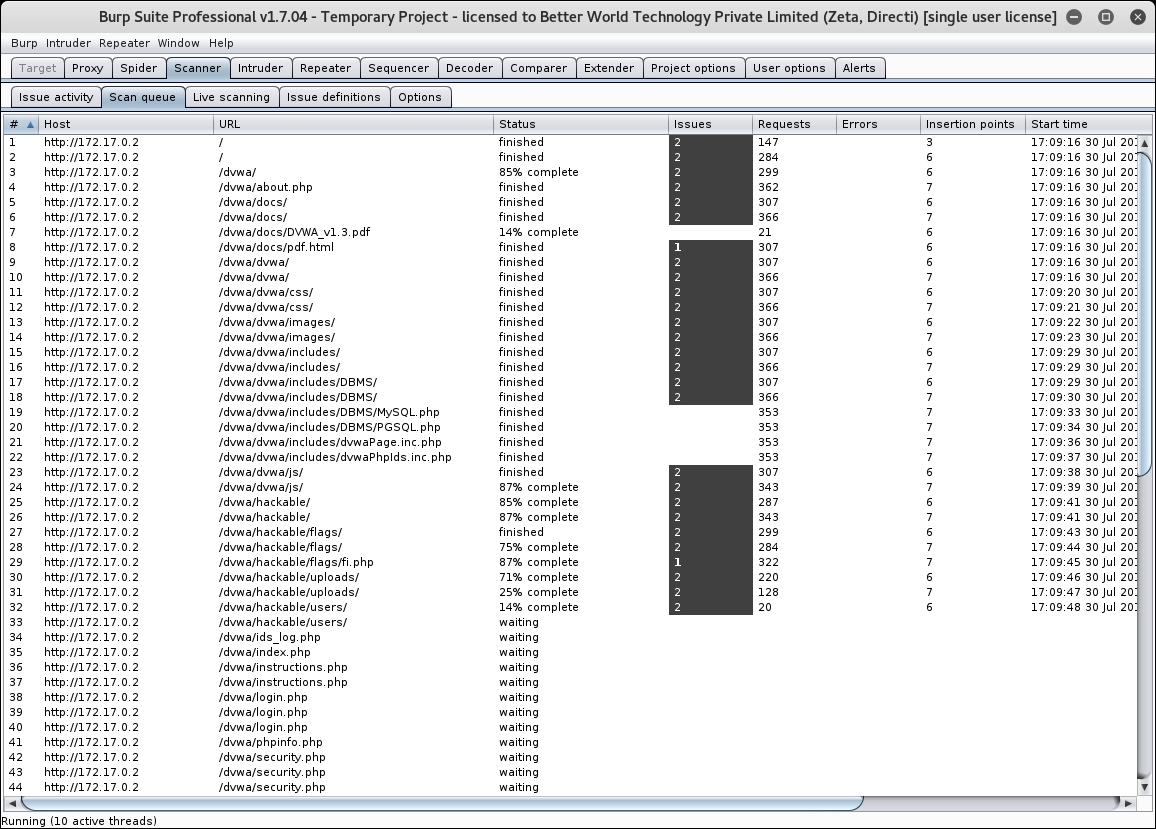
- Go to the scanner page; it will show progress of all the running tests on various URLs, as shown in the following screenshot:
- Now, wait for the scans to complete and open the Target tab again and you will see the different vulnerabilities detected, as shown in the following screenshot:

We have configured our browser to use Burp proxy on 127.0.0.1 at 8080 port, and then we downloaded the vulnerable web application from the Docker hub using the docker pull <image-name> command. We then started the Docker image in the Docker container using the docker run <image-name> command and extracted the IP address of the running container using docker inspect <container-id>.
We then navigated to the same IP address in the browser and traversed the application, and then we saw how Burp captured every request that we made via our browser. We added the same domain in our scope and then went through the whole application to figure out all possible URLs in the application. We then finally started the active scanning on the host, which found out critical bugs, such as SQL Injection, cross-site scripting and command injection. In the next few recipes, we will learn how to use the knowledge obtained from this scan and how to use specific tools in order to exploit them.