
In the previous recipe, we downloaded Docker and ran a hello-world example container. In this recipe, we will download a Docker container that we have prepared for you to download and use. It's an already configured and ready-to-use container that has three vulnerable web applications:
- OWASP bricks
- Damn vulnerable web applications
- WordPress 2.2 (Vulnerable!)
To step through this recipe, you will need Kali Linux running on Oracle Virtualbox or VMware and an Internet connection. This recipe is closely based on the previous recipe; it is highly recommended that you follow the previous recipe before moving on to this recipe. If you already have Docker installed on your Kali, you can directly start with this recipe.
For this recipe, you need to perform the following steps:
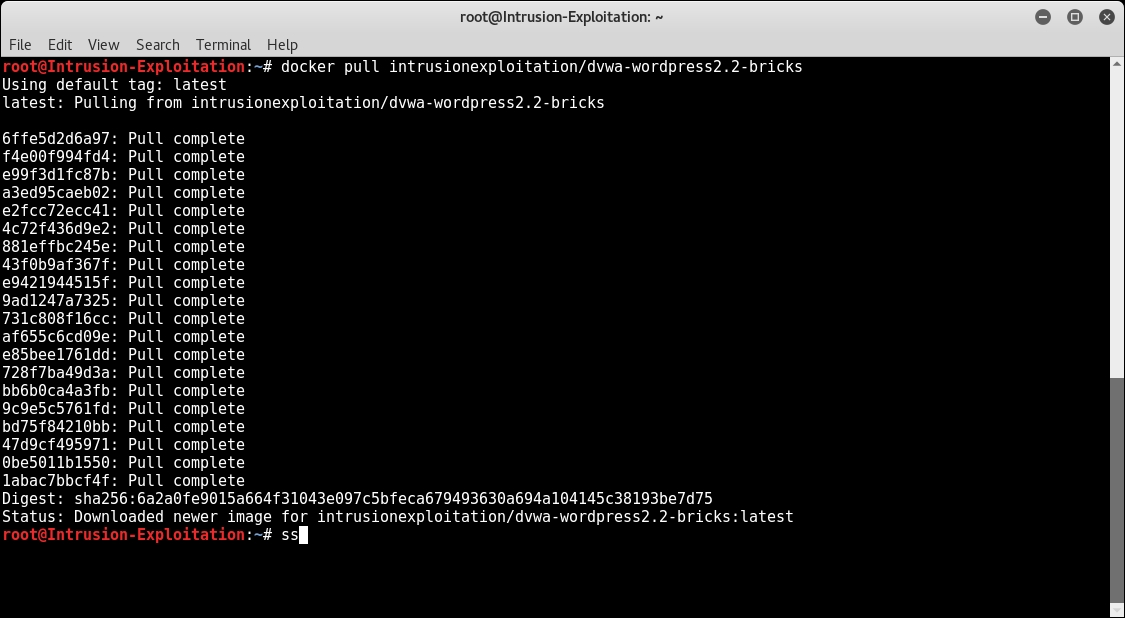
- Open the terminal and pull the Docker container image, as shown in the following command:
$ docker pull intrusionexploitation/dvwa-wordpress2.2-bricks - You will see the different layers being downloaded, as shown in the following screenshot:

- After the container image has been downloaded successfully, you will see a screen similar to what is shown in the following screenshot:
- Now, run the downloaded Docker container image using the following command:
docker run --name intrusionexploitation intrusionexploitation/dvwa-wordpress2.2-bricks - On running the preceding command, you will see the following output:
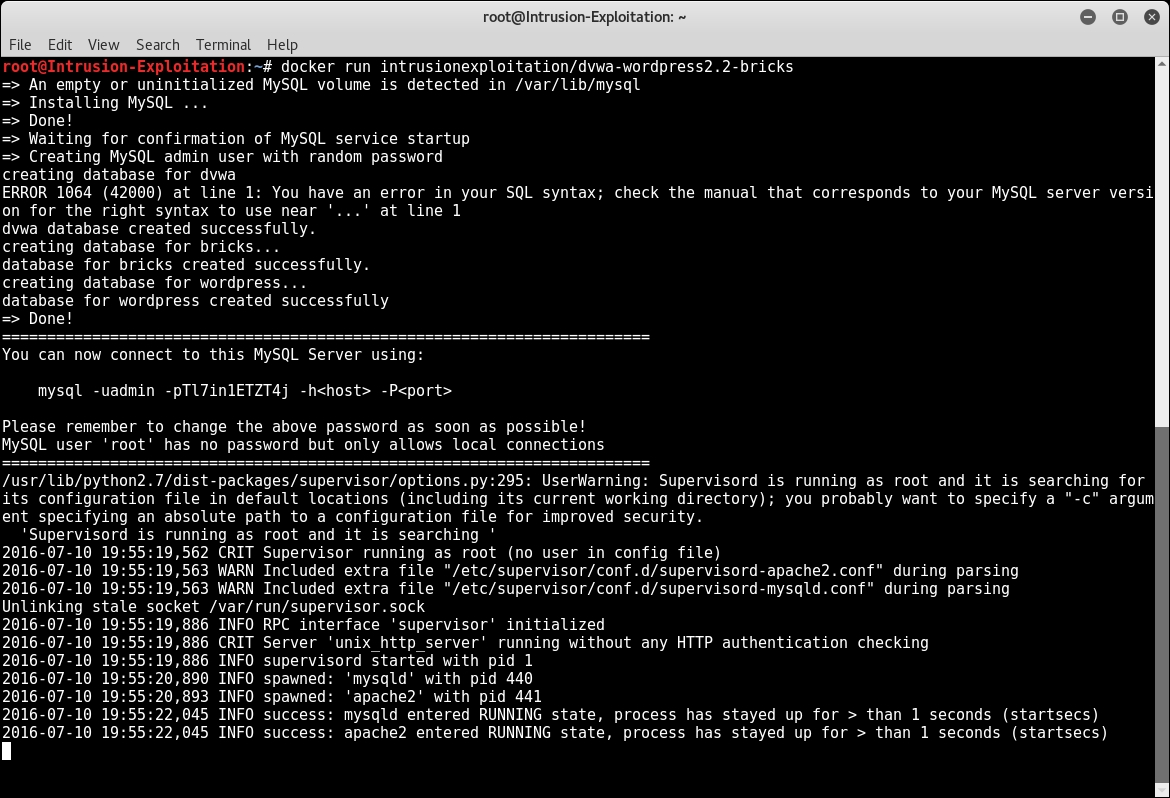
- If you see the same output, it means that your Docker container is up and running. Keep this terminal running and do not close it and do not press Ctrl + C. Pressing Ctrl + C will stop the running container; for now, keep it running and minimize the terminal so that you don't close it accidently.
- To see the vulnerable web applications installed on this container, you will first need to find out the current IP address of the running container.
- To find out the current IP address of the running container, you will first need to list the running container in a new terminal window using the following command:
docker ps -aThe output of this command will be as shown in the following screenshot:

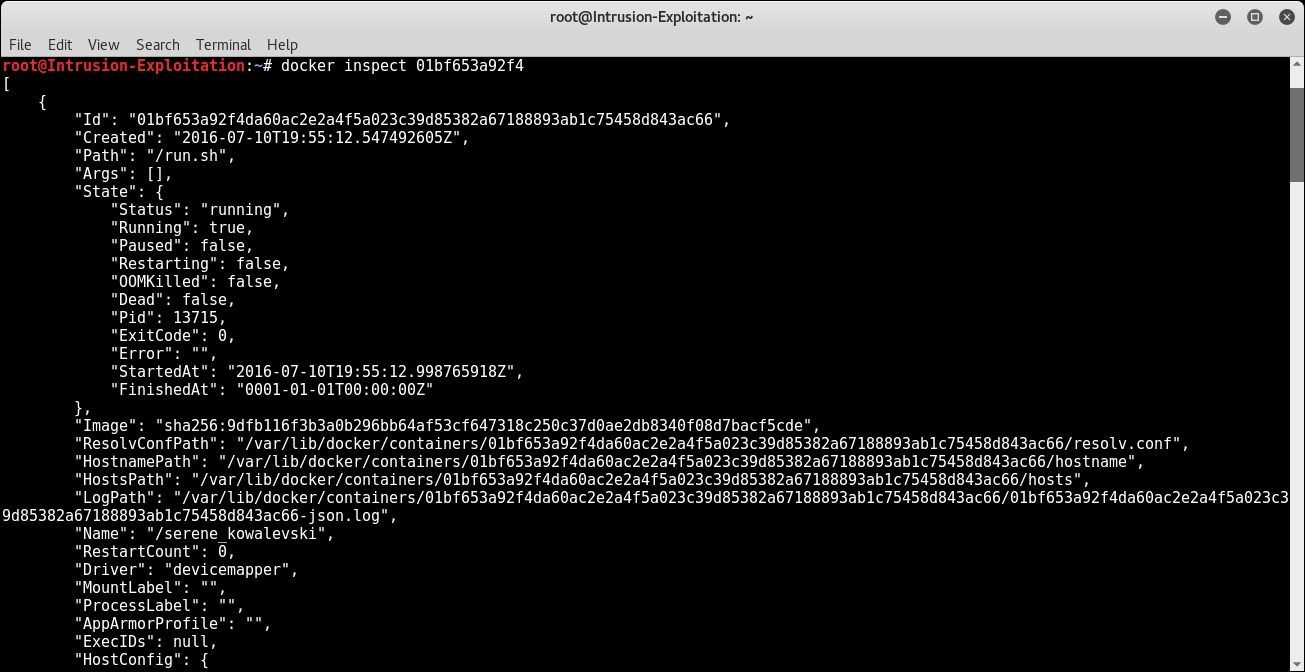
- Then, copy the container ID and type the following command (remember that your container ID will be different from the one shown in this output) using the container ID shown in your output:
docker inspect 01bf653a92f4 - The output will be as shown in the following screenshot:
- It will be a very long output; in order to find out the IP address quickly, you can use the following command as well:
docker inspect 01bf653a92f4 | grep IPAddress - The output is as shown in the following screenshot:

- As shown,
172.17.0.2(please note that your IP address could be different from the one shown here.) is the IP address the container is running with; to see the vulnerable web applications installed on this container, copy this IP address and open this on your browser, as shown in the following screenshot:
- As shown in the preceding screenshot, you will see that Apache server is up and running and you can see three different folders for each different web application.
- Moving forward, from the next recipe onward, we will be using these applications for web application vulnerability assessment.
In this recipe, we pulled a preconfigured Docker image from the Docker hub, and then we ran the downloaded image, listed the running containers, and tried finding out the IP address of the running container using container ID in order to view the installed vulnerable web applications on the browser.