© Adam Freeman 2020
A. FreemanPro ASP.NET Core 3https://doi.org/10.1007/978-1-4842-5440-0_18

18. Creating the Example Project

Adam Freeman1 
(1)
London, UK
 

In this chapter, you will create the example project used throughout this part of the book. The project contains a simple data model, a client-side package for formatting HTML content, and a simple request pipeline.

Creating the Project

Open a new PowerShell command prompt from the Windows Start menu and run the commands shown in Listing 18-1.

Tip

You can download the example project for this chapter—and for all the other chapters in this book—from https://github.com/apress/pro-asp.net-core-3. See Chapter 1 for how to get help if you have problems running the examples.

dotnet new globaljson --sdk-version 3.1.101 --output WebApp
dotnet new web --no-https --output WebApp --framework netcoreapp3.1
dotnet new sln -o WebApp
dotnet sln WebApp add WebApp
Listing 18-1.

Creating the Project

If you are using Visual Studio, open the WebApp.sln file in the WebApp folder. Select Project ➤ Platform Properties, navigate to the Debug page, and change the App URL field to http://localhost:5000, as shown in Figure 18-1. This changes the port that will be used to receive HTTP requests. Select File ➤ Save All to save the configuration changes.
../images/338050_8_En_18_Chapter/338050_8_En_18_Fig1_HTML.jpg
Figure 18-1.

Changing the HTTP port

If you are using Visual Studio Code, open the WebApp folder. Click the Yes button when prompted to add the assets required for building and debugging the project, as shown in Figure 18-2.
../images/338050_8_En_18_Chapter/338050_8_En_18_Fig2_HTML.jpg
Figure 18-2.

Adding project assets

Adding a Data Model

A data model helps demonstrate the different ways that web applications can be built using ASP.NET Core, showing how complex responses can be composed and how data can be submitted by the user. In the sections that follow, I create a simple data model and use it to create the database schema that will be used to store the application's data.

Adding NuGet Packages to the Project

The data model will use Entity Framework Core to store and query data in a SQL Server LocalDB database. To add the NuGet packages for Entity Framework Core, use a PowerShell command prompt to run the commands shown in Listing 18-2 in the WebApp project folder.
dotnet add package Microsoft.EntityFrameworkCore.Design --version 3.1.1
dotnet add package Microsoft.EntityFrameworkCore.SqlServer --version 3.1.1
Listing 18-2.

Adding Packages to the Project

If you are using Visual Studio, you can add the packages by selecting Project ➤ Manage NuGet Packages. Take care to choose the correct version of the packages to add to the project.

If you have not followed the examples in earlier chapters, you will need to install the global tool package that is used to create and manage Entity Framework Core migrations. Run the commands shown in Listing 18-3 to remove any existing version of the package and install the version required for this book. (You can skip these commands if you installed this version of the tools package in earlier chapters.)
dotnet tool uninstall --global dotnet-ef
dotnet tool install --global dotnet-ef --version 3.1.1
Listing 18-3.

Installing a Global Tool Package

Creating the Data Model

The data model for this part of the book will consist of three related classes: Product, Supplier, and Category. Create a new folder named Models and add to it a class file named Category.cs, with the contents shown in Listing 18-4.
using System.Collections.Generic;
namespace WebApp.Models {
    public class Category {
        public long CategoryId { get; set; }
        public string Name { get; set; }
        public IEnumerable<Product> Products { get; set; }
    }
}
Listing 18-4.

The Contents of the Category.cs File in the Models Folder

Add a class called Supplier.cs to the Models folder and use it to define the class shown in Listing 18-5.
using System.Collections.Generic;
namespace WebApp.Models {
    public class Supplier {
        public long SupplierId { get; set; }
        public string Name { get; set; }
        public string City { get; set; }
        public IEnumerable<Product> Products { get; set; }
    }
}
Listing 18-5.

The Contents of the Supplier.cs File in the Models Folder

Next, add a class named Product.cs to the Models folder and use it to define the class shown in Listing 18-6.
using System.ComponentModel.DataAnnotations.Schema;
namespace WebApp.Models {
    public class Product {
        public long ProductId { get; set; }
        public string Name { get; set; }
        [Column(TypeName = "decimal(8, 2)")]
        public decimal Price { get; set; }
        public long CategoryId { get; set; }
        public Category Category { get; set; }
        public long SupplierId { get; set; }
        public Supplier Supplier { get; set; }
    }
}
Listing 18-6.

The Contents of the Product.cs File in the Models Folder

Each of the three data model classes defines a key property whose value will be allocated by the database when new objects are stored. There are also navigation properties that will be used to query for related data so that it will be possible to query for all the products in a specific category, for example.

The Price property has been decorated with the Column attribute, which specifies the precision of the values that will be stored in the database. There isn’t a one-to-one mapping between C# and SQL numeric types, and the Column attribute tells Entity Framework Core which SQL type should be used in the database to store Price values. In this case, the decimal(8, 2) type will allow a total of eight digits, including two following the decimal point.

To create the Entity Framework Core context class that will provide access to the database, add a file called DataContext.cs to the Models folder and add the code shown in Listing 18-7.
using Microsoft.EntityFrameworkCore;
namespace WebApp.Models {
    public class DataContext: DbContext {
        public DataContext(DbContextOptions<DataContext> opts)
            : base(opts) { }
        public DbSet<Product> Products { get; set; }
        public DbSet<Category> Categories { get; set; }
        public DbSet<Supplier> Suppliers { get; set; }
    }
}
Listing 18-7.

The Contents of the DataContext.cs File in the Models Folder

The context class defines properties that will be used to query the database for Product, Category, and Supplier data.

Preparing the Seed Data

Add a class called SeedData.cs to the Models folder and add the code shown in Listing 18-8 to define the seed data that will be used to populate the database.
using Microsoft.EntityFrameworkCore;
using System.Linq;
namespace WebApp.Models {
    public static class SeedData {
        public static void SeedDatabase(DataContext context) {
            context.Database.Migrate();
            if (context.Products.Count() == 0 && context.Suppliers.Count() == 0
                    && context.Categories.Count() == 0) {
                Supplier s1 = new Supplier
                    { Name = "Splash Dudes", City = "San Jose"};
                Supplier s2 = new Supplier
                    { Name = "Soccer Town", City = "Chicago"};
                Supplier s3 = new Supplier
                    { Name = "Chess Co", City = "New York"};
                Category c1 = new Category { Name = "Watersports" };
                Category c2 = new Category { Name = "Soccer" };
                Category c3 = new Category { Name = "Chess" };
                context.Products.AddRange(
                    new Product {  Name = "Kayak", Price = 275,
                        Category = c1, Supplier = s1},
                    new Product {  Name = "Lifejacket", Price = 48.95m,
                        Category = c1, Supplier = s1},
                    new Product {  Name = "Soccer Ball", Price = 19.50m,
                        Category = c2, Supplier = s2},
                    new Product {  Name = "Corner Flags", Price = 34.95m,
                        Category = c2, Supplier = s2},
                    new Product {  Name = "Stadium", Price = 79500,
                        Category = c2, Supplier = s2},
                    new Product {  Name = "Thinking Cap", Price = 16,
                        Category = c3, Supplier = s3},
                    new Product {  Name = "Unsteady Chair", Price = 29.95m,
                        Category = c3, Supplier = s3},
                    new Product {  Name = "Human Chess Board", Price = 75,
                        Category = c3, Supplier = s3},
                    new Product {  Name = "Bling-Bling King", Price = 1200,
                        Category = c3, Supplier = s3}
                );
                context.SaveChanges();
            }
        }
    }
}
Listing 18-8.

The Contents of the SeedData.cs File in the Models Folder

The static SeedDatabase method ensures that all pending migrations have been applied to the database. If the database is empty, it is seeded with categories, suppliers, and products. Entity Framework Core will take care of mapping the objects into the tables in the database, and the key properties will be assigned automatically when the data is stored.

Configuring Entity Framework Core Services and Middleware

Make the changes to the Startup class shown in Listing 18-9, which configure Entity Framework Core and set up the DataContext services that will be used throughout this part of the book to access the database.
using System;
using System.Collections.Generic;
using System.Linq;
using System.Threading.Tasks;
using Microsoft.AspNetCore.Builder;
using Microsoft.AspNetCore.Hosting;
using Microsoft.AspNetCore.Http;
using Microsoft.Extensions.DependencyInjection;
using Microsoft.Extensions.Hosting;
using Microsoft.Extensions.Configuration;
using Microsoft.EntityFrameworkCore;
using WebApp.Models;
namespace WebApp {
    public class Startup {
        public Startup(IConfiguration config) {
            Configuration = config;
        }
        public IConfiguration Configuration { get; set; }
        public void ConfigureServices(IServiceCollection services) {
            services.AddDbContext<DataContext>(opts => {
                opts.UseSqlServer(Configuration[
                    "ConnectionStrings:ProductConnection"]);
                opts.EnableSensitiveDataLogging(true);
            });
        }
        public void Configure(IApplicationBuilder app, DataContext context) {
            app.UseDeveloperExceptionPage();
            app.UseRouting();
            app.UseEndpoints(endpoints => {
                endpoints.MapGet("/", async context => {
                    await context.Response.WriteAsync("Hello World!");
                });
            });
            SeedData.SeedDatabase(context);
        }
    }
}
Listing 18-9.

Preparing Services and Middleware in the Startup.cs File in the WebApp Folder

To define the connection string that will be used for the application’s data, add the configuration settings shown in Listing 18-10 in the appsettings.json file. The connection string should be entered on a single line.
{
  "Logging": {
    "LogLevel": {
      "Default": "Information",
      "Microsoft": "Warning",
      "Microsoft.Hosting.Lifetime": "Information",
      "Microsoft.EntityFrameworkCore": "Information"
    }
  },
  "AllowedHosts": "*",
  "ConnectionStrings": {
    "ProductConnection": "Server=(localdb)\MSSQLLocalDB;Database=Products;MultipleActiveResultSets=True"
  }
}
Listing 18-10.

Defining a Connection String in the appsettings.json File in the WebApp Folder

In addition to the connection string, Listing 18-10 increases the logging detail for Entity Framework Core so that the SQL queries sent to the database are logged.

Creating and Applying the Migration

To create the migration that will set up the database schema, use a PowerShell command prompt to run the command shown in Listing 18-11 in the WebApp project folder.
dotnet ef migrations add Initial
Listing 18-11.

Creating an Entity Framework Core Migration

Once the migration has been created, apply it to the database using the command shown in Listing 18-12.
dotnet ef database update
Listing 18-12.

Applying the Migration to the Database

The logging messages displayed by the application will show the SQL commands that are sent to the database.

Note

If you need to reset the database, then run the dotnet ef database drop --force command and then the command in Listing 18-12.

Adding the CSS Framework

Later chapters will demonstrate the different ways that HTML responses can be generated. Run the commands shown in Listing 18-13 to remove any existing version of the LibMan package and install the version used in this book. (You can skip these commands if you installed this version of LibMan in earlier chapters.)
dotnet tool uninstall --global Microsoft.Web.LibraryManager.Cli
dotnet tool install --global Microsoft.Web.LibraryManager.Cli --version 2.0.96
Listing 18-13.

Installing the LibMan Tool Package

To add the Bootstrap CSS framework so that the HTML responses can be styled, run the commands shown in Listing 18-14 in the WebApp project folder.
libman init -p cdnjs
libman install [email protected] -d wwwroot/lib/twitter-bootstrap
Listing 18-14.

Installing the Bootstrap CSS Framework

Configuring the Request Pipeline

To define a simple middleware component that will be used to make sure the example project has been set up correctly, add a class file called TestMiddleware.cs to the WebApp folder and add the code shown in Listing 18-15.
using Microsoft.AspNetCore.Http;
using System.Linq;
using System.Threading.Tasks;
using WebApp.Models;
namespace WebApp {
    public class TestMiddleware {
        private RequestDelegate nextDelegate;
        public TestMiddleware(RequestDelegate next) {
            nextDelegate = next;
        }
        public async Task Invoke(HttpContext context, DataContext dataContext) {
            if (context.Request.Path == "/test") {
                await context.Response.WriteAsync(
                    $"There are {dataContext.Products.Count()} products ");
                await context.Response.WriteAsync(
                    $"There are {dataContext.Categories.Count()} categories ");
                await context.Response.WriteAsync(
                    $"There are {dataContext.Suppliers.Count()} suppliers ");
            } else {
                await nextDelegate(context);
            }
        }
    }
}
Listing 18-15.

The Contents of the TestMiddleware.cs File in the WebApp Folder

Add the middleware component to the request pipeline in the Startup class, as shown in Listing 18-16.
using System;
using System.Collections.Generic;
using System.Linq;
using System.Threading.Tasks;
using Microsoft.AspNetCore.Builder;
using Microsoft.AspNetCore.Hosting;
using Microsoft.AspNetCore.Http;
using Microsoft.Extensions.DependencyInjection;
using Microsoft.Extensions.Hosting;
using Microsoft.Extensions.Configuration;
using Microsoft.EntityFrameworkCore;
using WebApp.Models;
namespace WebApp {
    public class Startup {
        public Startup(IConfiguration config) {
            Configuration = config;
        }
        public IConfiguration Configuration { get; set; }
        public void ConfigureServices(IServiceCollection services) {
            services.AddDbContext<DataContext>(opts => {
                opts.UseSqlServer(Configuration[
                    "ConnectionStrings:ProductConnection"]);
                opts.EnableSensitiveDataLogging(true);
            });
        }
        public void Configure(IApplicationBuilder app, DataContext context) {
            app.UseDeveloperExceptionPage();
            app.UseStaticFiles();
            app.UseRouting();
            app.UseMiddleware<TestMiddleware>();
            app.UseEndpoints(endpoints => {
                endpoints.MapGet("/", async context => {
                    await context.Response.WriteAsync("Hello World!");
                });
            });
            SeedData.SeedDatabase(context);
        }
    }
}
Listing 18-16.

Adding a Middleware Component in the Startup.cs File in the WebApp Folder

Running the Example Application

Start the application, either by selecting Start Without Debugging or Run Without Debugging from the Debug menu or by running the command shown in Listing 18-17 in the WebApp project folder.
dotnet run
Listing 18-17.

Running the Example Application

Use a new browser tab and request http://localhost:5000/test, and you will see the response shown in Figure 18-3.
../images/338050_8_En_18_Chapter/338050_8_En_18_Fig3_HTML.jpg
Figure 18-3.

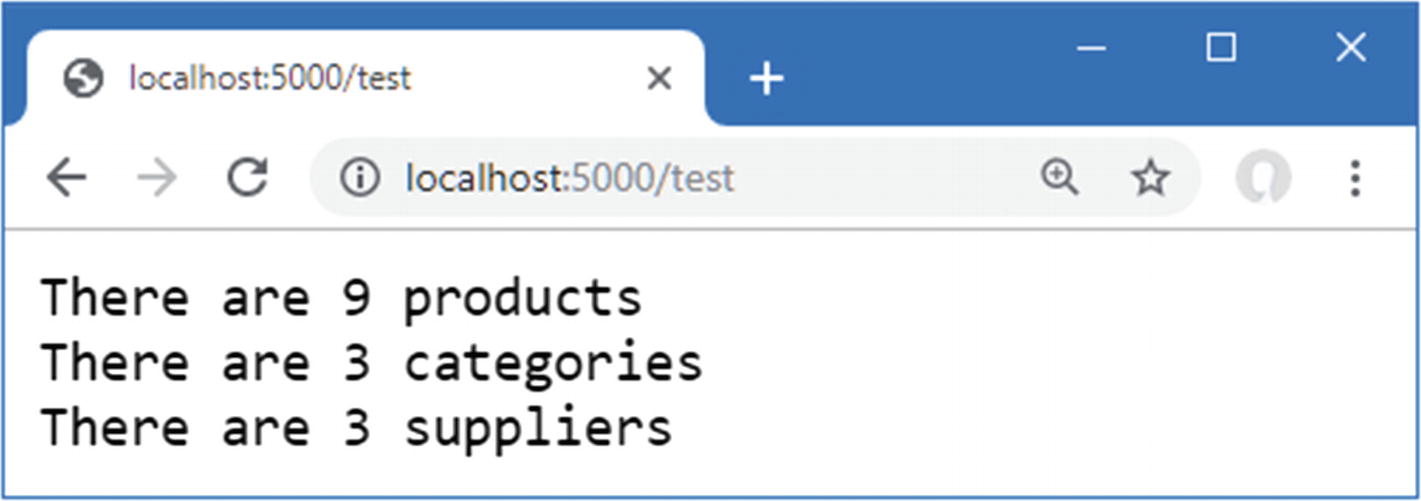
Running the example application

Summary

In this chapter, I created the example application that is used throughout this part of the book. The project was created with the Empty template, contains a data model that relies on Entity Framework Core, and is configured with a request pipeline that contains a simple test middleware component. In the next chapter, I show you how to create web services using ASP.NET Core.

..................Content has been hidden....................

You can't read the all page of ebook, please click here login for view all page.
Reset
52.15.135.63