
The best way to appreciate a software development framework is to jump right in and use it. In this chapter, I explain how to prepare for ASP.NET Core development and how to create and run an ASP.NET Core application.
Microsoft has an active development schedule for .NET Core and ASP.NET Core, which means that there may be new releases available by the time you read this book. It doesn’t seem fair to expect readers to buy a new book every few months, especially since most changes are relatively minor. Instead, I will post free updates to the GitHub repository for this book (https://github.com/apress/pro-asp.net-core-3) for breaking changes.
This kind of update is an ongoing experiment for me (and for Apress), and it continues to evolve—not least because I don’t know what the future major releases of ASP.NET Core will contain—but the goal is to extend the life of this book by supplementing the examples it contains.
I am not making any promises about what the updates will be like, what form they will take, or how long I will produce them before folding them into a new edition of this book. Please keep an open mind and check the repository for this book when new ASP.NET Core versions are released. If you have ideas about how the updates could be improved, then email me at [email protected] and let me know.
Choosing a Code Editor
Microsoft provides a choice of tools for ASP.NET Core development: Visual Studio and Visual Studio Code. Visual Studio is the traditional development environment for .NET applications, and it offers an enormous range of tools and features for developing all sorts of applications. But it can be resource-hungry and slow, and some of the features are so determined to be helpful they get in the way of development.
Visual Studio Code is a light-weight alternative that doesn’t have the bells and whistles of Visual Studio but is perfectly capable of handling ASP.NET Core development.
All the examples in this book include instructions for both editors, and both Visual Studio and Visual Studio Code can be used without charge, so you can use whichever suits your development style.
If you are new to .NET Core development, then start with Visual Studio. It provides more structured support for creating the different types of files used in ASP.NET Core development, which will help ensure you get the expected results from the code examples.
This book describes ASP.NET Core development for Windows. It is possible to develop and run ASP.NET Core applications on Linux and macOS, but most readers use Windows, and that is what I have chosen to focus on. Almost all the examples in this book rely on LocalDB, which is a Windows-only feature provided by SQL Server that is not available on other platforms. If you want to follow this book on another platform, then you can contact me using the email address in Chapter 1, and I will try to help you get started.
Installing Visual Studio

Starting the Visual Studio installer
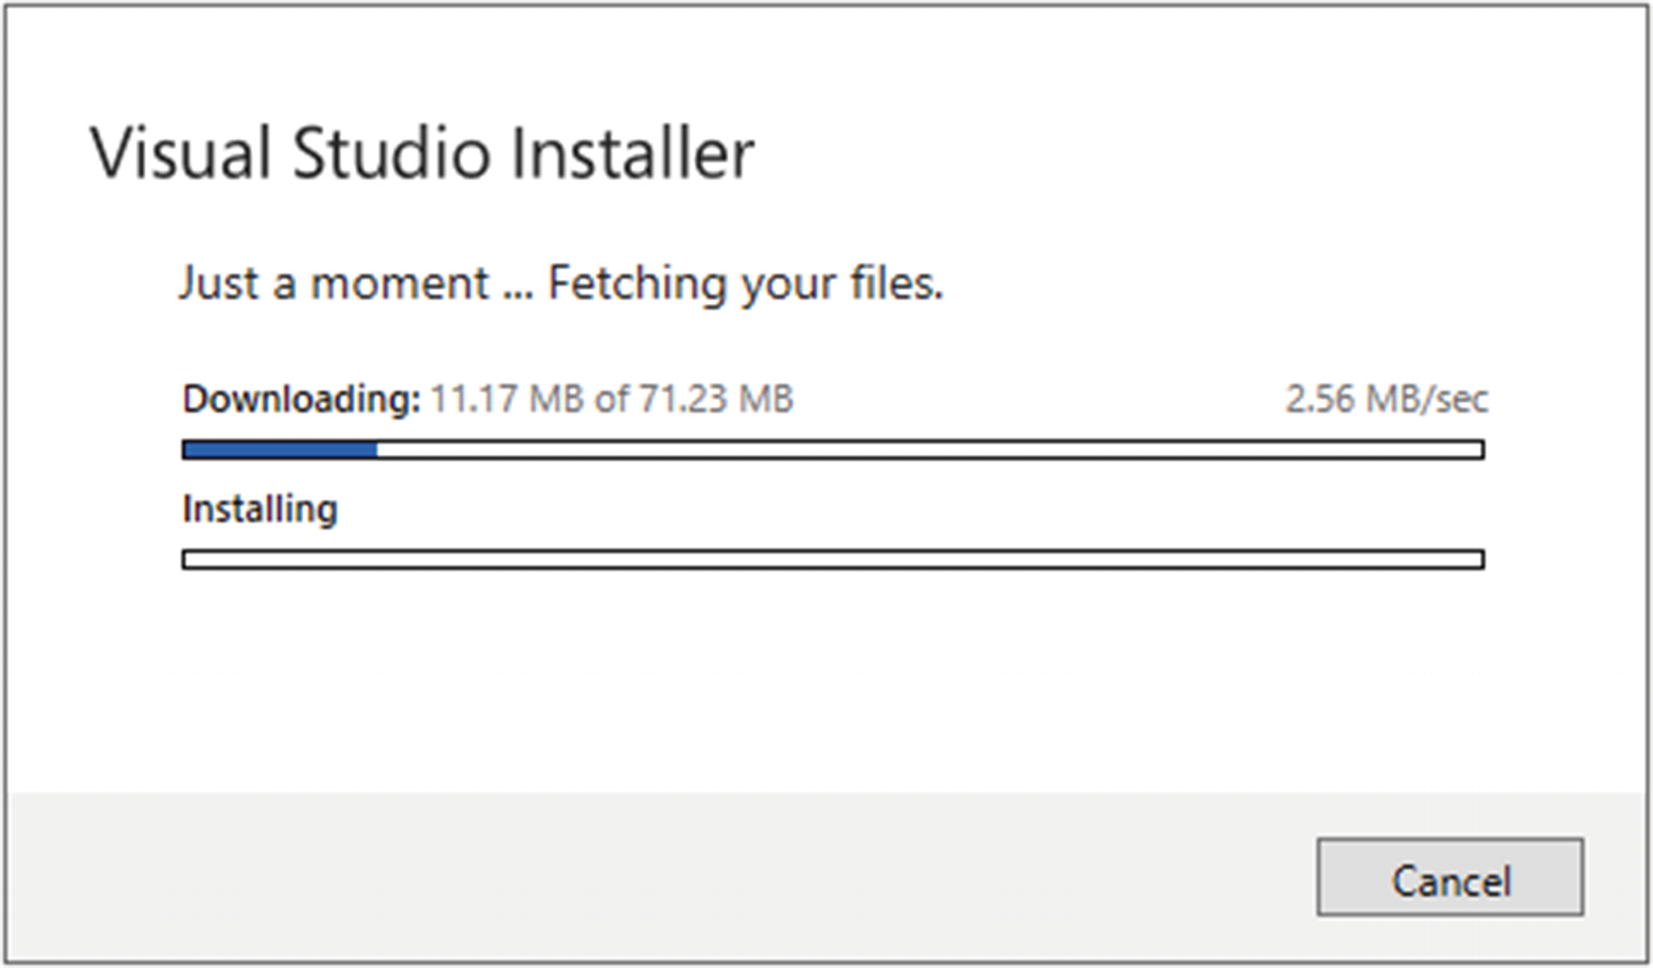
Downloading the Visual Studio installer files

Selecting the workload
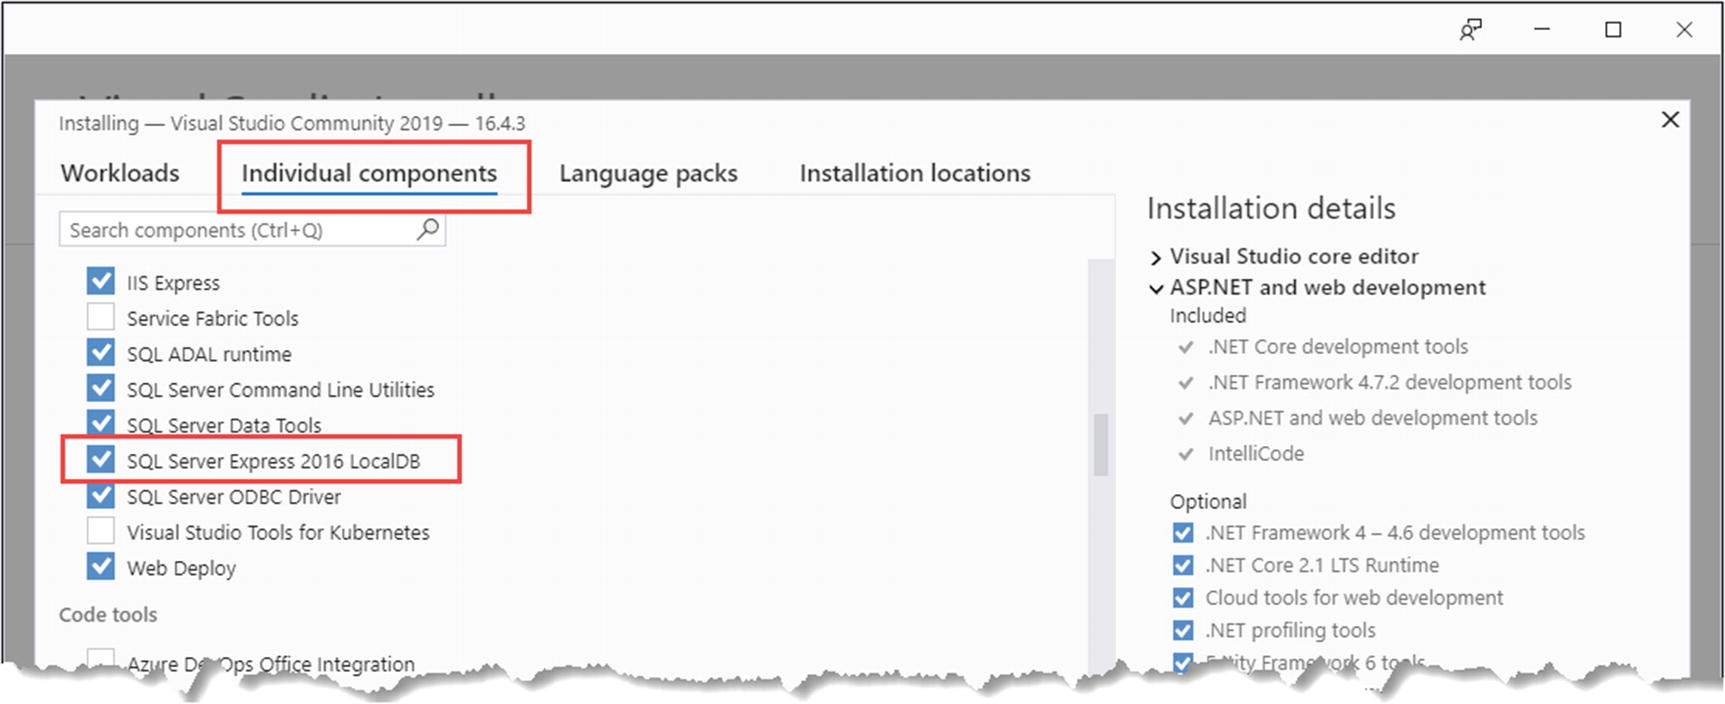
Ensuring LocalDB is installed

Completing the installation
Installing the .NET Core SDK
Listing the Installed SDKs
Regardless of how many entries there are, you must ensure there is one for the 3.1.1xx version, where the last two digits may differ.
Installing Visual Studio Code

Configuring the Visual Studio Code installation
Installing the .NET Core SDK
Listing the Installed SDKs
Regardless of how many entries there are, you must ensure there is one for the 3.1.1xx version, where the last two digits may differ.
Installing SQL Server LocalDB

Selecting the installation option for SQL Server
Once you have selected the Custom option, you will be prompted to select a download location for the installation files. Click the Install button, and the download will begin.
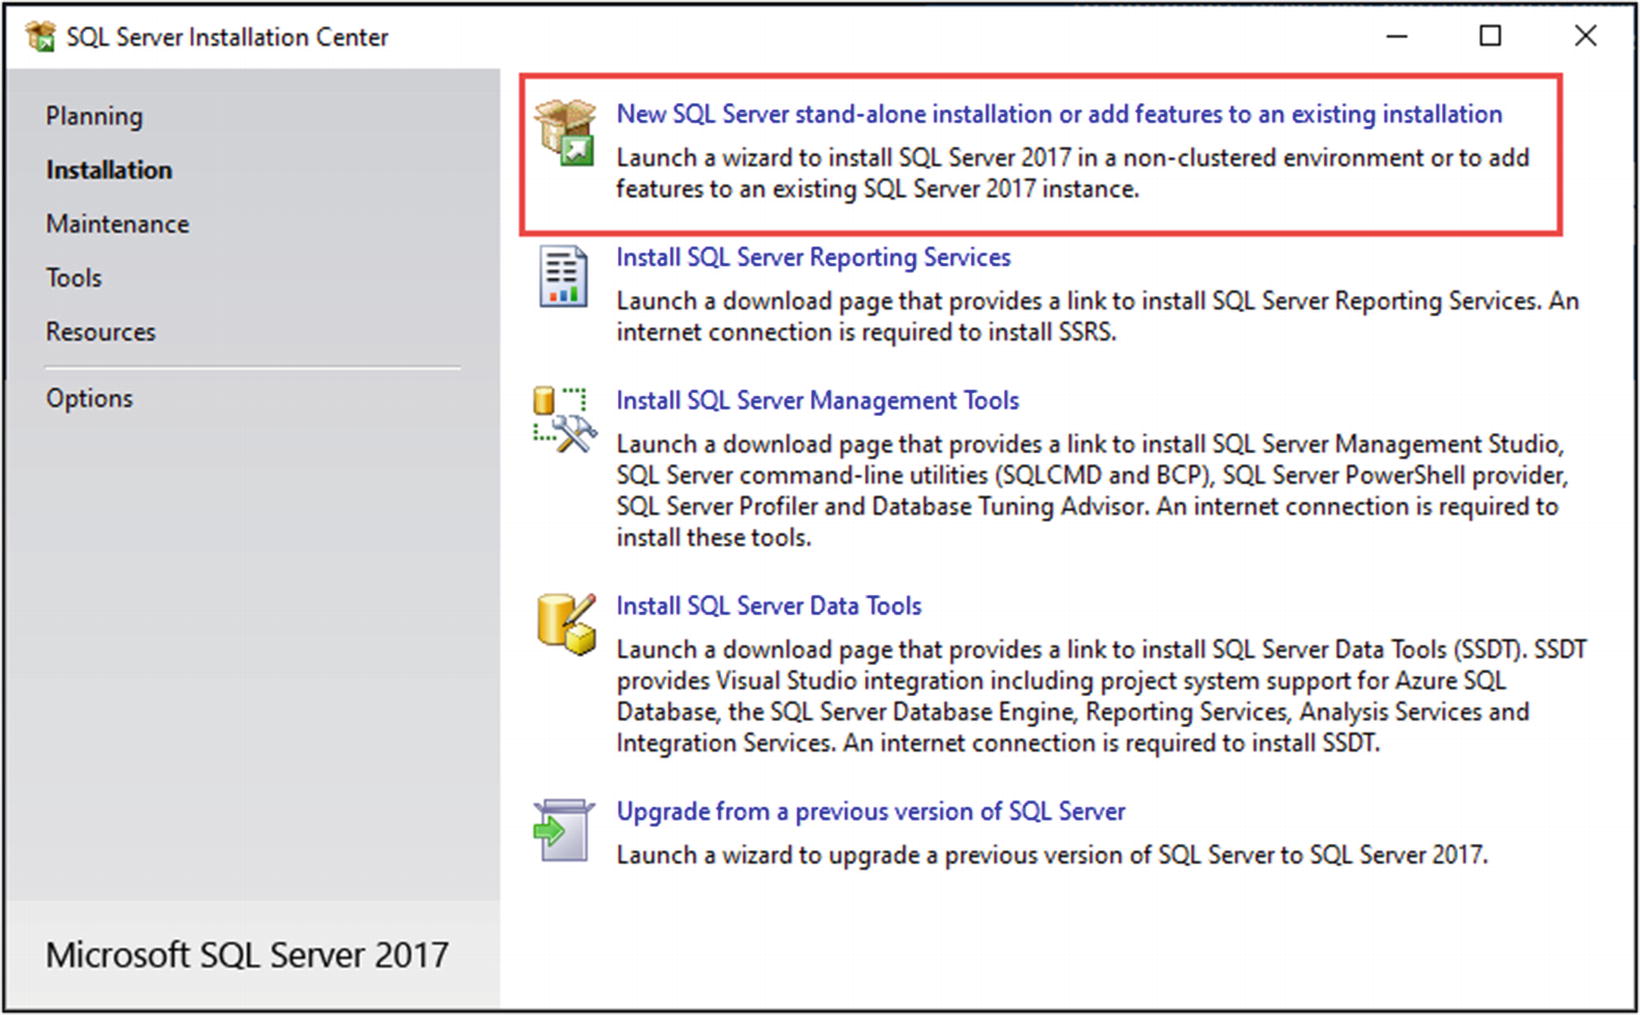
Selecting an installation option

Selecting the LocalDB feature

Configuring the database
Continue to work through the installation process, selecting the default values. Once the installation is complete, install the latest cumulative update for SQL Server. At the time of writing, the latest update is available at https://support.microsoft.com/en-us/help/4527377/cumulative-update-18-for-sql-server-2017, although newer updates may have been released by the time you read this chapter.
It can be tempting to skip the update stage, but it is important to perform this step to get the expected results from the examples in this book. As an example, the base installation of SQL Server has a bug that prevents LocalDB from creating database files, which will cause problems when you reach Chapter 7.
Creating an ASP.NET Core Project
The most direct way to create a project is to use the command line, although Visual Studio provides a wizard system that I demonstrate in Chapter 4. Open a new PowerShell command prompt from the Windows Start menu, navigate to the folder where you want to create your ASP.NET Core projects, and run the commands shown in Listing 2-3.
You can download the example project for this chapter—and for all the other chapters in this book—from https://github.com/apress/pro-asp.net-core-3. See Chapter 1 for how to get help if you have problems running the examples.
Creating a New Project
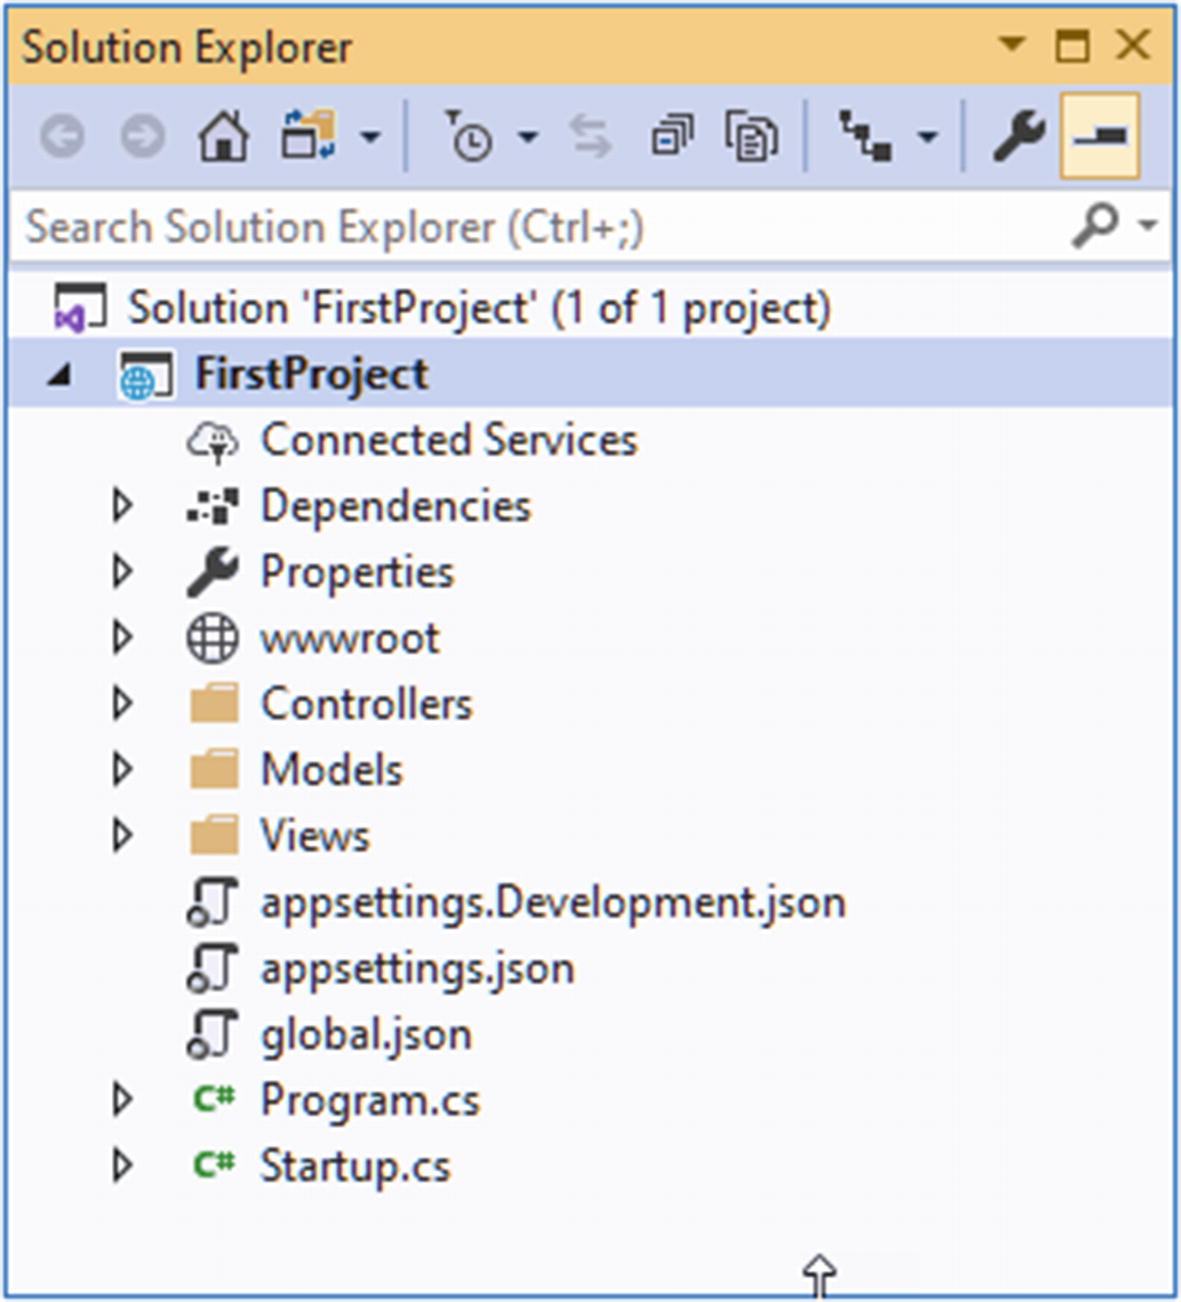
The first command creates a folder named FirstProject and adds to it a file named global.json, which specifies the version of .NET Core that the project will use; this ensures you get the expected results when following the examples. The second command creates a new ASP.NET Core project. The .NET Core SDK includes a range of templates for starting new projects, and the mvc template is one of the options available for ASP.NET Core applications. This project template creates a project that is configured for the MVC Framework, which is one of the application types supported by ASP.NET Core. Don’t be intimidated by the idea of choosing a framework, and don’t worry if you have not heard of MVC—by the end of the book, you will understand the features that each offers and how they fit together.
This is one of a small number of chapters in which I use a project template that contains placeholder content. I don’t like using predefined project templates because they encourage developers to treat important features, such as authentication, as black boxes. My goal in this book is to give you the knowledge to understand and manage every aspect of your ASP.NET Core applications, and that’s why I start with an empty ASP.NET Core project. This chapter is about getting started quickly, for which the mvc template is well-suited.
Opening the Project Using Visual Studio

Opening the ASP.NET Core project
Opening the project in Visual Studio
Choosing a Browser

Selecting the browser
Opening the Project with Visual Studio Code

Opening the project in Visual Studio Code
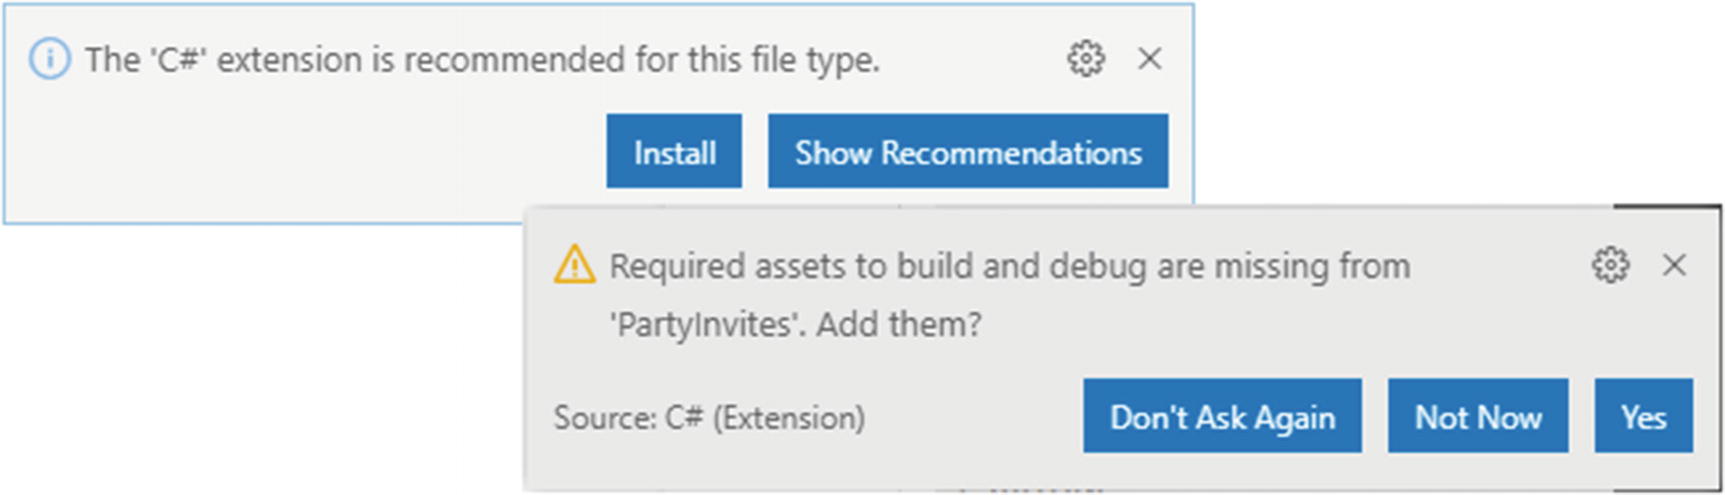
Installing Visual Studio Code C# features
Click the Install or Yes button, as appropriate, and Visual Studio Code will download and install the features required for .NET Core projects.
Running the ASP.NET Core Application
The template creates a project that contains everything needed to build and run the application. Select Start Without Debugging from the Debug menu, and Visual Studio will compile and start the example application and then open a new browser window to send the application an HTTP request, as shown in Figure 2-17. (If you don’t see the Start Without Debugging item in the Debug menu, then click the Startup.cs file in the Solution Explorer window and check the menu again.)

Selecting an execution environment
Visual Studio Code will create a launch.json file that contains the startup settings for the project and that you can ignore for this book. Select Run Without Debugging from the Debug menu again, and Visual Studio Code will compile the project, start executing the application, and open a new browser window, as shown in Figure 2-17.
Starting the Example Application

Running the example project
If you are using Visual Studio Code or running the application from the command line, then ASP.NET Core listens for HTTP requests on port 5000. If you are using Visual Studio, you will notice that the browser requests a different port, which is chosen when the project is created. If you look in the Windows taskbar notification area, you will find an icon for IIS Express. This is a cut-down version of the full IIS application server that is included with Visual Studio and is used to deliver ASP.NET Core content and services during development. In later chapters, I show you how to change the project configuration to use the same HTTP port as Visual Studio Code.
When you are finished, close the browser window that Visual Studio opened. If you are using Visual Studio Code, you click the stop button displayed in the window that pops up over the code editor. If you started the application from the command line, then use Control+C to stop execution.
Understanding Endpoints
In an ASP.NET Core application, incoming requests are handled by endpoints. The endpoint that produced the response in Figure 2-17 is an action, which is a method that is written in C#. An action is defined in a controller, which is a C# class that is derived from the Microsoft.AspNetCore.Mvc.Controller class, the built-in controller base class.
Each public method defined by a controller is an action, which means you can invoke the action method to handle an HTTP request. The convention in ASP.NET Core projects is to put controller classes in a folder named Controllers, which was created by the template used to set up the project in Listing 2-3.
The project template added a controller to the Controllers folder to help jump-start development. The controller is defined in the class file named HomeController.cs. Controller classes contain a name followed by the word Controller, which means that when you see a file called HomeController.cs, you know that it contains a controller called Home, which is the default controller that is used in ASP.NET Core applications.
Don’t worry if the terms controller and action don’t make immediate sense. Just keep following the example, and you will see how the HTTP request sent by the browser is handled by C# code.
Changing the HomeController.cs File in the Controllers Folder
The result is that the Home controller defines a single action, named Index. These changes don’t produce a dramatic effect, but they make for a nice demonstration. I have changed the method named Index so that it returns the string Hello World. Run the project again by selecting Start Without Debugging or Run Without Debugging from the Debug menu.

The output from the action method
Understanding Routes
/
/Home
/Home/Index
So, when a browser requests http://yoursite/ or http://yoursite/Home, it gets back the output from HomeController’s Index method. You can try this yourself by changing the URL in the browser. At the moment, it will be http://localhost:5000/, except that the port part may be different if you are using Visual Studio. If you append /Home or /Home/Index to the URL and press Return, you will see the same Hello World result from the application.
Understanding HTML Rendering
The output from the previous example wasn’t HTML—it was just the string Hello World. To produce an HTML response to a browser request, I need a view, which tells ASP.NET Core how to process the result produced by the Index method into an HTML response that can be sent to the browser.
Creating and Rendering a View
Rendering a View in the HomeController.cs File in the Controllers Folder

Ttrying to find a view
This is a helpful error message. It explains that ASP.NET Core could not find the view I specified for the action method and explains where it looked. Views are stored in the Views folder, organized into subfolders. Views that are associated with the Home controller, for example, are stored in a folder called Views/Home. Views that are not specific to a single controller are stored in a folder called Views/Shared. The template used to create the project added the Home and Shared folders automatically and added some placeholder views to get the project started.
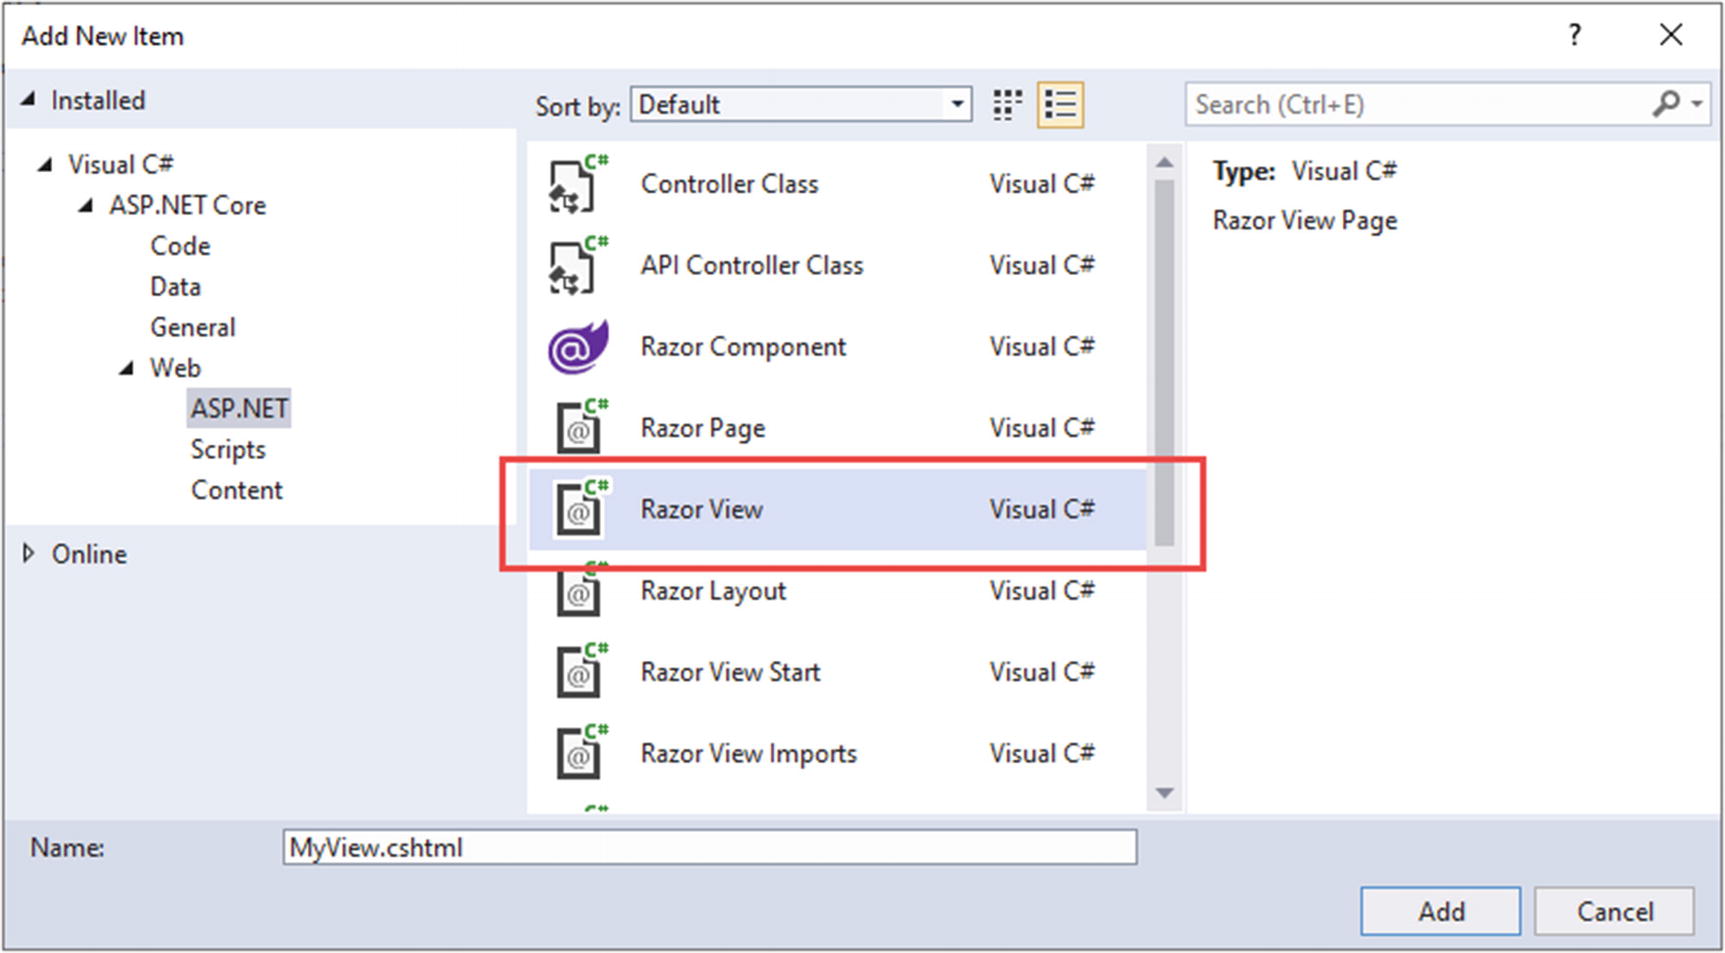
Selecting a Visual Studio item template
Visual Studio Code doesn’t provide item templates. Instead, right-click the Views/Home folder in the file explorer pane and select New File from the popup menu. Set the name of the file to MyView.cshtml and press Return. The file will be created and opened for editing. Add the content shown in Listing 2-7.
It is easy to end up creating the view file in the wrong folder. If you didn’t end up with a file called MyView.cshtml in the Views/Home folder, then either drag the file into the correct folder or delete the file and try again.
The Contents of the MyView.cshtml File in the Views/Home Folder
This is an expression that will be interpreted by Razor, which is the component that processes the contents of views and generates HTML that is sent to the browser. Razor is a view engine, and the expressions in views are known as Razor expressions.

Rendering a view
When I first edited the Index action method, it returned a string value. This meant that ASP.NET Core did nothing except pass the string value as is to the browser. Now that the Index method returns a ViewResult, Razor is used to process a view and render an HTML response. Razor was able to locate the view because I followed the standard naming convention, which is to put view files in a folder whose name matched the controller that contains the action method. In this case, this meant putting the view file in the Views/Home folder, since the action method is defined by the Home controller.
I can return other results from action methods besides strings and ViewResult objects. For example, if I return a RedirectResult, the browser will be redirected to another URL. If I return an HttpUnauthorizedResult, I can prompt the user to log in. These objects are collectively known as action results. The action result system lets you encapsulate and reuse common responses in actions. I’ll tell you more about them and explain the different ways they can be used in Chapter 19.
Adding Dynamic Output
Providing a View Model in the HomeController.cs File in the Controllers Folder
Using a View Model in the MyView.cshtml File in the Views/Home Folder
The type of the view model is specified using the @model expression, with a lowercase m. The view model value is included in the HTML output using the @Model expression, with an uppercase M. (It can be difficult at first to remember which is lowercase and which is uppercase, but it soon becomes second nature.)

Generating dynamic content
Putting the Pieces Together
It is a simple result, but this example reveals all the building blocks you need to create a simple ASP.NET Core web application and to generate a dynamic response. The ASP.NET Core platform receives an HTTP request and uses the routing system to match the request URL to an endpoint. The endpoint, in this case, is the Index action method defined by the Home controller. The method is invoked and produces a ViewResult object that contains the name of a view and a view model object. The Razor view engine locates and processes the view, evaluating the @Model expression to insert the data provided by the action method into the response, which is returned to the browser and displayed to the user. There are, of course, many other features available, but this is the essence of ASP.NET Core, and it is worth bearing this simple sequence in mind as you read the rest of the book.
Summary
In this chapter, I explained how to get set up for ASP.NET Core development by installing Visual Studio or Visual Studio Code and the .NET Core SDK. I showed you how to create a simple project and briefly explained how the endpoint, the view, and the URL routing system work together. In the next chapter, I show you how to create a simple data-entry application.