
Task 10.3: Using System Restore
System Restore is a great feature in Windows XP, Windows Vista, and Windows 7. It automatically records the state of the operating system, called a restore point, just prior to the installation of drivers and patches and just prior to a restore from backup, and it also generates a daily restore point, just for good measure. If third-party applications are compliant with the restore point API, the installation of these will also trigger the automatic creation of a restore point. These restore points can also be manually triggered if you know that you’re about to do something a little dangerous.
The restore point records the Registry, local profiles, COM+ database, Windows protected files, Windows Management Instrumentation (WMI) database, the Internet Information Services (IIS) metabase, and files with the following extensions: .CAT, .COM, .DLL, .EXE, .INF, .MSI, .OLE, and .SYS.
System Restore consumes a minimum of 200 MB on the hard drive. The system keeps track of your restore points and allows you to roll back to an earlier system configuration.
System Restore can be added to a Windows Server 2003 system, but it is not supported by Microsoft. You can access the instructions and installation files at www.msfn.org/win2k3/sysrestore.htm. However, use this unsupported add-on at your own risk.
Scenario
You installed a new application, and later decide that you do not want the application installed. You know that the uninstall routine has some problems and you need to return the system to its previous state.
Scope of Task
Duration
This task should take 30 minutes.
Setup
You will need to download Adminpak.msi from the Microsoft website, from a Server 2003 installation CD in the i386 folder, or from an installed Server 2003 system in the WindowsSystem32 folder.
If you have already installed Adminpak.msi on your system, you can install any other new application on the system. System Restore will remove the configuration settings for the application; however, the application files may remain on your hard drive. The application will probably not operate correctly, and will need to be reinstalled after Task 10.3 is completed to operate the application correctly after restoring the system to its previous state.
Caveat
Any time you are manipulating critical system files, risk is involved. You should always make backups of all your data and your system configuration.
System Restore does not record data files. You must implement a standard backup routine to maintain fault tolerance for your data.
Procedure
You will perform a manual system restore point and then install a new application on the system. You will then perform a system restore to roll the system back to its state prior to the application installation.
Equipment Used
For this task, you must have:
- Windows XP Professional system
- Administrator access
- Adminpak.msi (See “Setup” to learn where to locate Adminpak.msi.)
Details
Confirming System Restore and Creating a Manual Restore Point
1. Log on to the Windows XP Professional system as the Administrator.
2. Right-click on My Computer and select Properties. Select the System Restore tab.
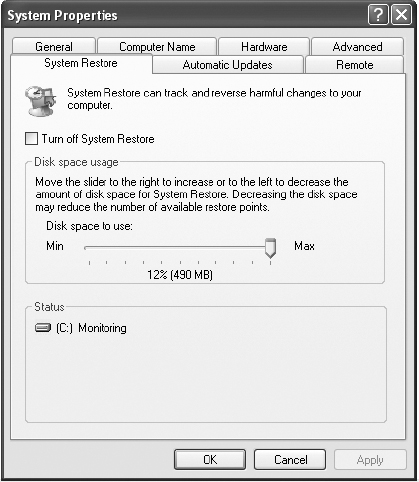
Confirm that System Restore is turned on (the check box Turn Off System Restore is cleared), and maximize the disk space usage.
3. Close System Properties.
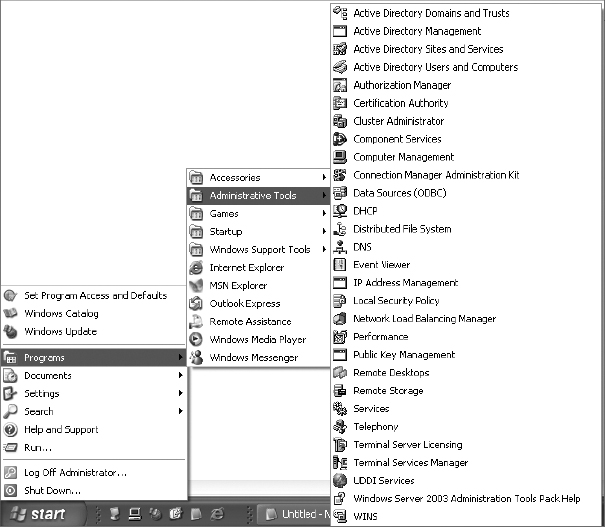
4. From the Start button, select Programs ⇒ Administrative Tools and observe the collection of default, installed administrative tools.
5. From the Start button, select Programs ⇒ Accessories ⇒ System Tools ⇒ System Restore.
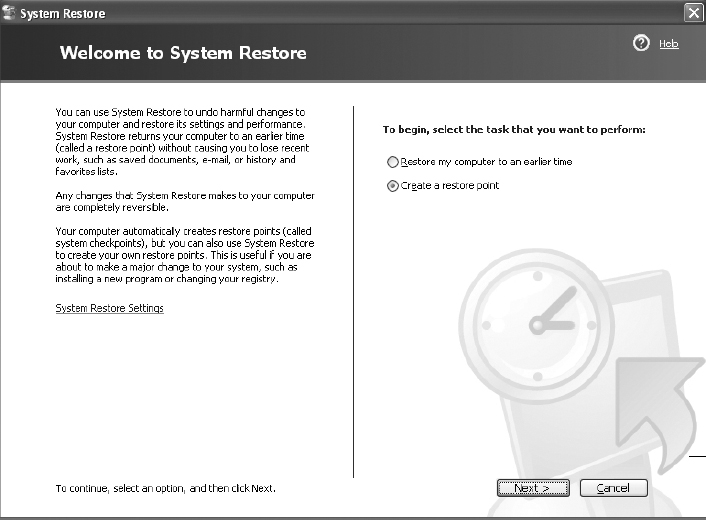
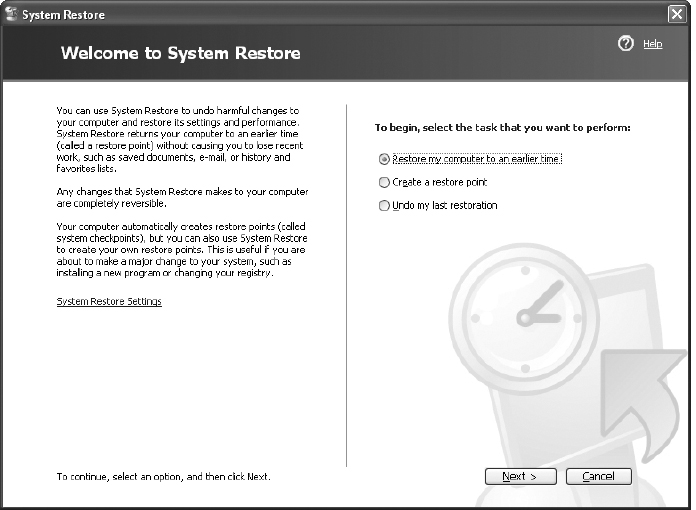
6. In the System Restore Wizard, select Create A Restore Point. Click Next.
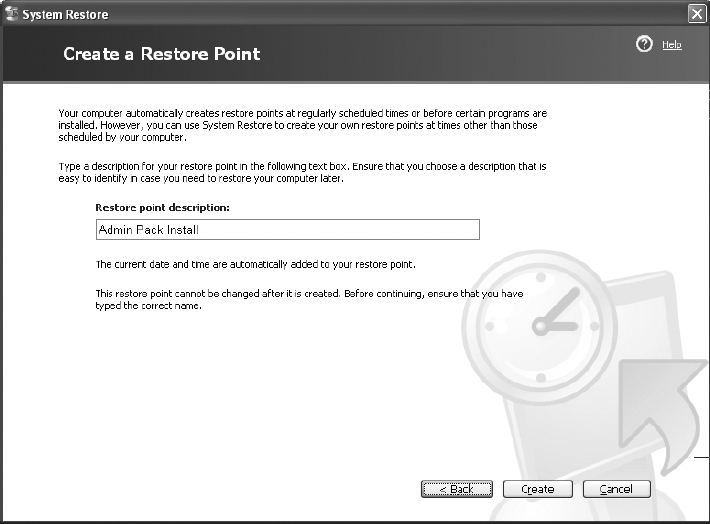
7. On the next screen, type a name for your restore point (in this example, we used Admin Pack Install). Click Next.
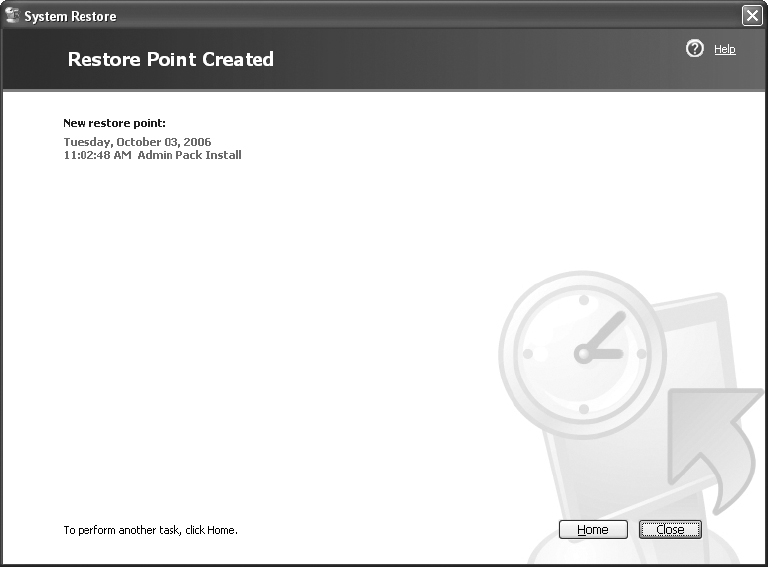
8. The system will be busy for a few moments and then should present confirmation that a restore point has been created. Click Close to close the System Restore Wizard.
Installing a New Application
1. On the Windows XP Professional system, acquire Adminpak.msi from the Microsoft website, from a Server 2003 installation CD in the i386 folder, or from an installed Server 2003 system in the WindowsSystem32 folder.

If you have downloaded the Adminpak.exe file from the Microsoft website, it must be extracted to gain access to the Adminpak.msi file. Extract Adminpak.exe into a new folder on your desktop.
2. Double-click on Adminpak.msi to launch the installation application. Click Next in the Administration Tools Setup Wizard.
3. Click the I Agree button on the EULA. Click Next.
You should see the Installation Progress dialog box.
4. Click Finish to close the Administration Tools Setup Wizard.
5. From the Start button, select Programs ⇒ Administrative Tools and observe the collection of newly installed administrative tools.
Performing a System Restore
1. From the Start button, select Programs ⇒ Accessories ⇒ System Tools ⇒ System Restore.
2. Select the Restore My Computer To An Earlier Time option. Click Next.
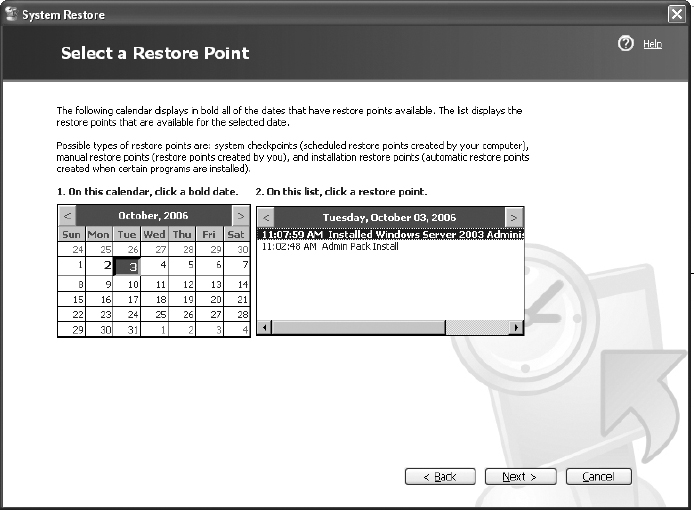
3. You should see your manually triggered restore point on the list of restore points for today. You will notice that the installation of Adminpak.msi triggered an automatic restore point. Select either one of these restore points, since they both contain the same system state. Click Next.
4. Review the details of the configured system restore. Once you have done so, click Next.
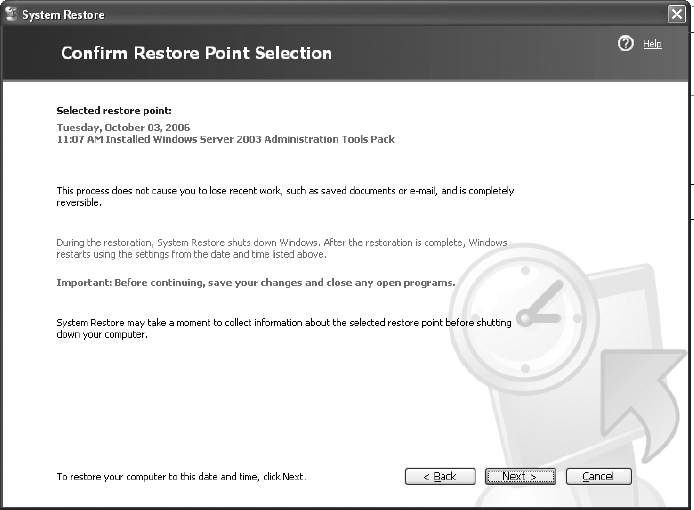

The restore procedure will reboot your system. Save all of your open files and close all other applications.
5. The system will log you off and then perform the configured restore. The system will then automatically reboot.
6. Log on to the Windows XP Professional system as the Administrator. You will be presented with a notification of the successful completion of the system restore process. Click OK.
7. Confirm that the application is no longer installed. From the Start button, select Programs ⇒ Administrative Tools and observe the collection of original, default, installed administrative tools with the supplemental Admin Pack tools removed.
If desired, you can undo the system restore by selecting Start ⇒ Programs ⇒ Accessories ⇒ System Tools ⇒ System Restore and selecting to undo the last restoration.
Performing a System Restore from Safe Mode
System restore can be initiated while in Safe mode. This would be beneficial if your system were failing to boot up properly after the installation of some new application or driver set.
1. Power up the system. Immediately after the BIOS screen clears, press the F8 function key repeatedly until you are presented with the Windows Advanced Options Menu.
If you see the color Windows startup screen with the progress bar sliding from left to right, you’ve missed the time slot for entering the Windows Advanced Options Menu. Reboot the system and try again.
2. Select Safe Mode from the Windows Advanced Options Menu.
3. Log on to the Windows XP Professional system as the Administrator.
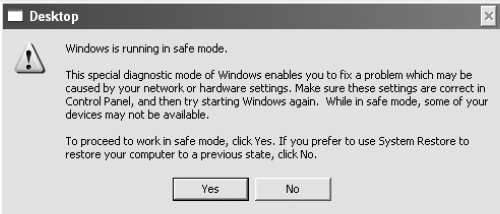
4. You will be presented with a message identifying Safe mode operation. Review the message and click No to proceed into System Restore.
Criteria for Completion
You have completed this task when you have restored the system to a previous system restore point.