
Task 2.3: Patching the Operating System
Many appraisals of operating systems and applications estimate that there are typically somewhere between 10 and 50 bugs (vulnerabilities) per 1,000 lines of code. Windows XP has an estimated 40 million lines of code, and Windows 7 and Windows Vista reportedly have approximately 50 million lines of code. These bugs are doorways for attackers to take control of your systems, potentially compromising the confidentiality, integrity, and availability of your information services. As these bugs are discovered and reported, the software vendors produce patches to correct the vulnerability. This translates to the need for a diligent and continuous patching routine to minimize the potential exposure of these vulnerabilities in your operating system and applications.
Scenario
You are responsible for maintaining an XP 10-user workgroup in your corporate environment. You are also responsible for maintaining 100 XP systems in an Active Directory environment. You need to periodically spot-check patching processes, and you must provide a patching routine to satisfy these maintenance needs.
Scope of Task
Duration
This task should take approximately 1 hour.
Setup
You will need to perform manual patching from the Windows Update website, configure automatic patching for the workgroup, and configure automated patching of your domain member workstations.
Caveat
Patches are intended to correct bugs in the operating system and applications. They replace buggy system and application files with new, corrected versions. These versions are often released with minimal, if any, testing in the real world. Patches can cause functioning applications and services to fail. Patches should be tested in a lab environment prior to implementation on corporate production systems.
Procedure
For the workgroup environment, where the users are local administrators, you can configure Windows Updates to run automatically. You can run update checks manually to perform spot-checking to ensure that the patching system is working correctly. Further, for the Active Directory (AD) environment, you will install Windows Server Update Services (WSUS) on a Windows Server 2003 and then deploy the approved patches via a Group Policy Object (GPO) to your AD clients.
Equipment Used
For this task, you must have:
- Windows XP SP2 system in Workgroup mode
- Windows XP SP2 as a domain member
- Windows Server 2003 SP1, domain controller with IIS and WSUS installed
- Internet connectivity
Details
Manual Patching of the Operating System
1. On the XP system in Workgroup mode, log on as a Local Administrator.
2. Launch Internet Explorer and ensure that you have Internet connectivity.
3. Select Tools ⇒ Windows Update.
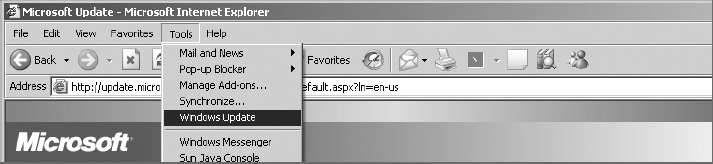

Depending on the status of your system, Windows Update may need to validate your copy of Windows XP by using the Windows Genuine Advantage (WGA) program. If prompted to do so, follow the instructions provided on the web page. Windows Update may also need to install an ActiveX application to aid with the testing of the patch status of the system. Allow this application to be installed.
4. Click Custom.

5. Your system is now downloading from the Windows Update website a file called MSSecure.xml, which is a list of all released patches. Windows Update will compare the status of your system with this downloaded list. Anything your system is missing from this list is presented for download in the resulting web page.
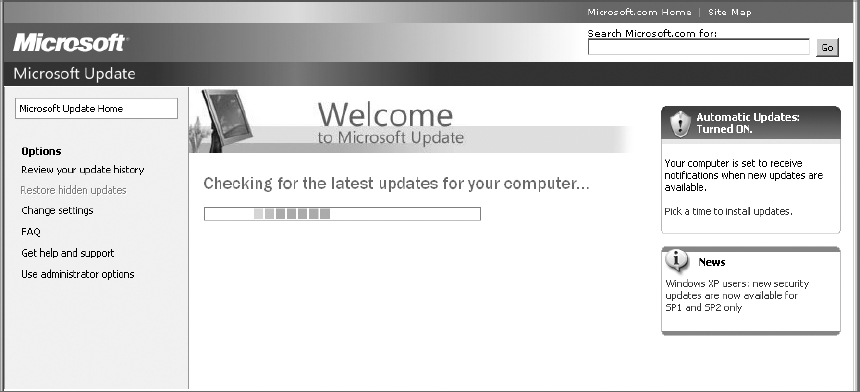
Notice in the left-hand column of this web page that Windows Update identifies High Priority patches, patches for the hardware in the system, and patches for Microsoft software, as well as patches for Microsoft Office if it is installed on the system.
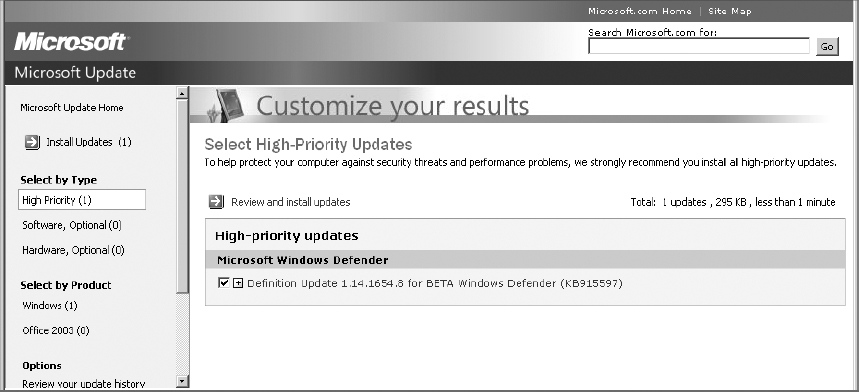
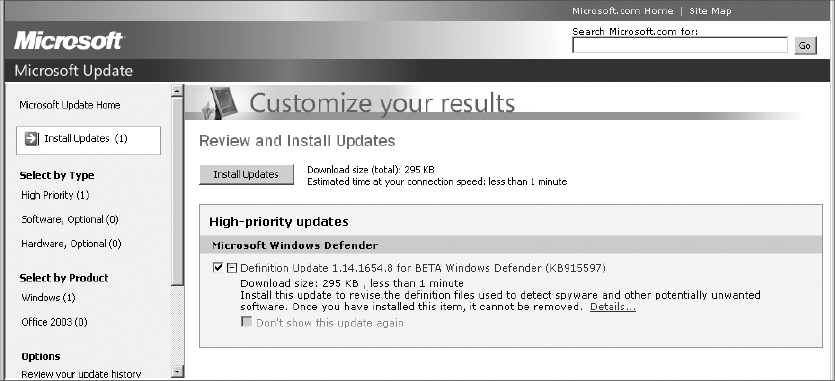
6. Click Review And Install Updates. By expanding the details on the patch(es), you may identify how valuable—or how dangerous—a patch may be to your system. Additionally, some patches must be installed separately and the system must be rebooted after installation. These details will be listed here.
7. If after reviewing the details of the patch you are confident that the patch is desirable and you don’t expect it to cause other processes to fail, confirm that the patch(es) are selected by placing a check mark in the box to the left of the patch title(s), and then click Install Updates.
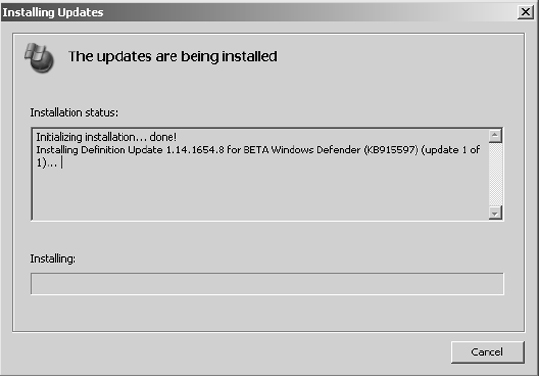
8. A Windows Update progress dialog box is presented.
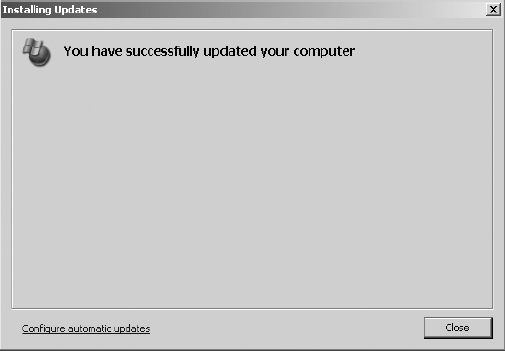
9. Upon completion of the installation of the patch(es), you will be presented with a completion dialog box. This dialog box may indicate that you need to reboot the system. The patching is not complete until after rebooting in this case. If necessary, you should reboot the system as soon as possible. Click OK.
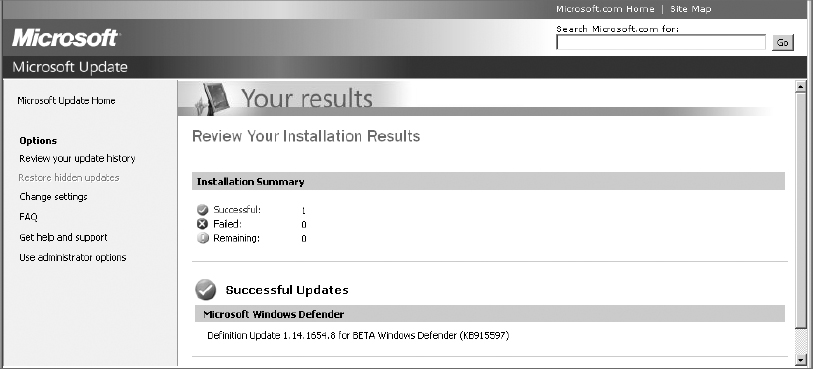
10. An installation summary is presented. Close this window to complete the manual patching process.
Automated Patching in Workgroup Mode
1. Log on to the XP system in Workgroup mode as a Local Administrator.
For automated patching to take place correctly, the user of the system must be a local administrator.
2. Right-click on My Computer and select Properties. In the resulting dialog box, select the Automatic Updates tab.
You can also open this dialog box by selecting Control Panel ⇒ System ⇒ Automatic Updates.
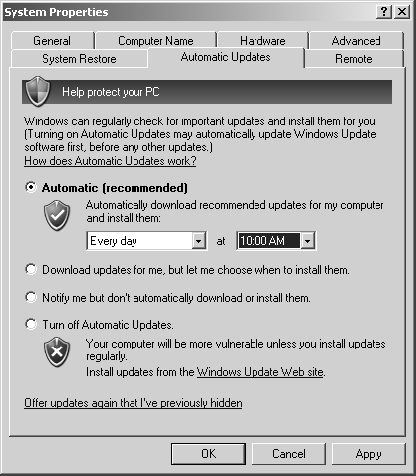
3. The options presented are as follows:
- Automatic (Recommended) – Automatically Download Recommended Updates For My Computer And Install Them
- Download Updates For Me, But Let Me Choose When To Install Them
- Notify Me But Don’t Automatically Download Or Install Them
- Turn Off Automatic Updates
4. Select the first option. Specify that you want to perform this task every day at 10 a.m.
If the system is turned off during a scheduled update, the update will be triggered and will occur when the system is turned on.
In the scenario, this configuration would need to be performed on each of the 10 systems individually.
5. Click OK.
Automated Patching in Domain Mode: Configuring WSUS
1. On the Windows Server 2003 domain controller, log in as a Domain Administrator.
2. You can download WSUS (currently version 3, SP2, approximately 85 MB) from http://technet.microsoft.com/en-us/windowsserver/bb332157.aspx.
The user must have a Microsoft Live 1 login account, an MSN email account, or a Passport account. Several Overview and Deployment guides are available on this website.
3. WSUS utilizes IIS on the WSUS server for its administration interface. On the Windows Server 2003 domain controller and now the WSUS server, open Internet Explorer. Enter the URL http://localhost/WSUSAdmin.
You will need to authenticate as a domain administrator. The following administrative interface is presented:
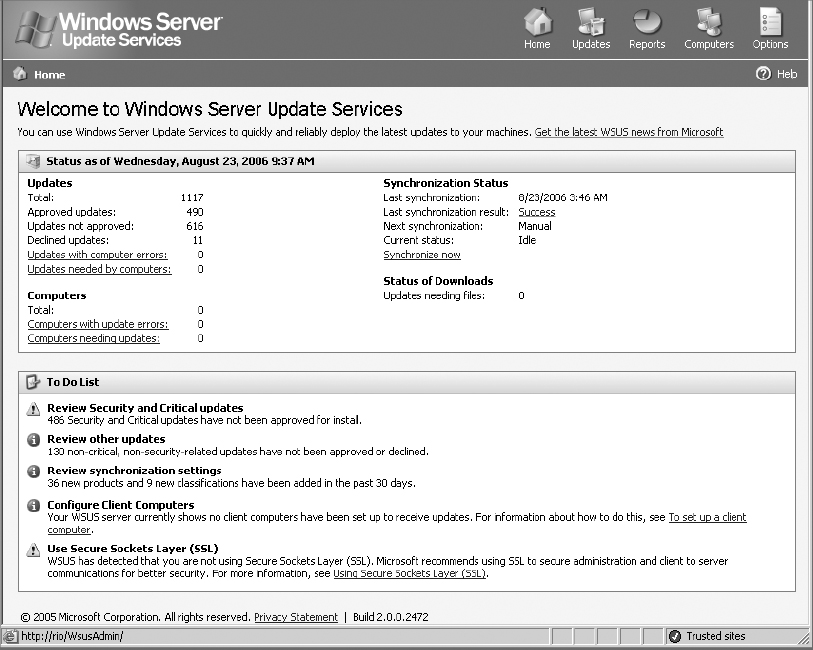
4. In the upper-right corner, click Options. You are given three configuration choices:
- Synchronization Options
- Automatic Approval Options
- Computers Options

5. Select Synchronization Options.
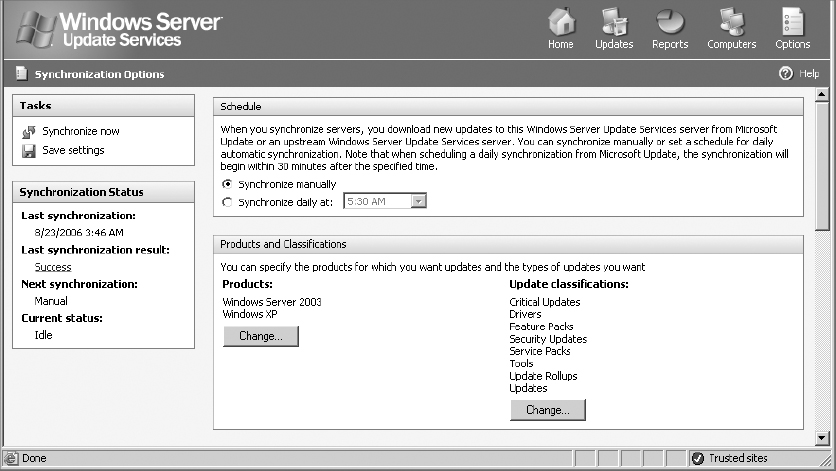
Here you can choose to synchronize manually or set a daily synchronization schedule. In the corporate environment, you’ll probably want to set this for daily synchronization.
For this task, select Synchronize Manually.
6. In the next section, click the Change button under Products.
Select the operating systems and applications you are required to support in your environment.
For this task, select Windows Server 2003 and Windows XP.
7. Click the Change button under Update Classifications.
Select the types of updates you wish to provide through the WSUS system.
For this task, select all options.
8. Scroll down to the next sections.
9. If you are not connected to the Internet through a proxy server, deselect the Use A Proxy Server When Synchronizing check box.
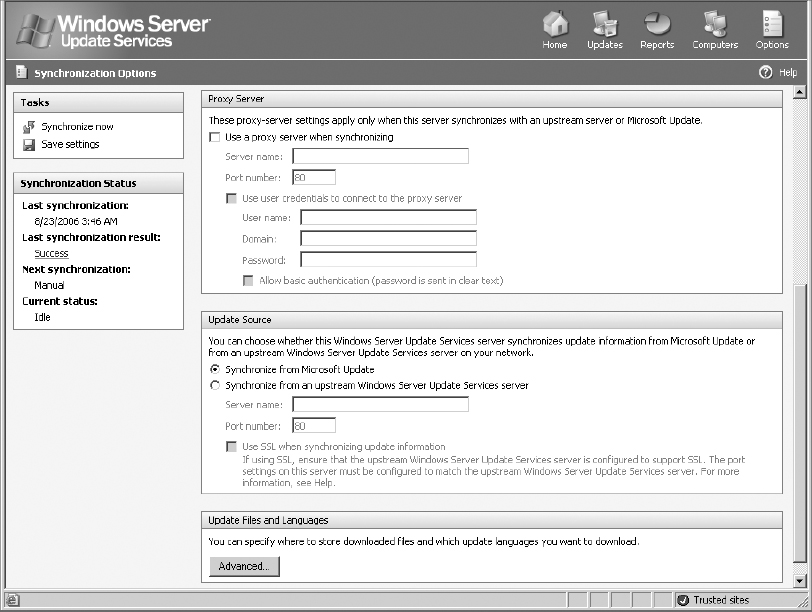
If you are connected to the Internet through a proxy server, enable that check box and configure this section according to the configuration requirements of the proxy server. If you are not sure of the proxy server configuration requirements, contact your network administrator.
If you are not sure whether you are passing through a proxy server, first try this setting with the Use A Proxy Server setting cleared.
10. In the Update Source section, choose either Synchronize From Microsoft Update or Synchronize From An Upstream Windows Server Update Services Server.
For this task, select Synchronize From Microsoft Update.
11. In the Update Files And Languages section, click Advanced. Review and clear the warning message.
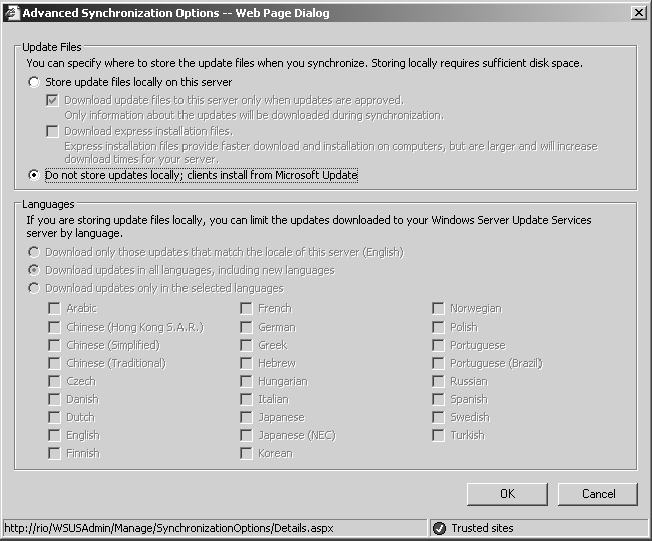
12. Here you can choose one of two options: Store Update Files Locally On This Server or Do Not Store Updates Locally; Clients Install From Microsoft Update.
Storing these updates locally currently requires about 6 GB of hard drive space on the volume that is holding the WSUS content.
With the setting Do Not Store Updates Locally; Clients Install From Microsoft Update, the WSUS server is used only to configure the Approval log and have clients download only the approved updates directly from Microsoft Update.
As you can see, this server is configured with the setting Do Not Store Updates Locally; Clients Install From Microsoft Update.
For this task, retain whichever setting the WSUS server was configured with (assuming you have 6 GB+ of free space on the volume holding the WSUS content; otherwise, to avoid consuming so much space on the local hard drive, select Do Not Store Updates Locally On This Server).
13. If your system is configured to store update files locally on the server, the Languages section is available. Choose only the languages you need to support in your environment.
If you choose to have clients download updates from Microsoft Update, the list of available updates for administrative approval includes all languages supported by Microsoft Update. Approve updates for only the language(s) required by your environment.
14. Click OK. In the upper-left corner, in the Tasks section click Save Settings.
15. If your system requires it, you may need to synchronize your WSUS server before you can proceed.
Synchronization can take an extended period of time, potentially several hours, depending on your configuration choices and Internet connectivity bandwidth. To synchronize your server, click Synchronize Now in the upper left of the Tasks section.
16. Click Updates in the upper-right corner.
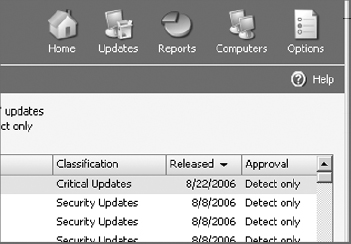
17. Review updates in the right-hand pane, observing the Details, Status, and Revisions below.
In a corporate environment, all updates should be tested for compatibility in a lab environment, on a different network segment, prior to approving and deploying to the production network.
18. In the left-hand pane, in the View section select the drop-down lists to observe the products and classifications, approval status, and synchronization status.
In the three drop-down lists, select All Updates, All Updates, and Any Time, then click Apply to view all updates.
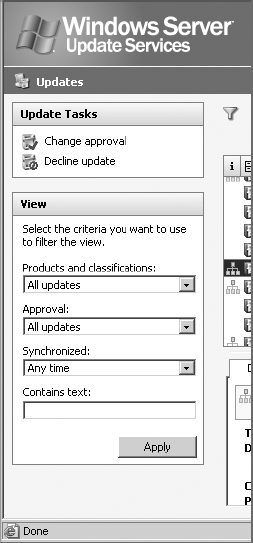
19. Select an update in the right-hand pane. In the left-hand pane, in the Update Tasks section, click Change Approval.
20. Review the contents of the dialog box. In the Approval drop-down list, select Install. Click OK. You will see this update now configured to install in the Approval column.

You have now walked through the process of configuring WSUS to synchronize and download the approval list of updates or to store updates locally and maintain the approval list. You have performed an approval of one or more updates.
Next you must configure systems to receive updates from the WSUS server. This is done by Group Policy Objects (GPOs).
Automated Patching in Domain Mode: Configuring Systems to Update from WSUS
1. On the Windows Server 2003 domain controller, log in as a Domain Administrator.
2. From Administrative Tools, launch Active Directory Users And Computers (ADUC).
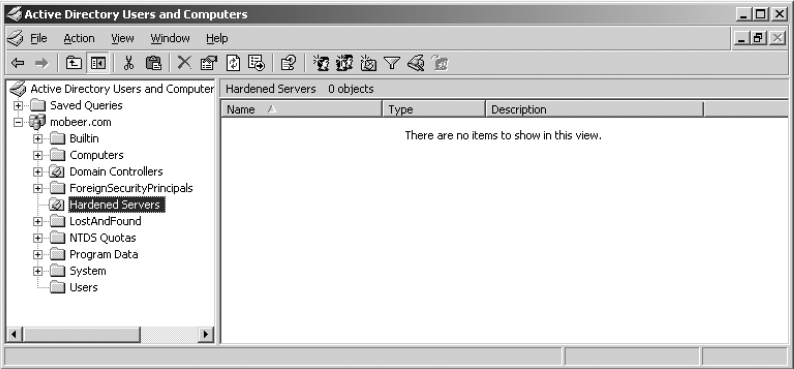
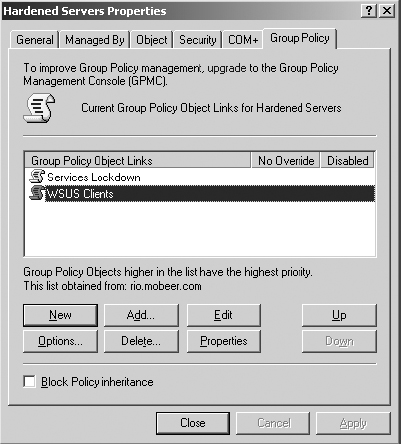
3. Earlier, in Task 2.1, you created an OU called Hardened Servers. Right-click this OU and select Properties. Select the Group Policy tab.
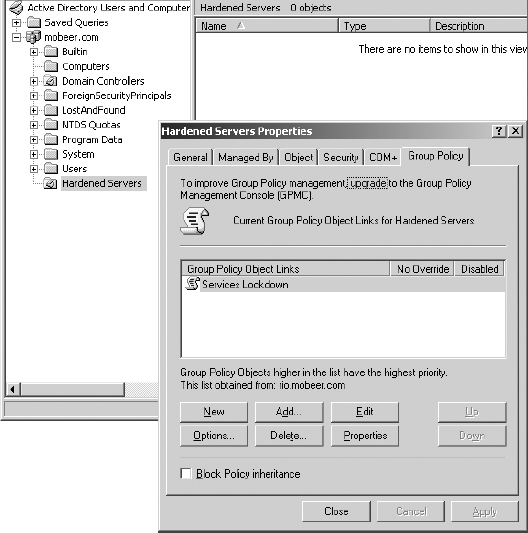
4. Click New and name the new GPO WSUS Clients.
5. Click Edit. Expand the GPO to view Computer Configuration ⇒ Administrative Templates ⇒ Windows Components ⇒ Windows Update. Review the various GPO configuration settings available.
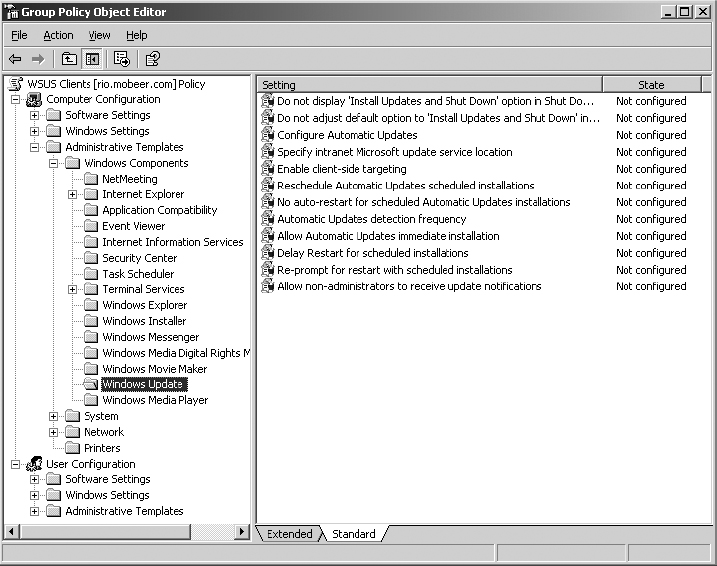
6. Double-click Configure Automatic Updates. Notice the Explain tab on the properties of each setting.
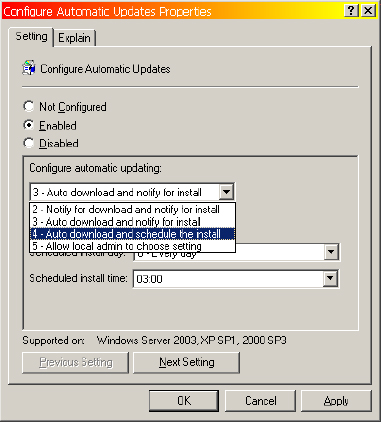
7. Enable Configure Automatic Updates.
From the Configure Automatic Updating drop-down list, select Auto Download And Schedule The Install.
The default configuration schedules the install to occur every day at 3:00 a.m. These settings are acceptable for the purposes of this task.
8. Click Next Setting. This brings up the Specify Intranet Microsoft Update Service Location Properties dialog box.

9. Enable the setting. Specify the WSUS server in the two fields. These fields must both be filled in and must follow the specified format:
- http://server (Hostname or IP address minimum, fully qualified domain name [FQDN] preferred)
- http://server.domain.com (Hostname or IP address minimum, FQDN preferred)
If the WSUS server is specified by name, name resolution services must be configured properly in your network environment.
10. Click OK.
These two are the minimum required settings to configure clients to use the WSUS services. Feel free to configure additional settings as desired in your environment. When you have completed configuring these settings as desired, close the GPO by clicking the X in the upper-right corner.
Only computer objects that reside in the Hardened Servers OU are subject to this GPO and these settings. Move the appropriate computer objects into this OU.
You have now configured systems to utilize the WSUS services and automatically receive approved updates.
Criteria for Completion
You have completed this task when you have performed updates manually by going to the Microsoft Update website; configured clients to automatically download and install updates; configured WSUS to synchronize the update list; approved selected (and tested) updates; and configured clients to receive WSUS approved updates by GPO.