
File and folder resources on a network are accessed through a special opening in a system called a share point. These share points are there for good reason, but they are often the doorway that an attacker uses to violate your system security controls. Share points are made possible and managed by the File And Printer Sharing service, otherwise called the Server service.
Only Administrators, members of any of the Operators groups, and Power Users have permissions sufficient to create share points, in an attempt to minimize the potential exposure of vulnerabilities.
Even with this elite and restrictive collection of share-point creators, each share point should be carefully configured to implement the principle of least privilege. In other words, grant the barest minimum level of access to only those who need access.
Scenario
You are responsible for providing appropriate security and access to a new share point on a file server. Users need to be able to read and write content on this share point.
Scope of Task
Duration
This task should take 60 minutes.
Setup
You will create a folder with content to be shared on a file server. Then you will create the proper chain of users and groups to provide appropriate permissions and restrictions to the content within the folder. Finally, you will create the actual share point.
Caveat
The addition of any share point should be carefully considered. These are holes in the security fortress on a system.
Improper creation of share points can result in the loss of confidentiality, integrity, and/or availability of your information assets and can lead to the compromise of the entire system. The compromise of one system establishes a foothold in your network for attackers, allowing them to attack your network from within.
Always implement shares with consideration for the principle of least privilege.
Procedure
For this task, you will establish the content to be shared, build the proper AGDLP chain (User Accounts get added to Global Groups; Global Groups get added to Domain Local Groups; Local Groups get granted Permissions) to grant permissions, and then implement the share point.
Equipment Used
For this task, you must have:
- Windows Server 2003 system in a domain environment
- Domain Administrator access

This technique can be done with Windows XP Professional, Windows Vista, and Windows Server 2008 as well, but remember that a workstation-class operating system can support only 10 inbound connections to its Server service. Servers can support unlimited inbound connections to their Server service.
Details
Pulling Together the Content to Be Shared
1. Log on to the Windows Server 2003 system as the Administrator.
2. Launch Explorer by right-clicking the Start button and selecting Explore.
3. In the left pane, select the root of a drive that has sufficient free space to host the shared content.
4. In the right pane, right-click in the white space and select New ⇒ Folder.
5. Name the folder STUFF.
6. Create or copy content into the STUFF folder.

For the purposes of this exercise, this content should not contain anything sensitive.
Building AGDLP: Creating the Users and Groups
1. You must first create the groups and users to assemble the AGDLP chain. Launch Active Directory Users And Computers (ADUC) by selecting Start ⇒ Programs ⇒ Administrative Tools ⇒ Active Directory Users And Computers.
If the system you are logged onto is not a domain controller, you may install these tools by running Adminpak.msi, which is located in the WindowsSystem32 folder on every server-class system by default.
2. Right-click on the domain name and select New ⇒ Organizational Unit.
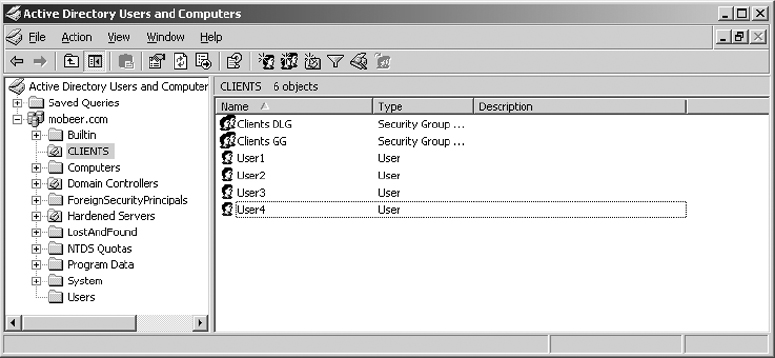
3. Name the new OU CLIENTS.
4. Right-click on the CLIENTS OU and select New ⇒ Group.
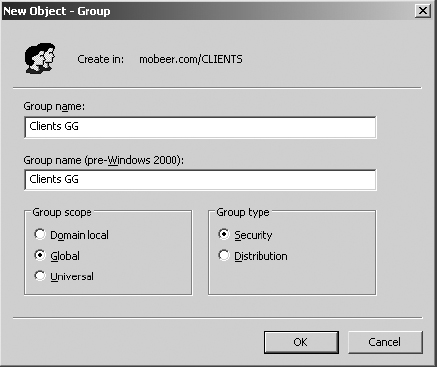
5. Name the new group Clients GG; select Global for Group Scope, and Security for Group Type. Click OK.
6. Right-click on the CLIENTS OU and select New ⇒ Group.
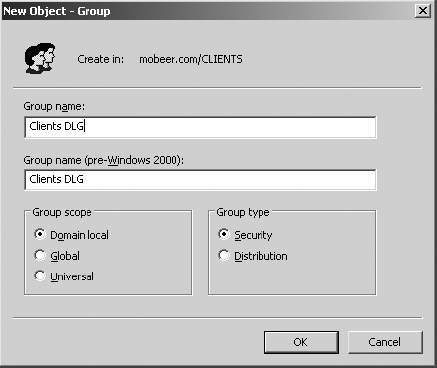
7. Name the new group Clients DLG; select Domain Local for Group Scope, and Security for Group Type. Click OK.
8. Right-click on the CLIENTS OU and select New ⇒ User.
9. Type the name User1 in the First Name field. Type User1 in the User Logon Name field. Click Next.

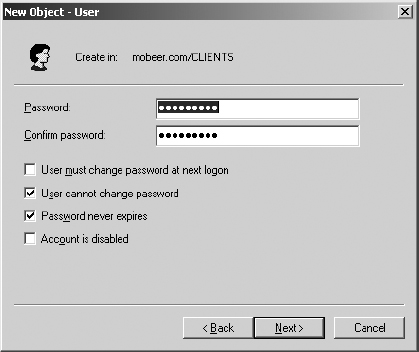
10. Type the password Password1 in the Password and Confirm Password fields. Clear the User Must Change Password At Next Logon check box. Enable the User Cannot Change Password and the Password Never Expires check boxes. Click Next.
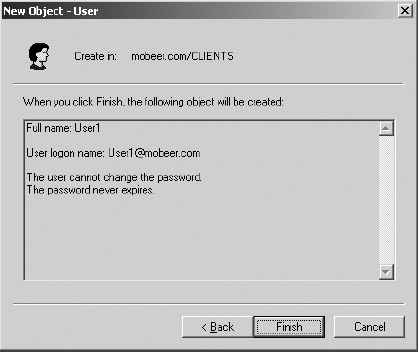
11. Click Finish to create User1.
12. Repeat steps 8 through 11 to create User2, User3, and User4.
Building AGDLP for the Shared Content
1. Now you will add the four users into the Global Group. Double-click the Global Group named Clients GG. On the Members tab, click Add.
2. Click Advanced.

3. Click Find Now to display all users and groups in the domain.
4. Select User1 through User4. Then click OK.
To select all four users at once, you can click on User1, then press and hold the Shift button on the keyboard and click on User4.
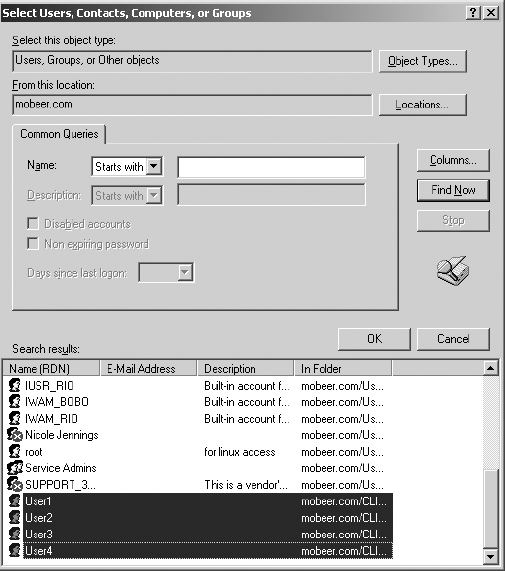
5. Click OK a second time to add these users to the Clients GG.

6. Click OK to close the Clients GG Properties dialog box.
7. Now you will add the Clients GG into the Domain Local Group called Clients DLG. Double-click on the Domain Local Group named Clients DLG. On the Members tab, click Add.
8. Click Advanced.
9. Click Find Now to display all users and groups in the domain.
10. Select the Clients GG. Then click OK.
11. Click OK a second time to add the Clients GG to the Clients DLG.

12. Click OK to close the Clients DLG Properties dialog box.
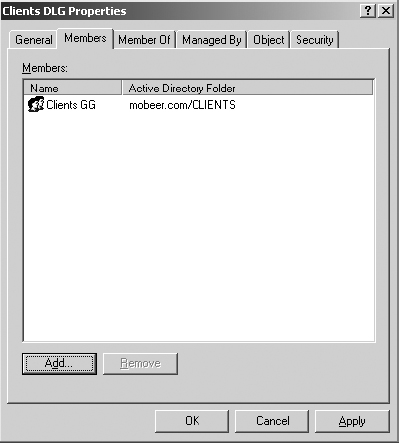
You have just assembled AGDL of the AGDLP chain for granting permissions (Users into Clients GG; Clients GG into Clients DLG). Next you will grant the Clients DLG permissions: both NTFS and share-point permissions.
13. Launch Explorer by right-clicking the Start button and selecting Explore.
14. In the left pane, select the root of a drive that holds the STUFF folder.
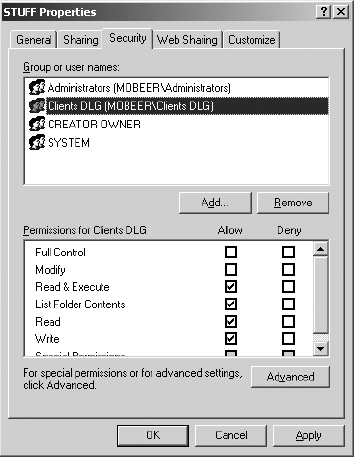
15. In the right pane, right-click on the STUFF folder and select Properties. Select the Security tab.
The Security tab is used to set NTFS permissions—that is, permissions that control picking the files up off the NTFS volume. Permissions should always be set following the principle of least privilege.
16. Click Add.
17. Click Advanced.
18. Click Find Now to display all users and groups in the domain.
19. Select the Clients DLG. Then click OK.
20. Click OK a second time to add the Clients DLG to the access control list for the STUFF folder.
21. With the Clients DLG selected in the upper pane, check the Allow Write Permission option in the lower pane. This collection of Allow permissions grants the Clients DLG read and write capabilities at the NTFS level for this folder.
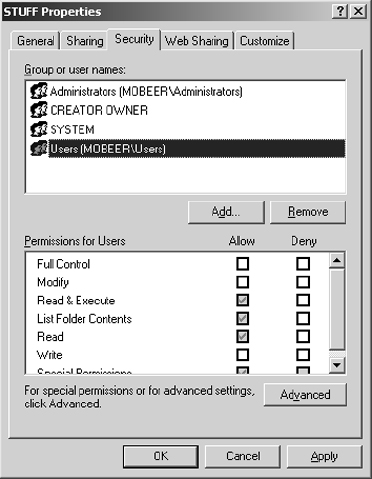
22. You do not want all users of the domain to be able to read these files, so you must get rid of the Users group. This group has default permissions inherited from the root of the drive. On the Security tab of the STUFF Properties dialog box, click Advanced.
23. On the Permissions tab of the Advanced Security Settings For STUFF dialog box, clear the Allow Inheritable Permissions check box.

24. Clearing this check box immediately prompts you to do one of the following:
- Copy the inherited permissions to make them explicitly assigned at the STUFF folder
- Remove all permissions
- Cancel this action
25. Select to copy the permissions.

26. Notice in the Inherited From column that the permissions are now shown as <Not Inherited>. Click OK.
27. On the Security tab of the STUFF Properties dialog box, select Users, and then click the Remove button.
28. The Security tab of the STUFF Properties dialog box should appear as shown here. This sets the NTFS permissions on content within the STUFF folder.
29. Next, you must provide the share-point permissions for the Clients DLG. This is managed by the Server service on the system. Select the Sharing tab in the STUFF Properties dialog box.
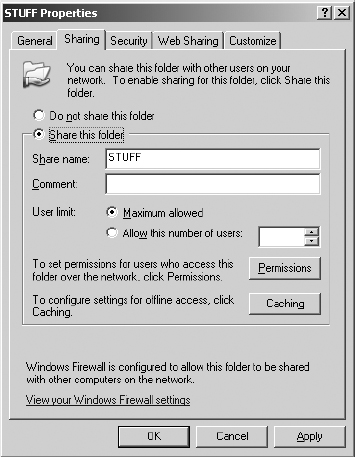
30. Click the Permissions button and observe the default share-point permissions provided by the Server service. Click Add.
31. Click Advanced.
32. Click Find Now to display all users and groups in the domain.
33. Select the Clients DLG. Then click OK.
34. Click OK a second time to add the Clients DLG to the access control list for the Share Permissions.
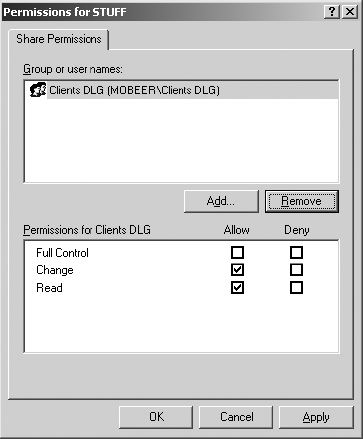
35. With the Clients DLG selected in the upper pane, check the Allow Change permission in the lower pane. This collection of Allow permissions grants the Clients DLG read and write capabilities at this share point.
36. With the Everyone group selected in the upper pane, click the Remove button to disallow unwanted users from accessing this share point. The resulting access control list for the STUFF Share Permissions should appear as shown here.
37. Click OK to accept the permissions. Click OK to close the STUFF Properties dialog box.
Criteria for Completion
You have completed this task when you have assembled the proper AGDLP chain for granting permissions. This includes granting NTFS permissions, managed by the NTFS file system, to the proper local group, as well as granting share permissions managed by the Server service to the same local group. You also removed all undesired permissions from the access control lists to remain consistent with the principle of least privilege.