
Task 4.10: Securing Data to Satisfy FIPS 140-2 Using PGP Desktop
You have implemented several techniques to protect sensitive data on computer systems. Why would you need another? If your organization is subject to any legal or regulatory compliance requirements, a core component of most of these is the requirement for “prudent security” to be the foundation of the information systems. A way to demonstrate prudent security in your environment is to base your IT system configuration on preestablished standards or published best practices.
In the United States, the National Institute of Standards and Technology (NIST) publishes sets of standards for implementing various types of technologies, including secure IT systems. One of these standards addresses encryption for sensitive but unclassified data and is called the Federal Information Processing Standard (FIPS), publication 140, currently at revision 2 (i.e., FIPS 140-2).
The core cryptographic technologies underlying PGP Desktop, a commercial encryption tool, have been validated to be in compliance with FIPS 140-2. While there may be some rare exceptions, if you are protecting your business data in compliance with FIPS 140-2, you are implementing prudent security and therefore have established the foundation of compliance in this regard.
The FIPS 140-2 standard can be downloaded from the NIST website at
http://csrc.nist.gov/publications/fips/fips140-2/fips1402.pdf
Other NIST standards and publications on security management and assurance can be found at
http://csrc.nist.gov/groups/STM/index.html
Scenario
Your company has opened a new division that is subject to regulatory compliance requirements. You must assure the sensitive data that is the target of this regulation is protected in a compliant manner. The encryption solution proposed for the new division uses the PGP Encryption Platform.
Your client computers run Windows 7. You need to install and test PGP Desktop on a new Windows 7 computer to help ensure a smooth rollout.
Scope of Task
Duration
This task should take 60 minutes.
Setup
You will create and then access an encrypted Zip file using PGP Desktop client software on a new, fully patched Windows 7 client system.
Caveat
Any time you encrypt data, if you somehow lose access to the decryption key(s), you may permanently lose access to the important data. PGP uses long passwords, called passphrases. If you use PGP to protect important data and forget your passphrase, you may not be able to recover your data—ever.
Procedure
For this task, you will download and install PGP Desktop client software onto a new, fully patched Windows 7 client system. Then you will use the PGP Zip utility to compress and encrypt several test files.
Equipment Used
For this task, you must have:
- A new, fully patched, Windows 7 client system
- Local Administrator access
- Internet connectivity (or a downloaded copy of PGP Desktop v9.12 or higher)

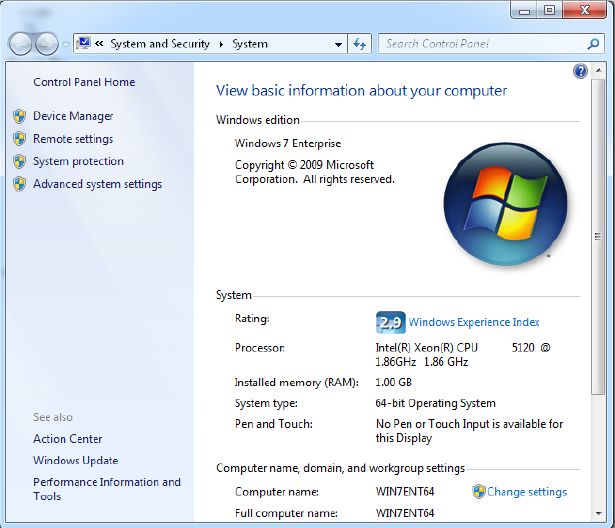
You will need to know the version of the Windows 7 operating system you are running, either 32-bit or 64-bit. You can find this information in the Windows System Properties. On your Windows 7 system, click Start, right-click Computer, and select Properties. Observe and note the System Type value, either 32-bit or 64-bit.

This technique can also be used with Windows XP Professional, Windows Vista, and Windows Server 2003, 2008, and 2008 R2.
Details
Acquiring the PGP Desktop Software
1. Log on to the new Windows 7 system as the Local Administrator.
2. Launch Internet Explorer by clicking the Internet Explorer icon on the Taskbar.
3. To navigate to the PGP Desktop download page, go to
www.pgp.com/downloads/desktoptrial/desktoptrial2.html
4. Carefully review the PGP Software License Agreement.
5. Check the “I have read and agree to. . .” check box at the bottom of the agreement.
6. Click the Accept button.
7. Verify that the available version is v9.12 (required to support Windows 7) or higher (currently at v10.1.1). Click the Download button for PGP Desktop for Windows.
8. If you receive the following notice in your browser, click on the warning banner and select Download File.

9. Click the Save button in the File Download dialog box.
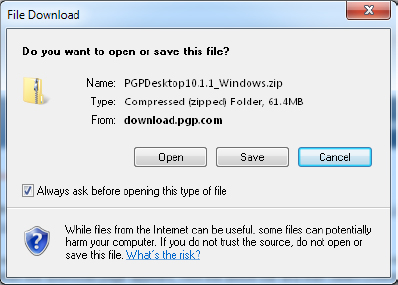
10. Save the file to the desktop by clicking the Desktop icon in the left-hand pane and then clicking Save.
11. When the download completes (typically over 70 MB), close all windows to show the desktop.
Installing PGP Desktop
1. Double-click the PGP Desktop icon on the desktop.
If the system you are logged onto is not a domain controller, you can install these tools by running Adminpak.msi, which is located in the WindowsSystem32 folder on every server-class system by default.
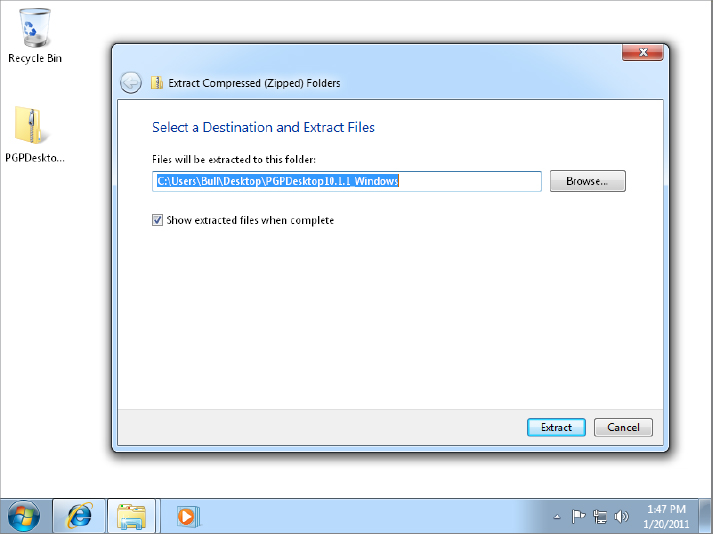
2. On the menu bar, click Extract All Files.

3. Accept the default settings for the extraction, which will place the extracted files on the desktop. Click the Extract button.
4. Double-click the PGPDesktop_XXX_Windows_Inner compressed file.
5. On the menu bar, click Extract All Files.
6. Accept the default settings for the extraction, which will place the extracted files in the PGP folder on the desktop. Click the Extract button.
7. If your version of the Windows 7 operating system is 32-bit, double-click the PGPDesktopWin32 installation file. If your version of the Windows 7 operating system is 64-bit, double-click the PGPDesktopWin64 installation file.

8. In the Open File – Security Warning dialog, click Run to launch the PGP Desktop installation utility.
9. To accept English-language installation, click OK.
10. Review and then accept the PGP Corporation End User License Agreement and click Next.
11. To display the PGP Desktop Release Notes for this version, select to display the release notes and click Next. Otherwise, just click Next.
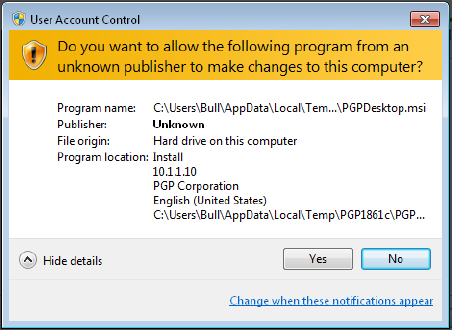
12. If the User Account Control dialog box opens, review the details and then click Yes to allow the installation to proceed.
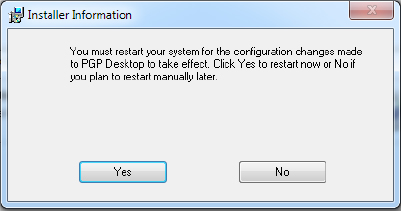
13. To complete the installation of PGP Desktop, click Yes and restart the Windows 7 computer.
You may delete the PGP installation folder from the desktop once installation has been completed.
Configuring PGP Desktop
1. Log on to the new Windows 7 system as the local Administrator.
2. The PGP Setup Assistant wizard should automatically launch after login. Confirm that you want PGP to be available for the logged-in user account by clicking Yes, and then click Next.

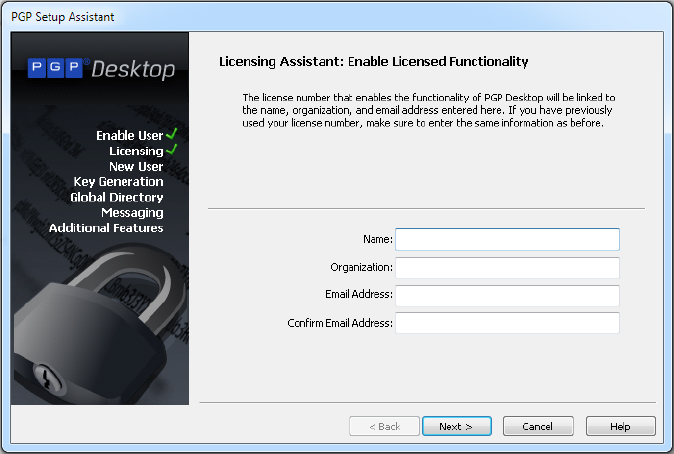
3. Enter your name, organization, and email address (twice), and then click Next.
4. On the Licensing Assistant screen, choose the “Use without a license. . .” option and click Next.
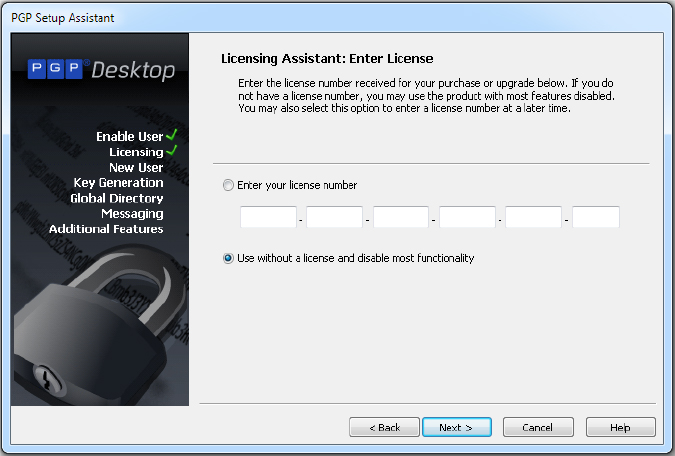
5. Since you will be running an unlicensed trial installation, several features will be disabled, as you see on the next screen. Click Next.
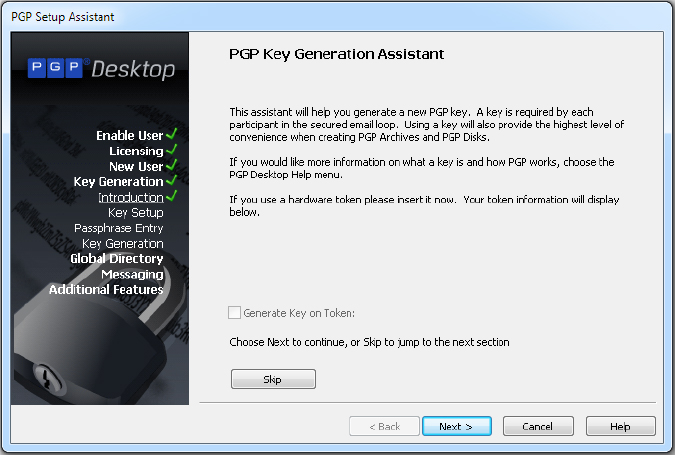
6. Choose the I Am A New User option. Doing so triggers the creation of new PGP keys for the logged-on user account. Click Next.

7. Since you will not be using a hardware token, click Next to continue the key-generation process.
8. Enter your full name and email address. For the purposes of this exercise, you should not need to enter additional addresses, but if you want to associate your PGP encryption keys with multiple email addresses, click the More button to enter the additional email addresses.
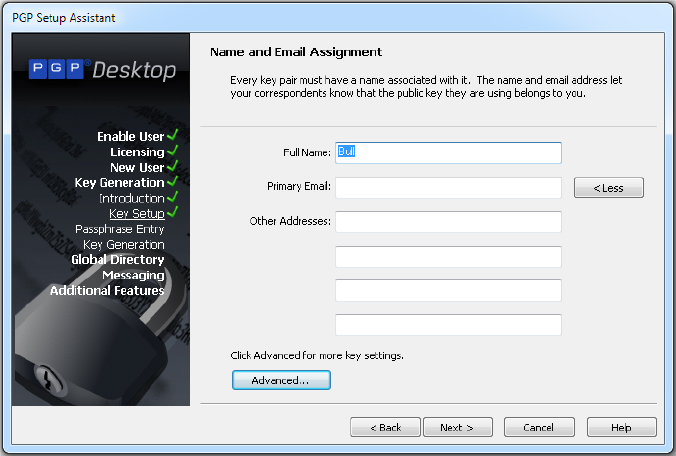
9. Click the Advanced button to review the various key, cipher, hash, and compression options. Do not make any changes to the settings in this dialog box.

10. Click Cancel to return to the PGP Setup Assistant Name And Email Assignment screen. Click Next.
11. Enter a passphrase (twice). The longer the passphrase, the stronger the protection, as long as you can remember and reenter the passphrase correctly when you need to access your protected content. You might choose a line from a favorite song or movie as your passphrase.
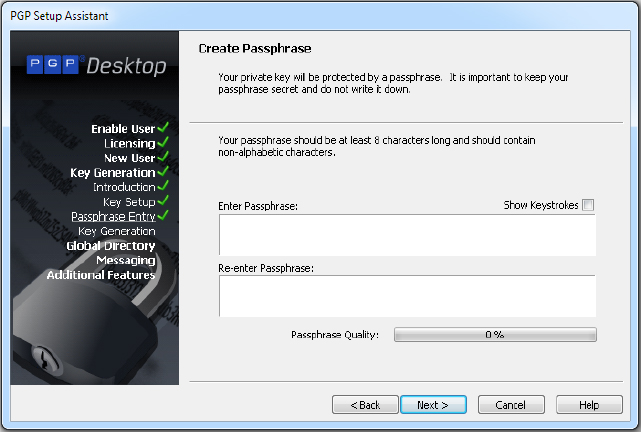
Notice the quality rating of your new passphrase as you type it in. You increase the strength of the passphrase by adding characters (making the passphrase longer), by mixing upper- and lowercase alpha characters, and by adding numbers and symbols to the passphrase. You don’t get extra points for repeating characters.
Select the Show Keystrokes check box to display your passphrase, but be aware of who else might be able to “shoulder-surf” and see your new passphrase. You may have just given up all of your newfound security!
After you have successfully entered your passphrase twice, click Next.
You must remember your passphrase exactly. If you cannot reenter the passphrase after implementing PGP encryption, you may not ever be able to access your protected data.
You should never write down your passphrase and never share it with anyone else. If someone else has your passphrase, they can assume your identity within the IT/PGP system and can decrypt all of your PGP-protected confidential information.
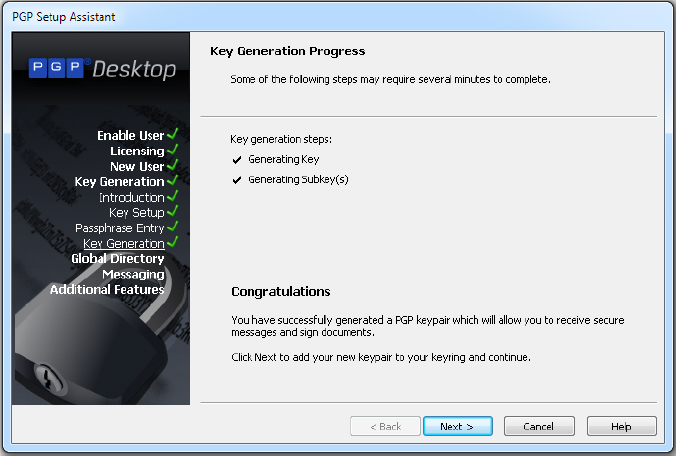
12. Your new asymmetric key pair is generated. The private key of this key pair can only be accessed by successfully entering your passphrase. Click Next.
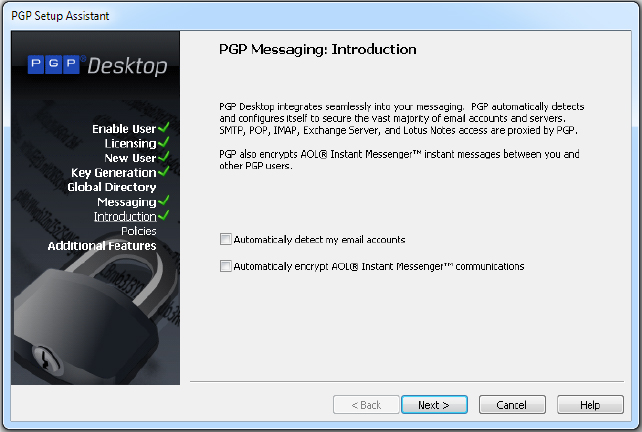
13. Since this new installation of Windows 7 does not have any email or AOL IM accounts configured, clear both check boxes on this screen and click Next.
14. Click Finish.
Creating a PGP-Protected Collection of Files
1. Create three test files on the desktop by right-clicking the desktop and selecting New ⇒ Text Document. Name the documents Test1, Test2, and Test3. Add the following text into each file and save the text files:
This is the secret content in these text files.

2. Launch the PGP Desktop application. You can do so by clicking Start ⇒ PGP Desktop, or by clicking on the PGP icon in the system tray in the lower-right corner.

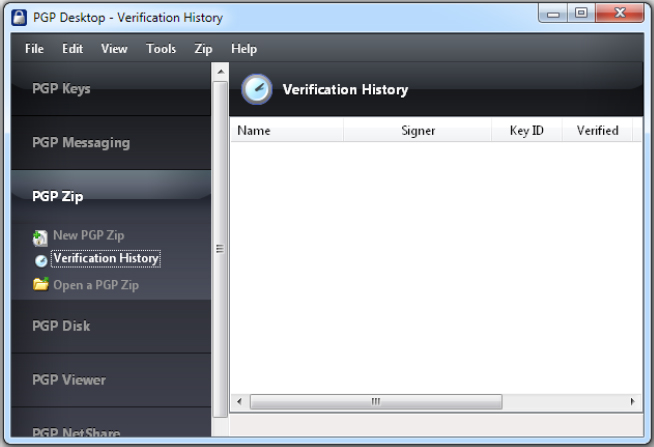
3. In the left-hand pane, click PGP Zip ⇒ New PGP Zip.
4. Enable the Shred Originals check box. This option overwrites the unencrypted original files so they cannot be recovered and exposed using recovery tools. The following graphic shows Test1 and Test2, but drag all three files, Test1, Test2, and Test3, into the PGP Zip utility. Click Next.

5. Review the choices and descriptions of how to encrypt or sign the PGP Zip file. You want to encrypt these files for your own use, and you do not intend to share them with others. Choose the Recipient Keys radio button.
Notice that two of these options allow you to secure the PGP Zip file with a new passphrase so you can share the protected files with others. If you use the passphrase options, you would not want to use the passphrase you use to protect your own PGP keys, because you must share the new passphrase with each intended recipient of this PGP Zip file.
Click Next.

6. In this case, you are encrypting the files for your own use. By default, you are automatically on the list of recipients for this content.

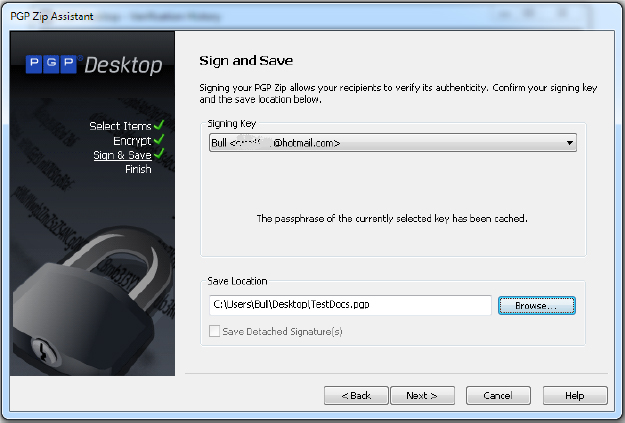
7. The signing option provides strong authenticity of the source of the content, proving that you created this file. It also provides a strong integrity validation check at the time of use (decryption). You would sign the file to prove to the other recipients (if there were any) that it was really you who provided this content. Choose your signing key from the drop-down list.
Verify the output file save location is your desktop, and rename the file to TestDocs.pgp. Click Next.
8. Since you earlier chose to shred the unencrypted originals (delete the files, then overwrite the space on the hard drive where the originals were stored), you must now confirm that you want to make these original files unrecoverable. If you click Yes, the only accessible copy will be encrypted. The only way to recover this content to a readable state is to successfully enter your passphrase when you need to access the content again. Click Yes to complete the encryption and shredding processes.

9. Review the details of the actions taken by PGP Zip. Click Finish to close the PGP Zip wizard.

10. Notice that the three original, unencrypted files are gone from the desktop, and the new PGP Zip file, TestDocs.pgp, has been placed on the desktop. The file extension may not be shown, depending on the file system settings on the Windows 7 installation.
11. Close the PGP Desktop utility by clicking on the red X in the upper-right corner.
Accessing the PGP-Protected Collection of Files
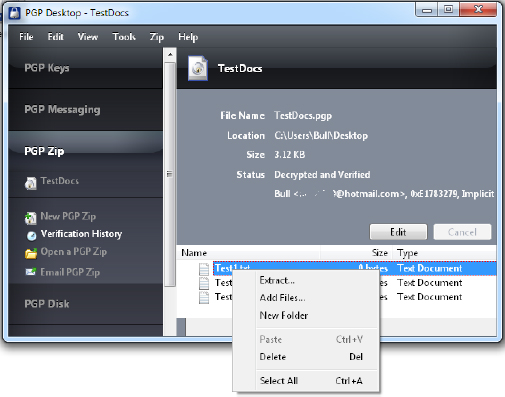
1. Double-click the TestDocs icon on your desktop. Doing so launches the PGP Desktop utility and opens the PGP Zip function. Notice the three Test files you encrypted previously. Right-click on Test1.txt and select Extract.
2. In the Browse For Folder dialog box, click Desktop, and then click OK. The Test1 file appears, unencrypted, on the Desktop. Open the file and verify the contents are readable.
Notice that you were not prompted for your passphrase. To simplify your login session, once you have entered your PGP passphrase, PGP will cache the passphrase for that Windows login session. At this time, your passphrase is cached, and you do not need to enter it to access the protected content.
Close the Test1.txt file. Close PGP Desktop.
3. Next you will clear the PGP passphrase from the cache, and then access the PGP-protected content. Restart the Windows 7 computer. This clears the PGP passphrase cache.
4. Log in as the local Administrator, the same account you used in the previous part of this exercise.
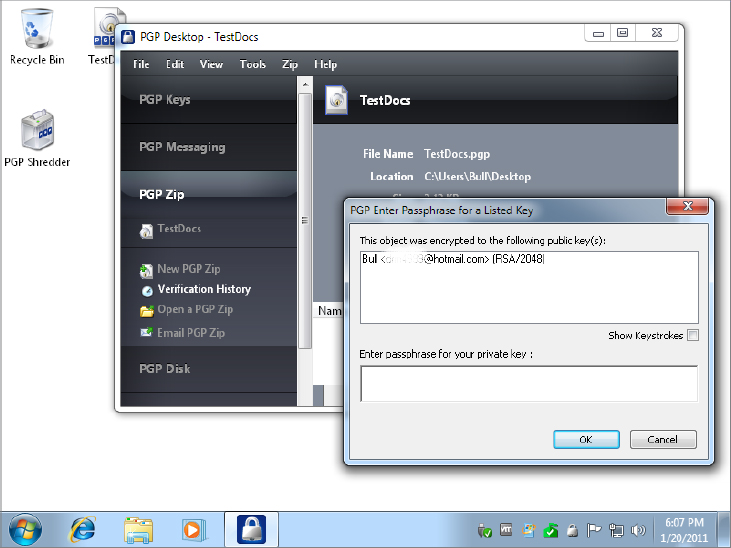
5. Double-click the TestDocs icon on your desktop. Doing so launches the PGP Desktop utility and opens the PGP Zip function. It will also open the Passphrase dialog, prompting you for your passphrase. Enter your passphrase and click OK.
6. Now you will be able to access your PGP keys and extract the test files from the PGP-encrypted TestDocs file. Your PGP passphrase will be cached for this login session.
Criteria for Completion
You have completed this task when you have encrypted content and then recovered content using PGP Desktop. First you downloaded, installed, and configured PGP Desktop with your passphrase-protected key pair. Then you used PGP Zip to encrypt several files. Finally you recovered (decrypted) the PGP-protected content.