
The patterns that you paste into the FL Studio playlist reflect how you manage/arrange your project and decide which parts will play or not play during your song. This is easy to see on the FL Studio Playlist, where you will have a graphical readout of your patterns, audio, and automation clips. Audio clips will be shown on the playlist in a waveform readout, as will any type of MP3 or WAV file. As discussed earlier, patterns in the playlist can stretch very far if your Piano roll is extended.
In order start using the Playlist section and patterns, you need to have some data entered in your steps within the channels and patterns on the step sequencer. You may press F5 or use the VIEW menu to bring up the playlist. We will be working with a recorded vocal file. Recording an external audio will be covered in Chapter 6, Using the FL Studio Mixer and Recording Audio, because, in some cases, your recording can show up directly on the FL Studio Playlist.
We will review the different types of patterns that are seen as specific images on the playlist using the following steps:
- Press the space bar key or click on play with your mouse on the FL Studio transport controls while in the SONG mode.
- Paste your patterns as discussed in the previous recipe of this chapter, Using patterns to build your song.
- If you have data in your steps and have not used the Piano roll on that channel, the data will be read out like the Hat pattern shown in Fig 5.4.
- If you have a channel/pattern that used a Piano roll, it will be similar to the 303ish 2 pattern in Fig 5.4.
- If you have vocals, an MP3 file, or a WAV file, it will show the audio data, as shown in Fig 5.4, next to Track 5 titled Vocals track 1 in the header.
- When working with automation clips, you will see automation curves and shapes as seen in the example in Fig 5.4. The topic of automation will be covered in Chapter 10, Recording Automation.
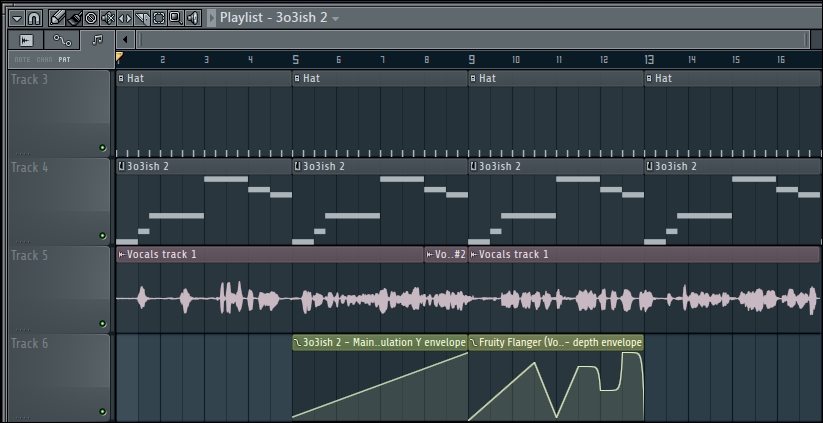
Fig 5.4
The readouts on various channels, patterns, audio data, and automation curves are a friendly way to keep your project organized and see exactly what is happening at specific moments (bars and beats) in time. You can use all of the features described in the previous recipe of this chapter, Using patterns to build your song. If you need to paste the same pattern multiple times in a row, you can use the paint tool and click-and-drag the pattern to the right. You can also use the Maximize / restore button to drag FL Studio's main window and drag audio files directly into the playlist. This restore button is shown in the following screenshot, directly to the left of the exit icon. You may click-and-drag an audio file from your desktop (or anywhere on your computer) into the FL Studio Playlist. The following screenshot shows the Maximize / restore button:
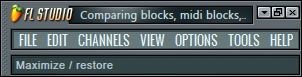
Fig 5.5
- The Using patterns to build your song recipe
- The Viewing the playlist recipe
- The Recording external audio – keyboards, vocals, guitar, and devices recipe in Chapter 6, Using the FL Studio Mixer and Recording Audio
- The Using automation on virtual instruments and effects recipe in Chapter 10, Recording Automation