
Because I don't know where you plan to add pictures to your website, I'll show you how to add one to mine. You can follow the same steps to add one to yours. Just use the appropriate page on your website as you work along with me.
- Bring up the Home page in Page Editor.
- Position the cursor where you want the picture to appear and click the Image button in the Insert group on Page Editor's ribbon. The Insert Image dialog opens, as shown:
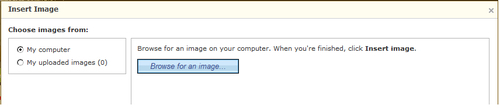
- Choose the My computer radio button in the Choose images from radio button group in the left-hand side box.
- Click the Browse for an imagebutton in the right-hand side box. The Choose File to Upload dialog opens, as shown:
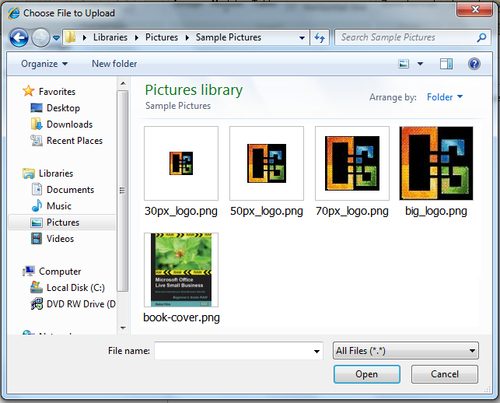
- Navigate to the folder on your computer that contains the picture you want to upload by selecting it in the Look in dropdown. All the pictures in the folder will appear in the dialog.
- Click the picture you want to upload. Its name appears in the File name textbox.
- Click Open.
- Then Choose File to Upload dialog closes. And a new checkbox, Optimize my image, appears in the Insert Image dialog. Check it if it's not already selected. When you do so, Office Live Small Business automatically reduces its file size as best as possible so that it downloads faster.
- Click Insert Image. The Insert Image dialog goes away and the picture appears where your cursor was, as shown:
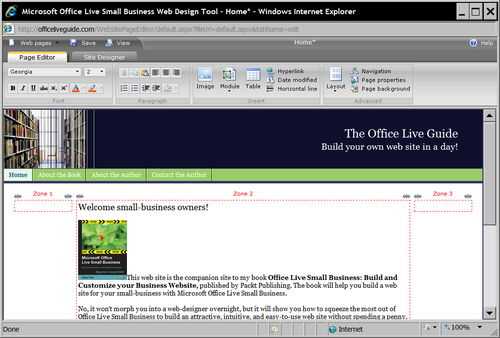
- The problem, however, is that it sticks out like a sore thumb on the web page. It would look much better with the text wrapped around it. To make that happen, right-click on the image. A little action menu pops up, as shown:
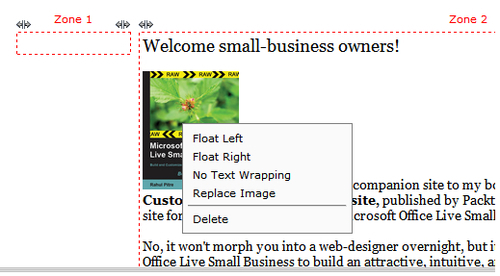
- Click Float Left. The action menu goes away and the text now wraps around the picture, as shown:
If you want to display the picture to the right of the paragraph, just click Float Right on the action menu.
- Save your work and preview the page.
- Close the preview window and return to Page Editor.
Note
How do you delete a picture?
Elementary, my dear Watson! Just click on it and hit the delete key on your keyboard.
You just learned how to make your web pages more attractive by displaying pictures to complement the text on them. Judicious use of pictures can enhance the appeal of your site tremendously.
But don't overdo it. Too many pictures not only clutter web pages, they also make the pages sluggish.
And here's a word of caution about working with pictures: when you select a picture in the Page Editor, square handles appear around it. These handles can be used to resize the picture. Don't use them. Pictures resized in this manner can end up looking kind of fuzzy or distorted. Instead, create the pictures with the right dimensions before uploading them to your web pages.
Were you worried that your site looked awful without any pictures on it? Now that you know how to manipulate pictures, go ahead and add them in appropriate spots.
And here's a challenge for you. I'm sure that you've seen pictures that work like hyperlinks. When you click on them, they lead you to another web page. Can you make a picture on your web page behave the same way?
Hint: Right-click on the picture. You should see a Create/edit hyperlink