
Contrary to what many people believe, HTML is not a programming language. It's a markup language. Unlike programming languages, it doesn't contain step-by-step instructions that tell a computer what to do. Instead, it contains instructions that tell a browser how to format and decorate web page content.
The instructions are written as Tags. Tags are keywords that reside within a pair of angular brackets (< and>). Typically, you enclose some content between a pair of tags.
For example, the<strong> and</strong> in the markup you just tried out is tag pair. The pair consists of an opening tag and a closing tag. The difference between an opening tag and the corresponding closing tag is usually a forward slash (/). So,<strong> is the opening tag and</strong > is the corresponding closing tag. If you want to make some text bold, you enclose it between<strong> and</strong> tags like this:
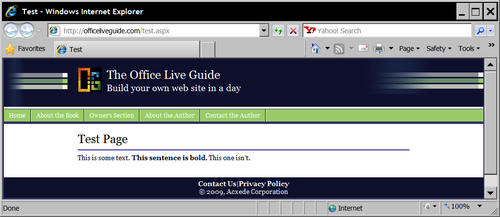
This is some text. <strong>This sentence is bold.</strong> This one isn't.
And the browser displays it like this:
Most HTML tags are paired like the<strong> tag. But some are not. An example is the<br /> tag. It adds a line break to your text like this:
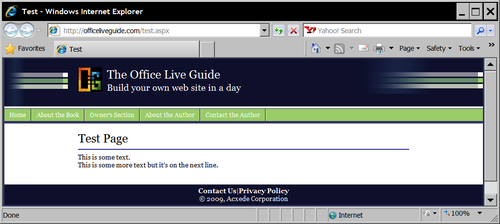
This is some text. <br /> This is some more text but it's on the next line.
And the browser displays it like this:
The character< opens the tag and the character sequence /> closes it. Such tags that close themselves without corresponding closing tags are called self-closing tags. It's not mandatory to close the self-closing tags. So, if you write<br> instead of<br />, your page will work just fine. But I recommend closing all tags. I'll do so in this tutorial and so will you.
Notice, by the way, that simply typing the second line of text on a new line in the editor doesn't make the text appear on the next line (go ahead, try it!). It's the<br /> tag that actually does the trick and displays the subsequent text on the next line, although you typed it as a single line in the editor. In other words, the tags determine the appearance of your web page, not how you type the text in the editor.
HTML is not case sensitive. So, you can write a<br /> tag as<BR />, <Br />, or even<bR />, if you insist, and your page won't look any different. But, I strongly advise against it. As a matter of convention, I recommend sticking to lowercase letters, as I've done throughout this tutorial.
That's just about all the dirt that you really need to know on HTML. There's more, of course, but as this is not a complete HTML tutorial, we'll look into the finer details on a need-to-know basis. So, let's proceed to some useful HTML tags.
Most writing is structured as a collection of paragraphs. While writing HTML, you must enclose the text in a paragraph between the<p> and</p> tag pair like this:
<p>This is the first paragraph. It has this filler text to make it rather long so that it looks like a real paragraph.</p><p>Here is the second paragraph.</p>
And the browser renders it like this:

As you can see, there's no space between the paragraphs in the markup. But the<p></p> tag pair automatically introduces breaks that makes the text look like paragraphs in the browser.
Note
Because of a bug in the HTML module, it doesn't seem to treat<p> and</p> tags correctly. As a result, you don't see intended paragraph breaks in the browser. In the picture above, I sneaked in our old friend, the<br /> tag, between the two paragraphs as in<p>...</p> <br /> <p>...</p>.
You may have to resort to this workaround as well. But remember that if Microsoft fixes the bug, you'll get an extra line-break on your page.
Also, remember that you can add text to an HTML module without the paragraph tag pair; you can use<br /> tags instead, for example, where you want a break in text. However, I recommend that you enclose all of your text in paragraph tags. If you don't, Office Live Small Business's stylesheets may hijack the formatting of your text. Not enclosing text in paragraphs is one of the main reasons why text on so many web pages is misaligned and displayed in the wrong font.
Back in Chapter 5, I introduced the horizontal line, which you can draw across your web page simply by clicking the Horizontal line button on Page Editor's ribbon. To draw a similar line while working with the HTML module, you'll need—you guessed it—a tag! Web designers call a horizontal line a horizontal rule and so the corresponding tag is the<hr /> tag, like the<br /> tag, the<hr /> tag. Simply type<hr /> wherever you want a horizontal line to appear. If you want it to appear between the two paragraphs in the previous example, your markup will look like this:
<p>This is the first paragraph. It has this filler text to make it rather long so that it looks like a real paragraph.</p><hr /><p>Here is the second paragraph.</p>
And your page will appear in the browser like this:

Headings are an important part of the text. Books, for example, use headings with varying importance. The more important a heading, the bigger its font size is. This scheme makes it easy for readers to quickly grasp the scope of topics and sub-topics within the text.
HTML uses a similar scheme. There are six levels of heading tag pairs in HTML that you can put around heading text like this:
<h1>Heading 1</h1>
<h2>Heading 2</h2>
<h3>Heading 3</h3>
<h4>Heading 4</h4>
<h5>Heading 5</h5>
<h6>Heading 6</h6>
Text included between beginning and ending tags at each level looks like this:
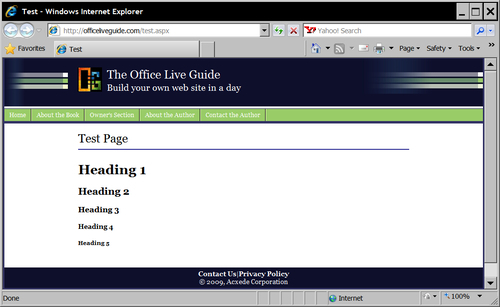
As you can see,<h1> has the largest font size. Naturally, it's used for the most important heading on a web page. As the number inside the tag increases, its font size decreases. So, among headings,<h6> has the smallest font size.
Tip
What if you need more than six levels of headings? Well, you shouldn't; a six level deep topic hierarchy is deep enough for most people to keep track of. If you have seven or more levels, you should seriously consider rewriting your text.
Generally, it's a good idea to start a page with the<h1> tag. It identifies the most important heading on the page, and it is used by search engines to take an educated guess at what the page is all about. So, a good convention to follow is to have only one<h1> tag on every web page.
But, you're better off flouting this convention when working with Office Live Small Business. Why? Because you don't write entire web pages in HTML modules; you just write individual chunks of HTML. Office Live Small Business automatically adds a<h1></h1> tag pair to your web pages and places the title of your site between them. Similarly, it uses the<h2></h2> tag pair for your site's tag line. So, you're better off starting with a<h3> tag in every HTML module on a web page. That way, you won't drive Google's spider nuts by forcing it to wrestle with 23<h1> tags on a single web page.
The HTML tags that you've seen so far merely alter the appearance of the text that they enclose. They're quite easy to work with. Just enclose some text between them and they alter its appearance. But all HTML is not that straightforward. You need more complex markup to perform more complex tasks.
Creating a hyperlink, for example, requires slightly more involved markup. It's not rocket science, but even a small mistake in the markup can leave your hyperlink broken. To prevent you from inadvertently creating broken hyperlinks, the HTML module's mini-editor lends you a helping hand. It lets you create the markup precisely in the same manner as you did outside of it.
Let's say you want to build a web page using an HTML module, which looks like this:
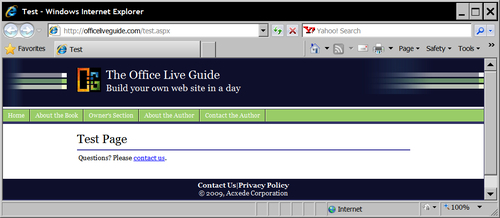
The question is, how do you write the markup for the Contact Us link? Well, I could easily tell you that the markup should look like this:
<a href="/contactus.aspx">contact us</a>
But as you can see, I'd have to give you a good amount of explanation as to what href means and why it's enclosed within a pair of double quotes. Then, some of you may want to know what happens if you omit the double quotes. So, one thing would lead to another and you would find yourself spending all of your time learning the nuances of HTML, rather than doing whatever it is that you do for a living.
So, the HTML module has a feature that writes the markup for you. Let me walk you through it.