
OpenELEC is a very minimal operating system that is preconfigured with the XBMC media center software (http://kodi.tv) and a range of utilities specifically set up for home media sharing, such as the Samba file server.
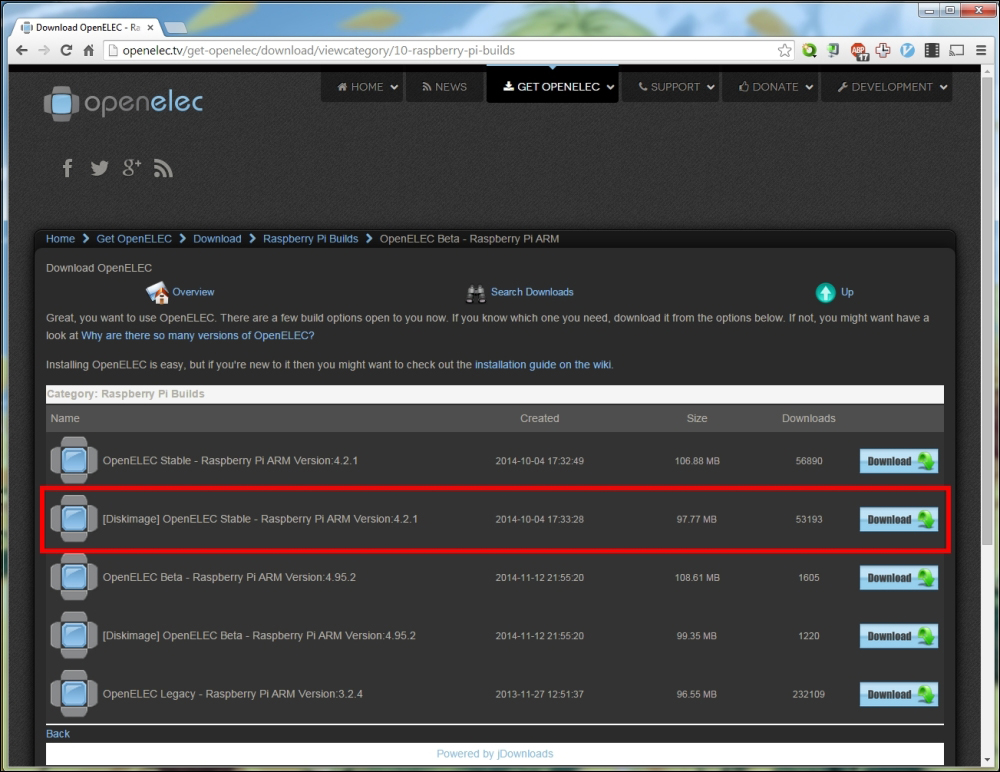
First, head to http://openelec.tv/get-openelec and (under RaspberryPi Builds) download the latest stable SD image (the title will be something like what is indicated in the following screenshot). Once you have the file downloaded, decompress it and write it to your SD card.
Under Windows, you need to use software such as 7-Zip (www.7-zip.org) to decompress this type of file.
On Linux and Mac, the following command can be used, where FILENAME is the name of the file that you downloaded from the OpenELEC website:
gzip -d FILENAME.gz
Once you have the SD image written to the card, it is time to boot the Pi for the first time. Here, you need the Pi connected to a TV or monitor (here, I will be using HDMI) and a USB keyboard connected to it. I will also connect a USB Wi-Fi adapter, but you can easily just use an Ethernet connection instead of Wi-Fi.
For now, we can power the Pi from a USB connection, as we are yet to connect any additional peripherals to it. However, later on, we need to power the Pi using a more substantial 5 V power supply to provide enough power for the Pi and the LCD.
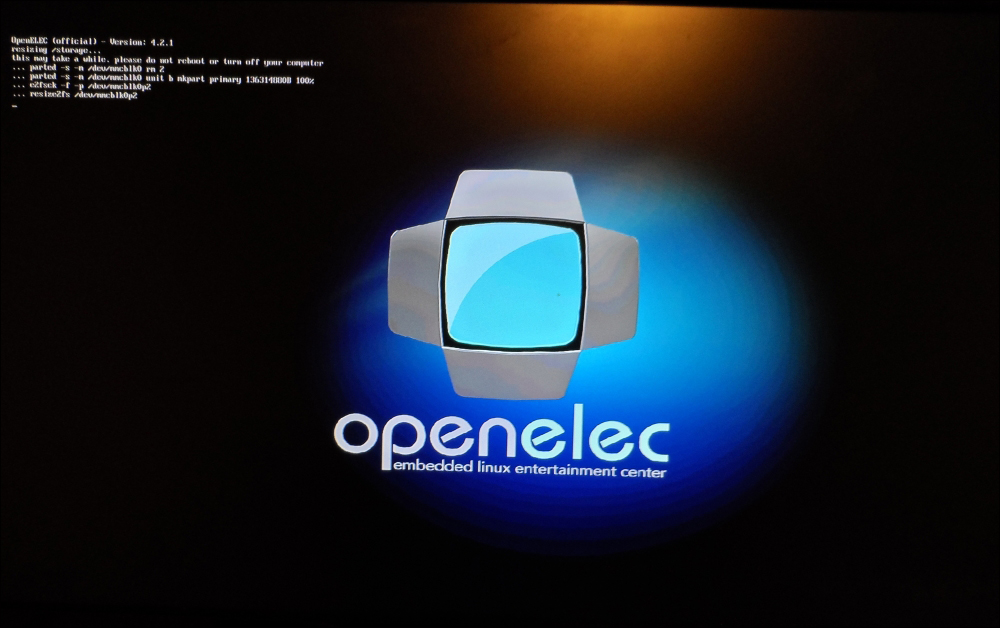
When you first boot OpenELEC, it will show a screen something similar to the following screenshot. It may display this for some time, as it is currently resizing the media storage partition of the SD card.
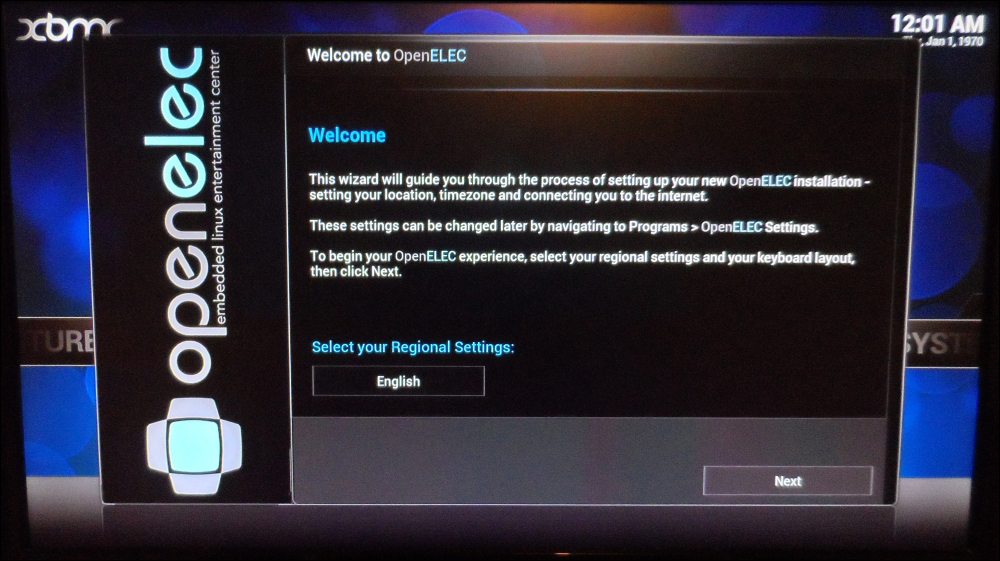
When OpenELEC boots, it will boot straight into XBMC. Since this is the first time it has been booted, you will also be greeted with the OpenELEC first-time setup wizard. This often takes a while to be displayed after XBMC has started.
To navigate the menus, simply use the arrow keys to move the cursor and Enter to select a menu option; perform the following steps:
- First, you are asked by OpenELEC to select the appropriate regional settings. Select the button that defaults to English to change the settings and select Next to continue.
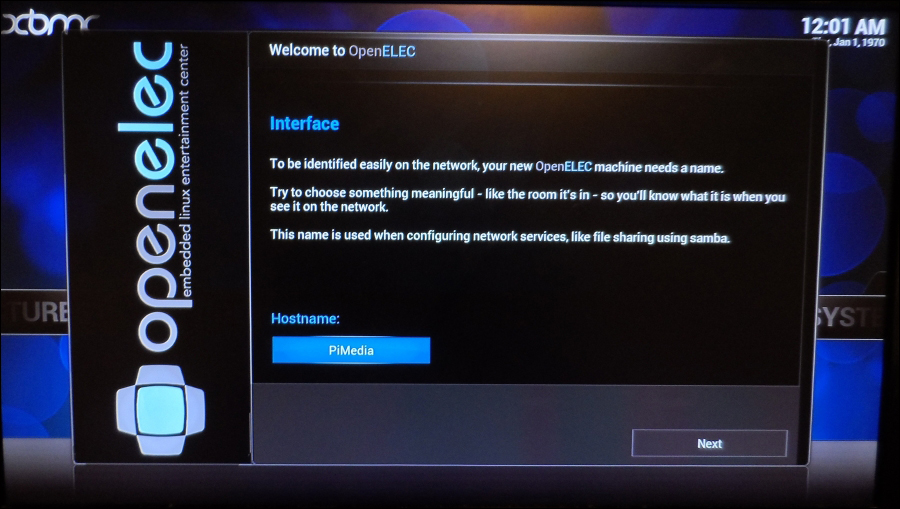
- Next, you are asked to enter a new hostname for the media center. It is not required that you change it. However, if you intend to have multiple media centers, then it would be essential as no two devices should share a hostname. This will make identification of the Pi on the network easier.
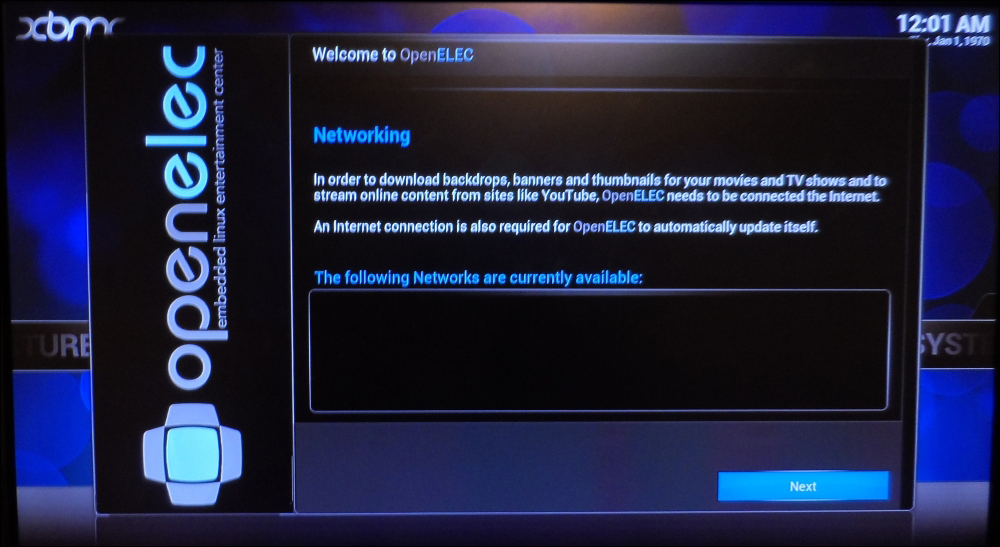
- The next option asks you to configure network interfaces. As we are using Wi-Fi, we cannot do anything here yet, as wireless adapters are disabled by default and wired connections do not require configuration. Just select Next to continue.
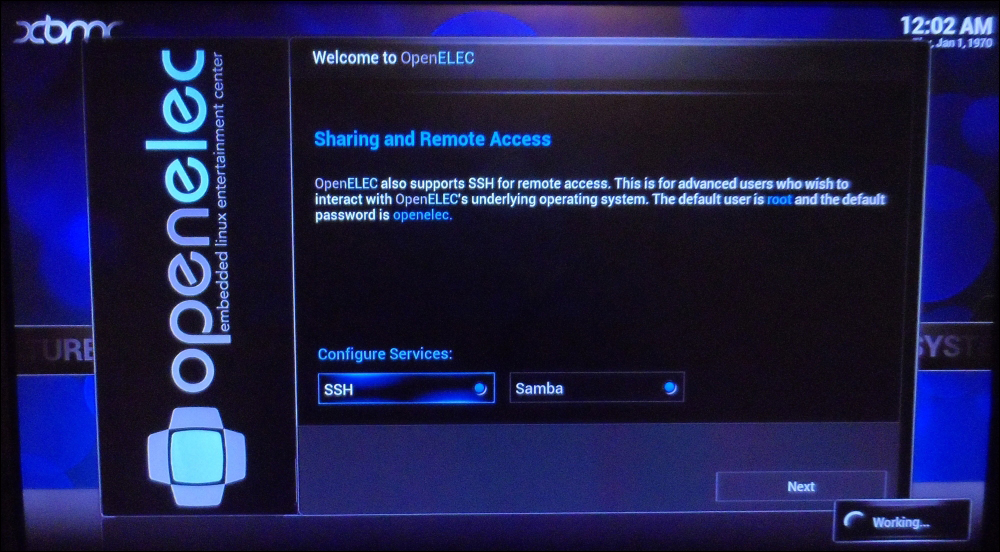
- Next, you will be asked what servers you want to enable on the Pi. By default, SSH is disabled and Samba is enabled. I would recommend you to enable both, as you will need SSH to configure the LCD and buttons and Samba to upload media to the Pi.
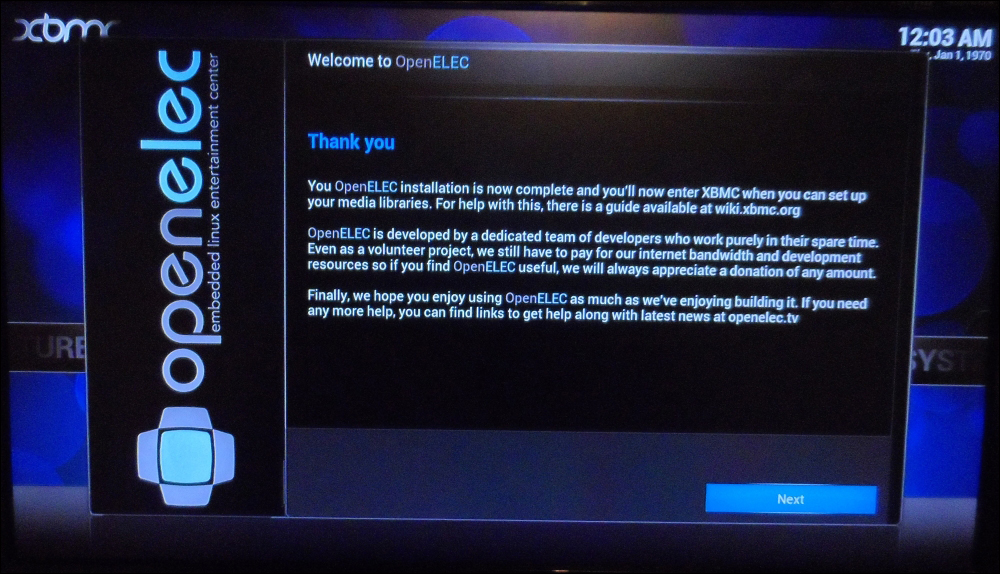
- After this step, the initial configuration is complete. Select Next to return to the XBMC home screen.
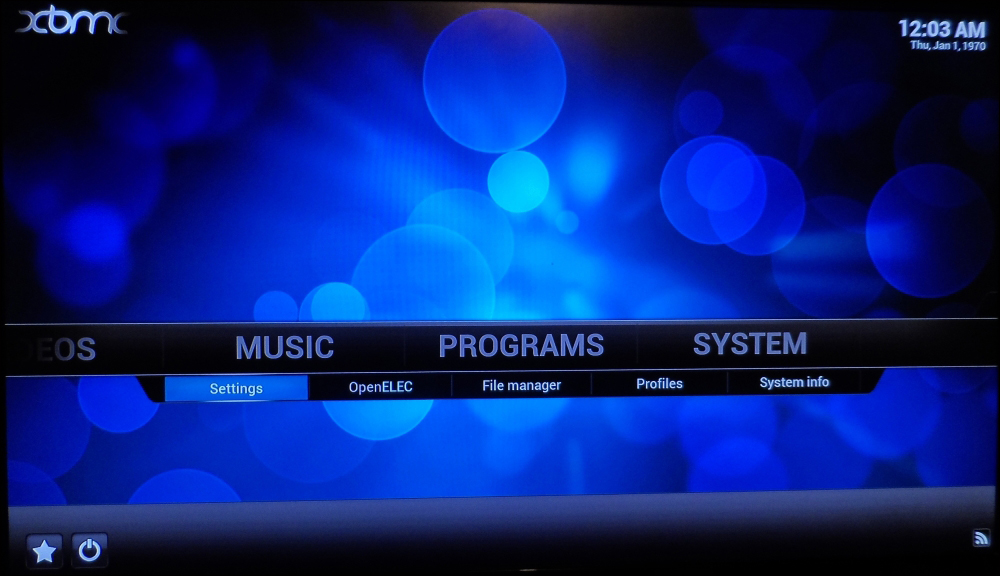
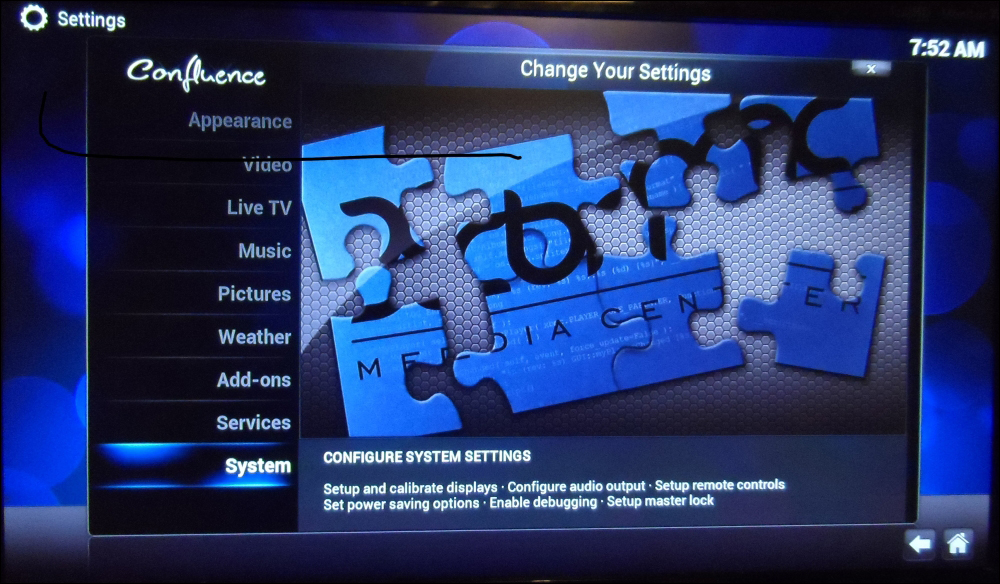
- For now, there is one additional setting that we need to change. To do this, navigate to the Settings option under the SYSTEM menu using the arrow keys and the Enter key.
- Next, navigate to the System menu and select it using Enter.
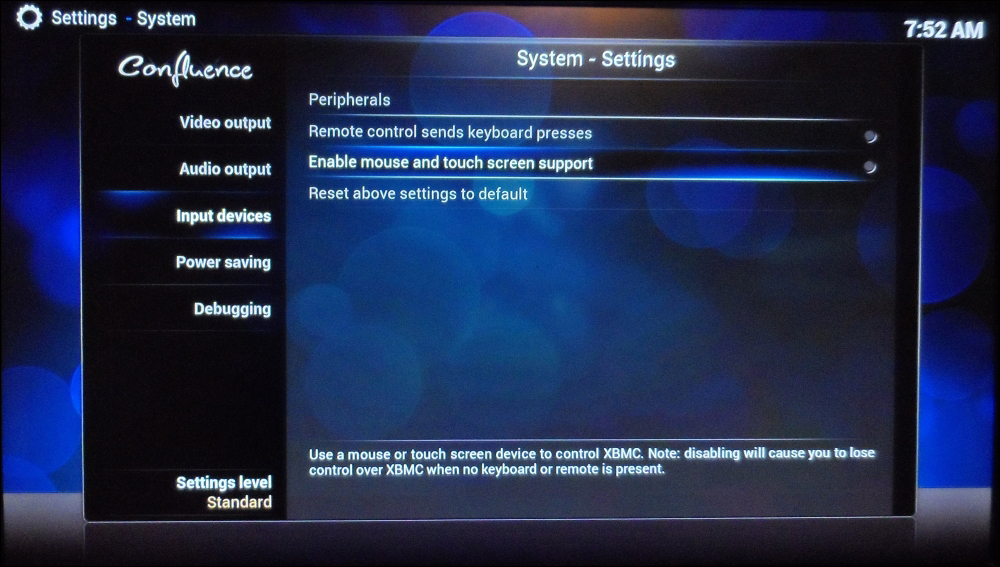
- Next, navigate to Input devices and disable the Enable mouse and touch screen support option, as neither of these devices will be used with XBMC the way we will be using them.
- On this menu, settings are automatically saved when they are changed, so you can now use Esc to go back until you return to the main menu.
If you plan to use Wi-Fi to connect to your network, then you will need to first enable it in order to join your wireless network. Using Wi-Fi as opposed to Ethernet allows you to install the media PC without having to worry about running an Ethernet cable to it. However, your network performance will be lower, so it is only recommended if it is essential. To connect to the wireless network, perform the following steps:
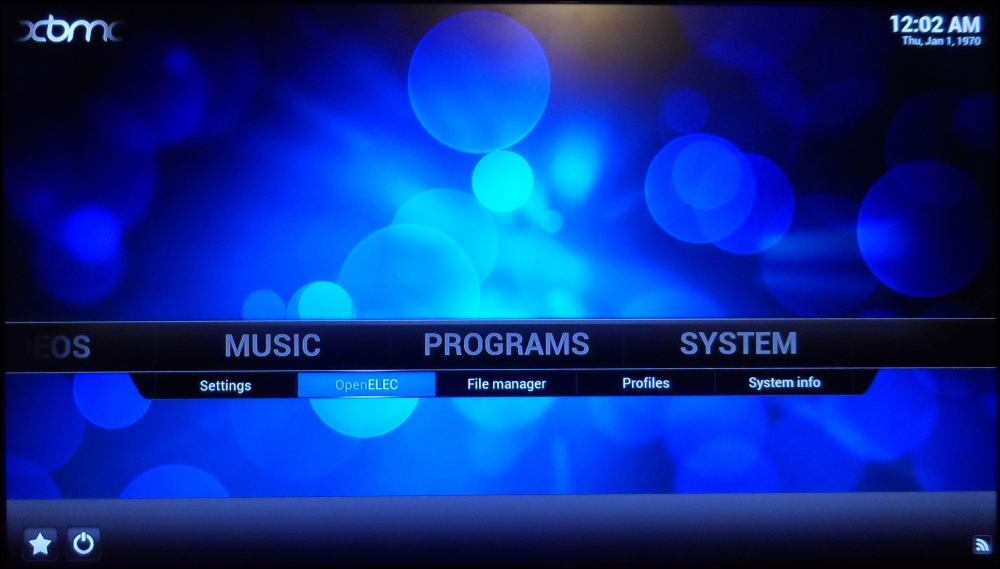
- Select the OpenELEC option under the SYSTEM menu:
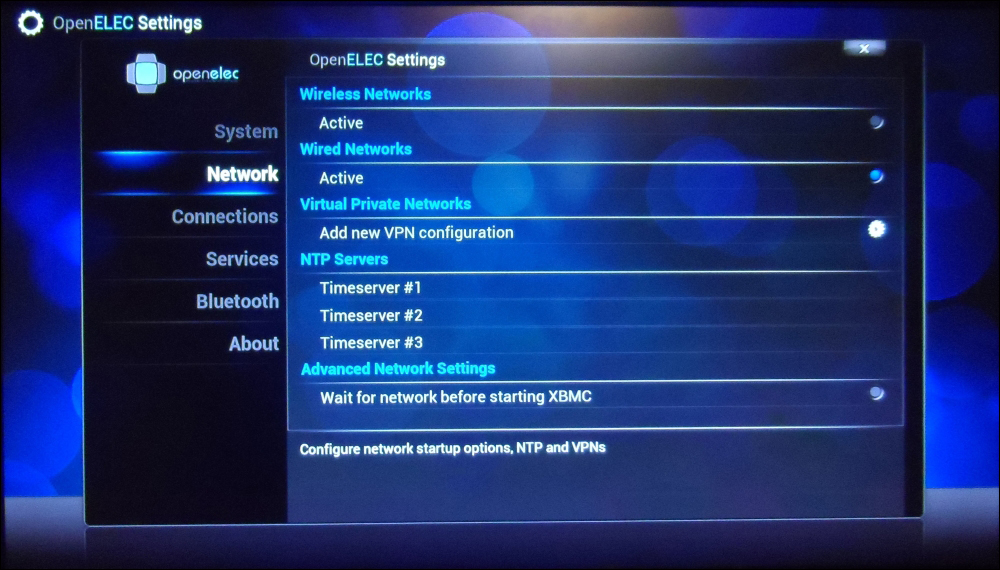
- From here, navigate to Network and select the Active option under Wireless Networks. This will enable the Wi-Fi adapter and start searching for wireless networks in range.
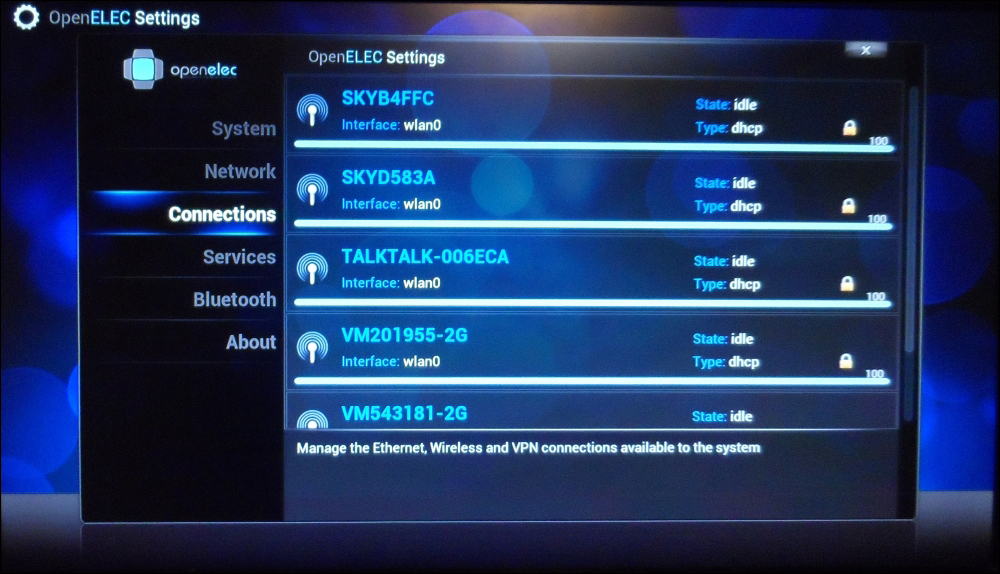
- To connect to a network, navigate to the Connections menu. Here, you should see a list of the Wi-Fi networks that have been found in your range. To connect to one of them, navigate to it, press Enter, and select the option Join.
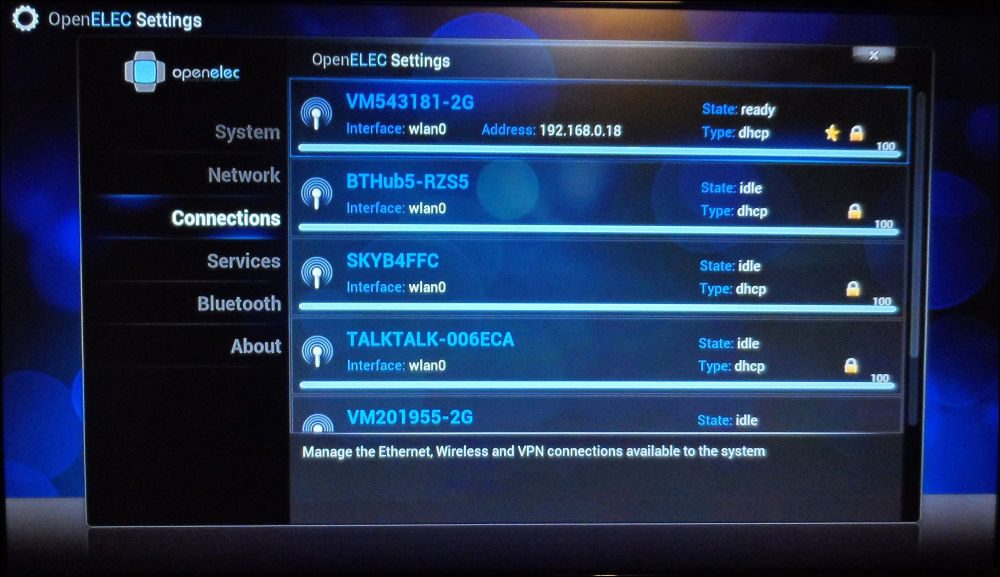
- You will then be asked for the password for the network. Type it in and press Enter. Once done, this will return to the Connections menu; you should now see that the network you selected has an IP address listed alongside it. This shows that the connection was successful.
The easiest way to upload media to the Pi is by accessing the Samba file shares that are provided by the Pi.
The shares are split by the type of content that should be stored on them. A few of the most common ones are:
Music: This is used to store music files, for example,.mp3Pictures: This is used to store image files, for example,.jpeg,.pngVideos: This is used to store video files, for example,.mkv,.mp4Userdata: This is where the XBMC configuration files are stored
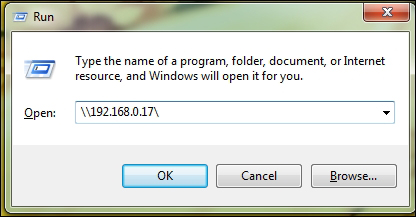
On Windows, you can use Windows Explorer to browse all shares on a server at once. To do this, press WinKey + R to open the run prompt and enter \IP, where IP is the IP address of the Pi, and click on OK.
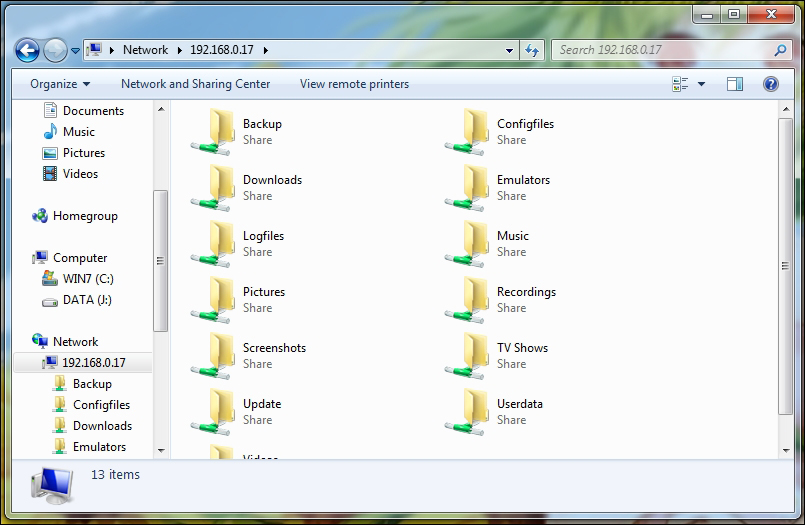
This will open a Windows Explorer window, which will allow you to browse the shares on the Pi and copy files to and from it, as if it were a local folder.
When you've moved the files, simply close the Explorer window.
On Linux, assuming you also know the name of the share you want to add files to, you can mount a share using the following set of commands, where IP is the IP address of the Pi and SHARE is the share name:
- First, we need to create a directory where the Samba share will be mounted (known as the mount point). This only has to be done once.
sudo mkdir /media/openelec - Next, use the following command to mount the Samba share to the just-created mount point:
sudo mount -t cifs //IP/SHARE /media/openelec - You will be asked for a password, but since OpenELEC does not put a password on Samba shared by default, just press Enter.
- If the command exits without an error, you can go ahead and copy files to
/media/openelecto upload them to the Pi. If you do get an error, then you may be missing a package needed to mount Samba shares. This can be fixed using the following command, which is used to install any missing packages:sudo apt-get install samba4 cifs-utils - When you've moved the files, you should unmount the Samba share using the following command:
sudo umount /media/openelec
To shut down the Pi, you can use the power menu in XBMC, which can be found in the bottom-left corner of the home screen in the form of a power symbol.

This will give you the option to shut down and reboot the Pi as well as the ability to set a shutdown timer, which will shut down the Pi after a given amount of time has elapsed.