The bottle mounts are comprised of two laser cut sections of 3 mm material. This can be any rigid material, such as MDF, plywood, or acrylic. I would recommend you use MDF, as it is less prone to damage under force and can be sanded easily if the joints are too tight.
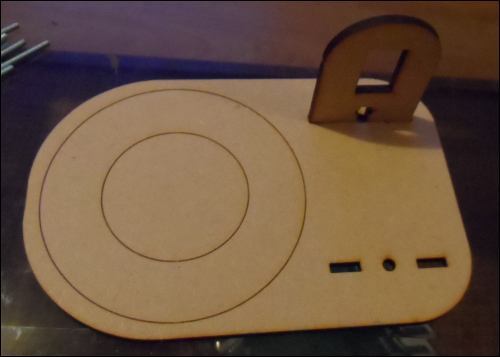
The base design has two layers, one for the section that is to be cut and a section that shows the rough placement of the bottles. This can be engraved if you would like it as part of the "note bottle" assembly; however, this is not required.

The parts required to assemble one note bottle
The servo arms that actually hit the bottles will be made using a short section of metal bar. This can really be any metal bar as long as all the servos use the same type in order to make tuning easier. To do this, perform the following steps:
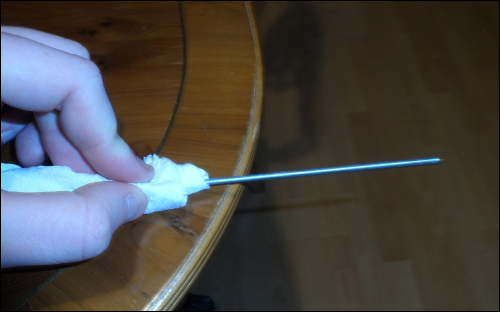
- The first step is to cut 15 lengths of the metal bar. To do this, use a piece of kitchen roll to tightly grip the bar at the edge of a table and cut a section around 10 cm long using a hacksaw.
- Once this is done, you can then attach the bars to the plastic servo arms that came with each servo. To do this, we will use the arm with two large servo arms opposite each other (as shown in the following image) to attach the metal bar to the servo using two cable ties.

- The next step is to attach the small servo mount to the larger mount base. You can attach the mount on either of the sets of the mounting holes; however, you only need to attach one servo mount per base.
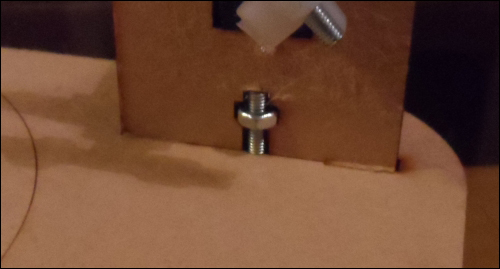
- If the joint is slack, then you can use an M3 nut and machine screws to tighten the joint. Whether this is needed or not depends on the resolution of the laser cutter used to machine the parts. If the joint feels fairly tight on its own, then you can skip this step.
- Now, all that is left is to attach the servo to the servo mount. This can be done using either the small screws that came with the servo or using an adhesive, such as hot glue or Araldite.
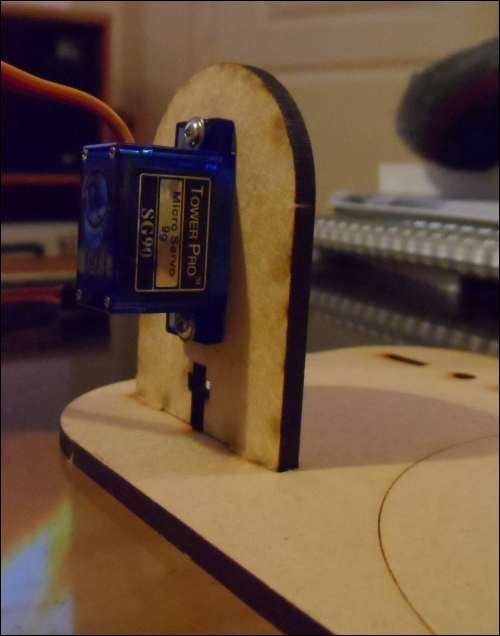
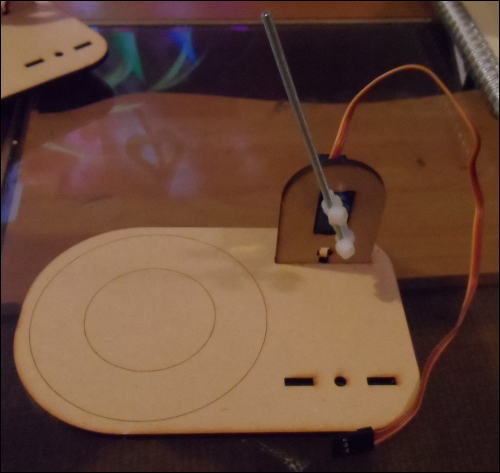
Once this is done, you should have a note bottle assembly that looks similar to the one shown in the following image: