
There are a few ways in which we could stream a video from the Raspberry Pi camera module to a web page. The easiest of which is to use the Video for Linux 2 (V4 L2) driver (which is documented in greater detail at www.linux-projects.org/modules/sections/index.php?op=viewarticle&artid=14), which includes a server that allows the camera to be controlled and streamed over a network connection.
First, we will connect and configure the camera in the Raspbian OS and perform the following steps:
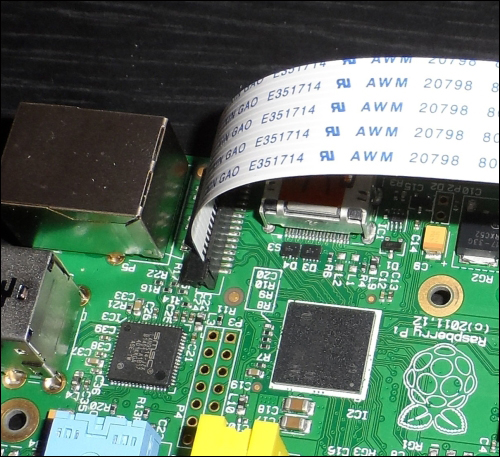
- With the power disconnected, connect the camera module to the Camera Serial Interface (CSI) port on the Pi just behind the Ethernet port. You can do this by lifting the cable clip, inserting the flat, flex cable, as shown in the next image, and pressing down on the clip such that the cable is firmly held in place:
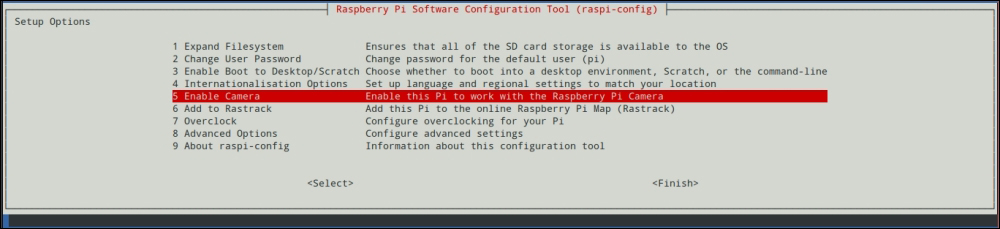
- Next, boot into Raspbian and run the configuration utility:
sudo raspi-config - Select the Enable Camera option using the arrow keys and press Enter:
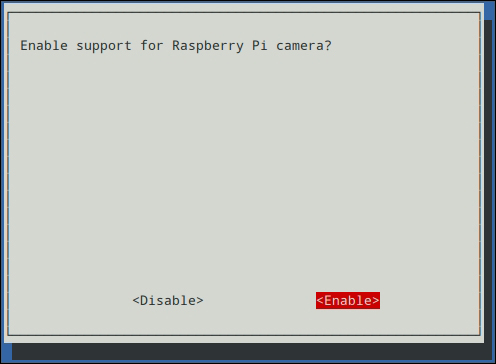
- Select the Enable option and press Enter:
- Exit the configuration utility by selecting the Finish option and reboot the Pi.
The Pi camera is now enabled within the OS. We will now install the V4L2 driver with the following steps:
- Before installing the driver, we first need to add an additional repository to the APT package manager. This manager requires you to download and add an APT key, which is done using the following two commands:
wget http://www.linux-projects.org/listing/uv4l_repo/lrkey.asc
sudo apt-key add ./lrkey.asc
- Next, we must add the repository to the list of sources used by APT. This is done by editing the
sources.listfile usingnano:sudo nano /etc/apt/sources.list - Next, add the following line to the
sources.listfile:deb http://www.linux-projects.org/listing/uv4l_repo/raspbian/ wheezy main
This looks similar to what is shown in the following screenshot:

- Now, we need to refresh the list of packages known to APT and finish by installing the required packages:
sudo apt-get update
sudo apt-get install uv4l uv4l-raspicam uv4l-raspicam-extras uv4l-server
- Once the installation is complete, reboot the Pi to complete the setup.
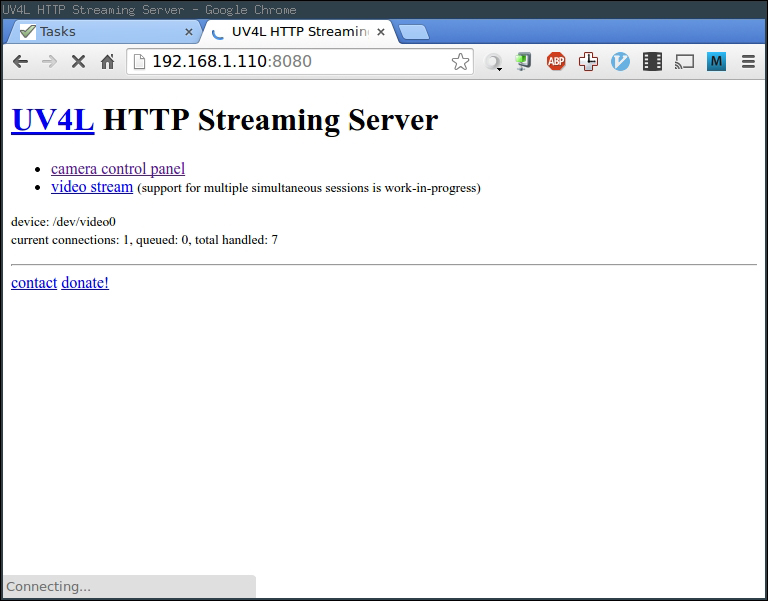
Now that the camera module and streaming server are both setup, the camera can be tested by browsing the IP address of the Pi on the port 8080 using a PC connected to the same network as the Pi. This is done by entering, for example, 192.168.0.56:8080 into the browser address bar assuming that 192.168.0.56 was the IP address of the Pi.
Assuming that the server setup went according to your plan, you should see a web page similar to that shown in the following screenshot. Here, you will see two links: one to view the video stream from the Pi camera and one to configure the camera settings.
Although we will be able to view a stream straightaway, we will go to the settings page first (shown in the following screenshot) in order to change the capture resolution to increase the frame rate of the video stream.
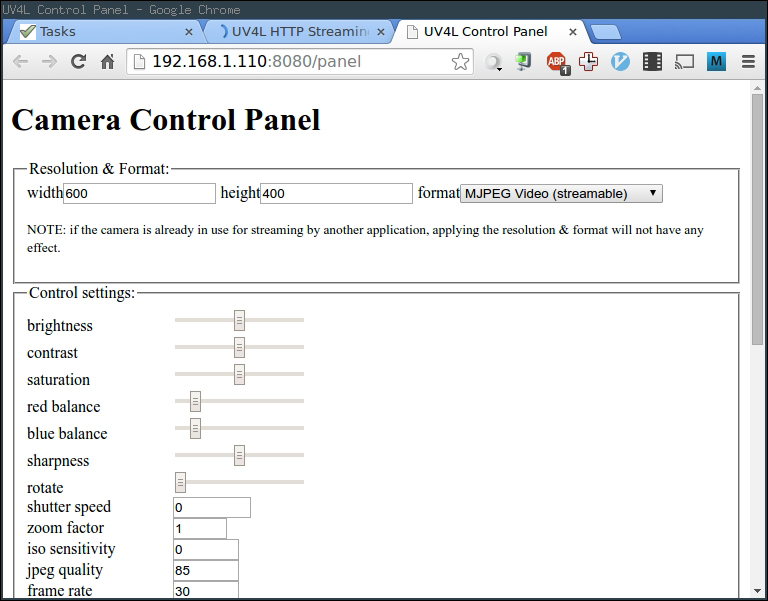
Here, we will change the image width and height options at the top of the page. The optimal values will depend on the network connection being used. However, I have found that 600 x 400 is a reasonable starting point, as this streams well on most connections and gives an image of sufficient quality for which we will use the camera.
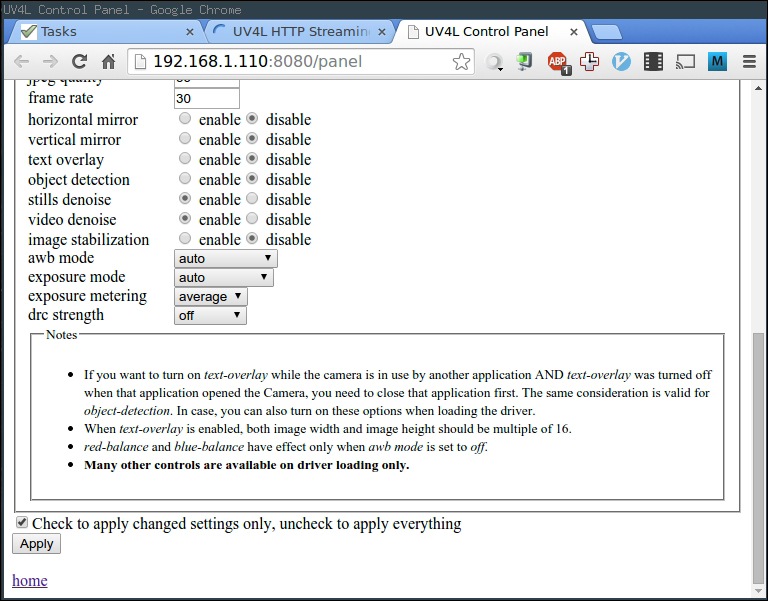
To set this, enter the corresponding options in the height and width fields at the top of the page and click on the Apply button towards the end of the page as shown in the following screenshot. Once this is applied, you will be redirected back to the settings page. To get back to the main page, either use the home link at the bottom of the page or navigate to the page manually by using the same address we used previously.
Once you're back on the main page, select the video stream link to view the live feed from the Pi camera. The following screenshot displays the main page on which the video is streamed:
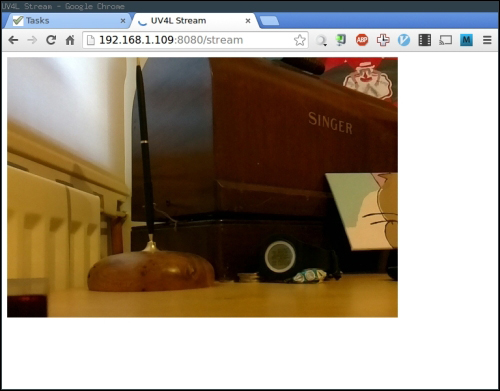
You will notice some delay between the movement in the front of the camera and it being displayed on the web page. This is caused by overheads in the streaming protocol and the network the Pi and computer are connected to. Unfortunately, there is little that can be done about this, however, I have only ever managed to measure at most three seconds of delay.