The Orton Effect
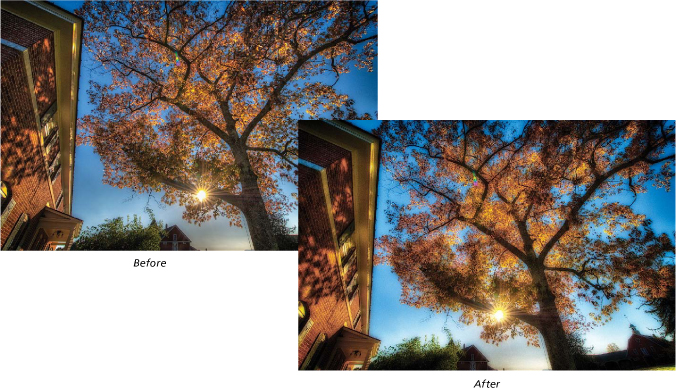
Another new built-in special effect in Elements 10 is called the Orton Effect. The technique comes from traditional photography, where a photo was created by “sandwiching” two photos, one in focus and one out of focus, together. It adds a semi-soft focus, an almost dreamy style, to your photo, while still looking like the photo is sharp.
Step One:
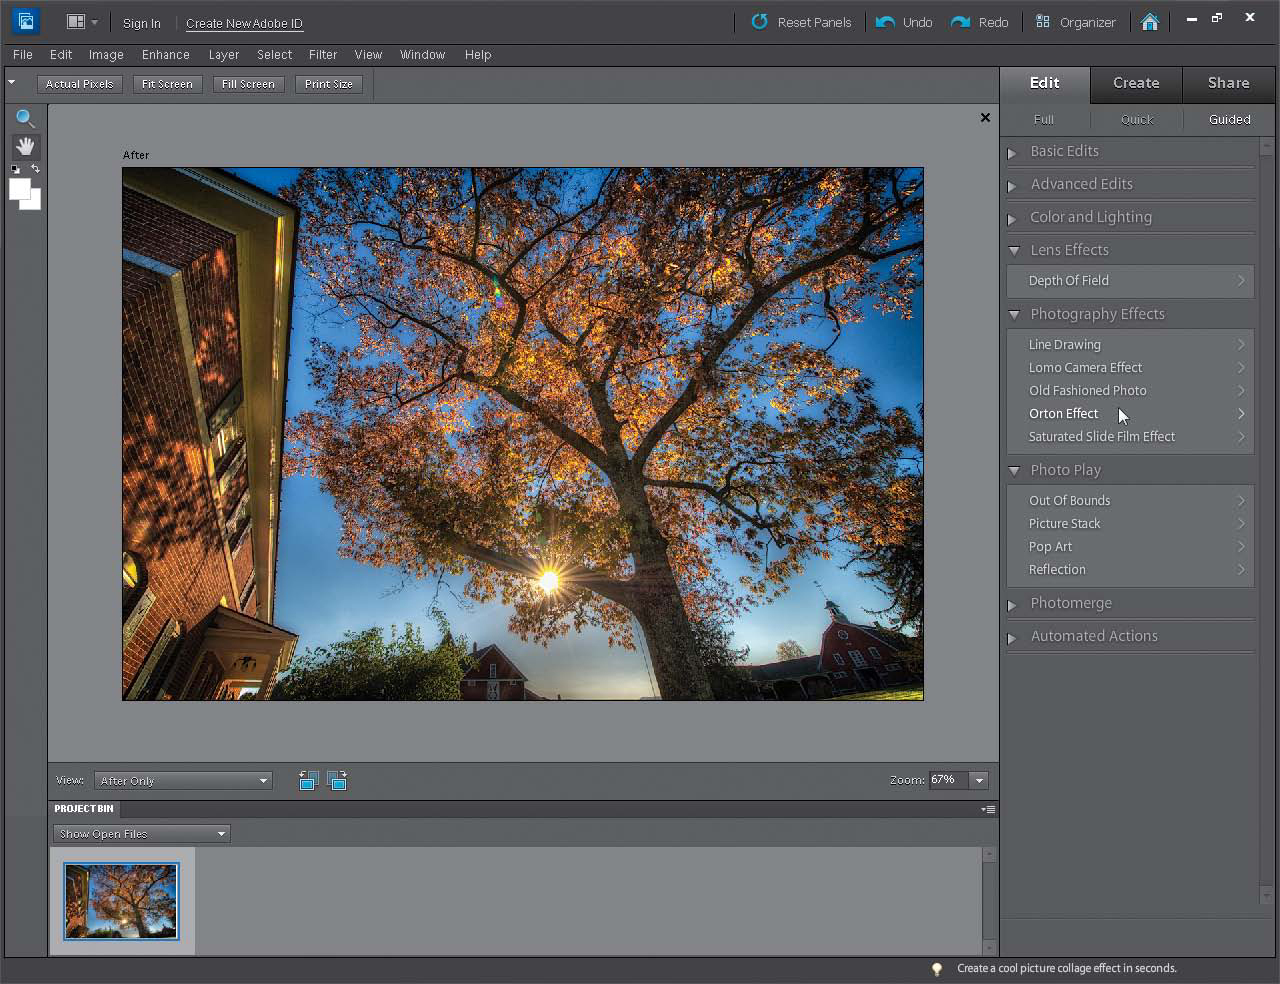
Open a photo in the Editor to apply the effect to. You can use it on just about any photo, but I find photos that have a softer look to them work best. Portraits tend to get too blurry, but hey, you can always give it a try. In this photo, the late-afternoon feeling of the sun and trees works really well. Click on Guided at the top of the Edit tab, scroll down to Photography Effects, and click on Orton Effect.
MATT KLOSKOWSKI
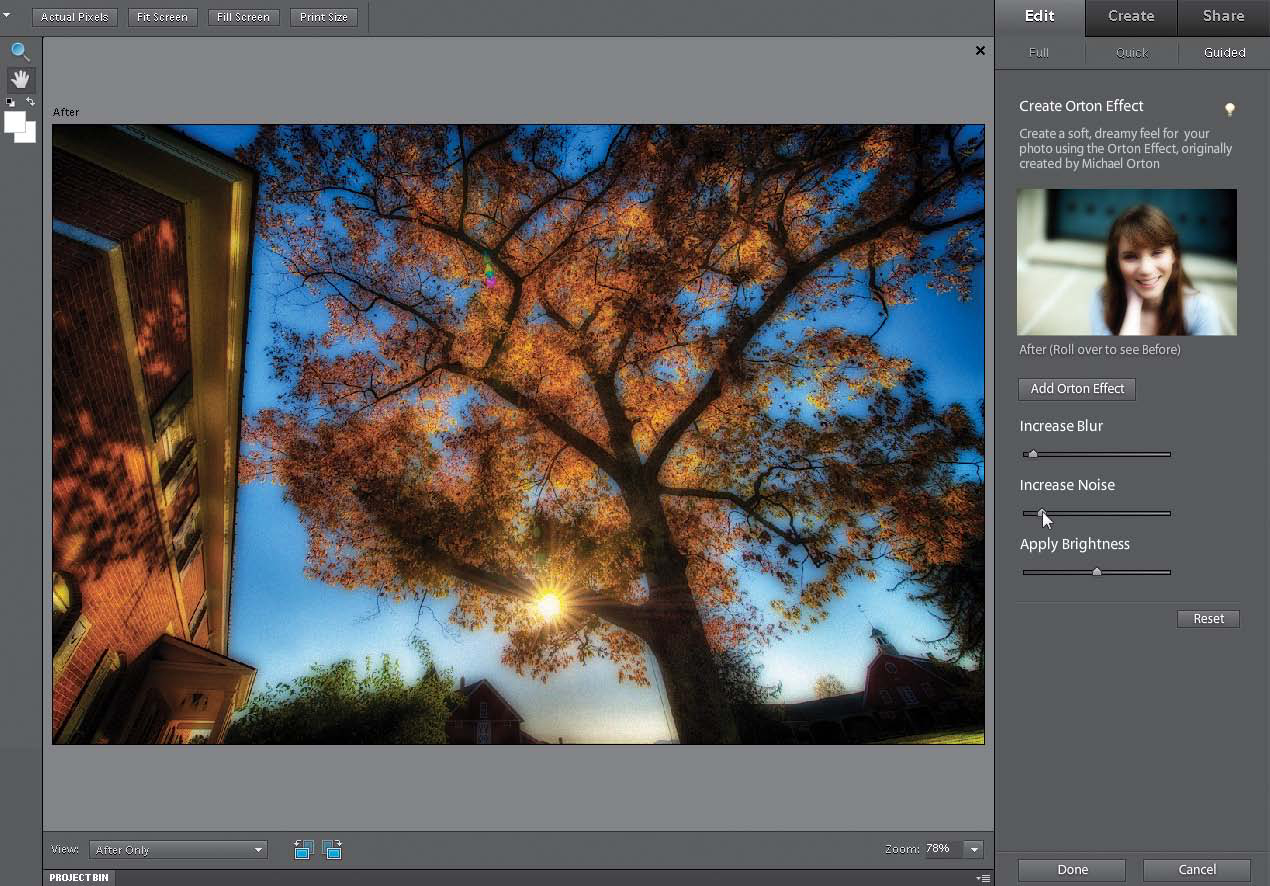
Step Two:
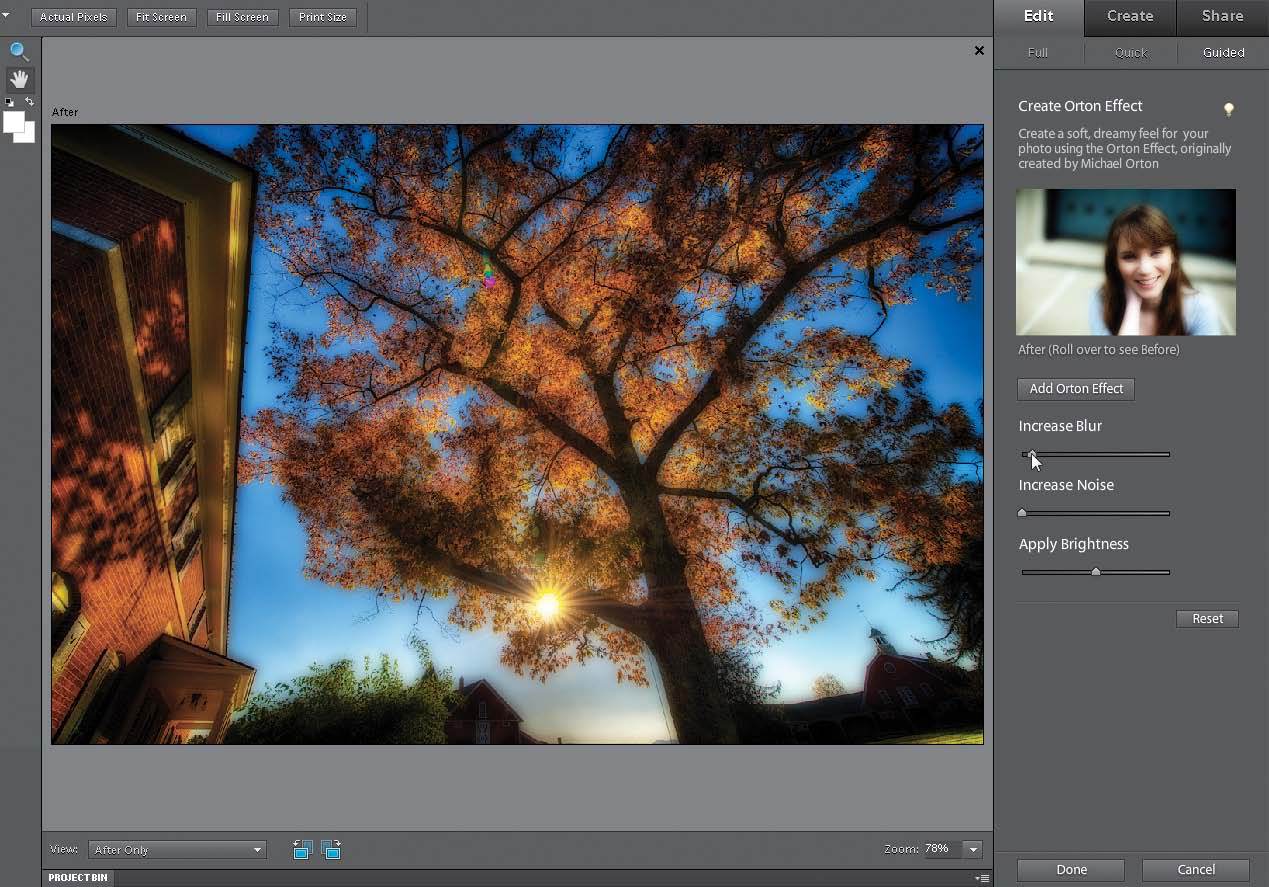
You’ll see the Palette Bin on the right side of the window change to show all of the settings you have control over for the effect. The first thing you’ll want to do is click the Add Orton Effect button. This adds an overall contrasty feel to your photo and it also makes the colors look a little more saturated.

Next, move the Increase Blur slider to the right a little, and when I say “a little,” I mean a little. Be careful when cranking this slider up, as things can get bad really quickly. Just drag it over slightly—somewhere between 5 and 10 should do it.
Step Four:
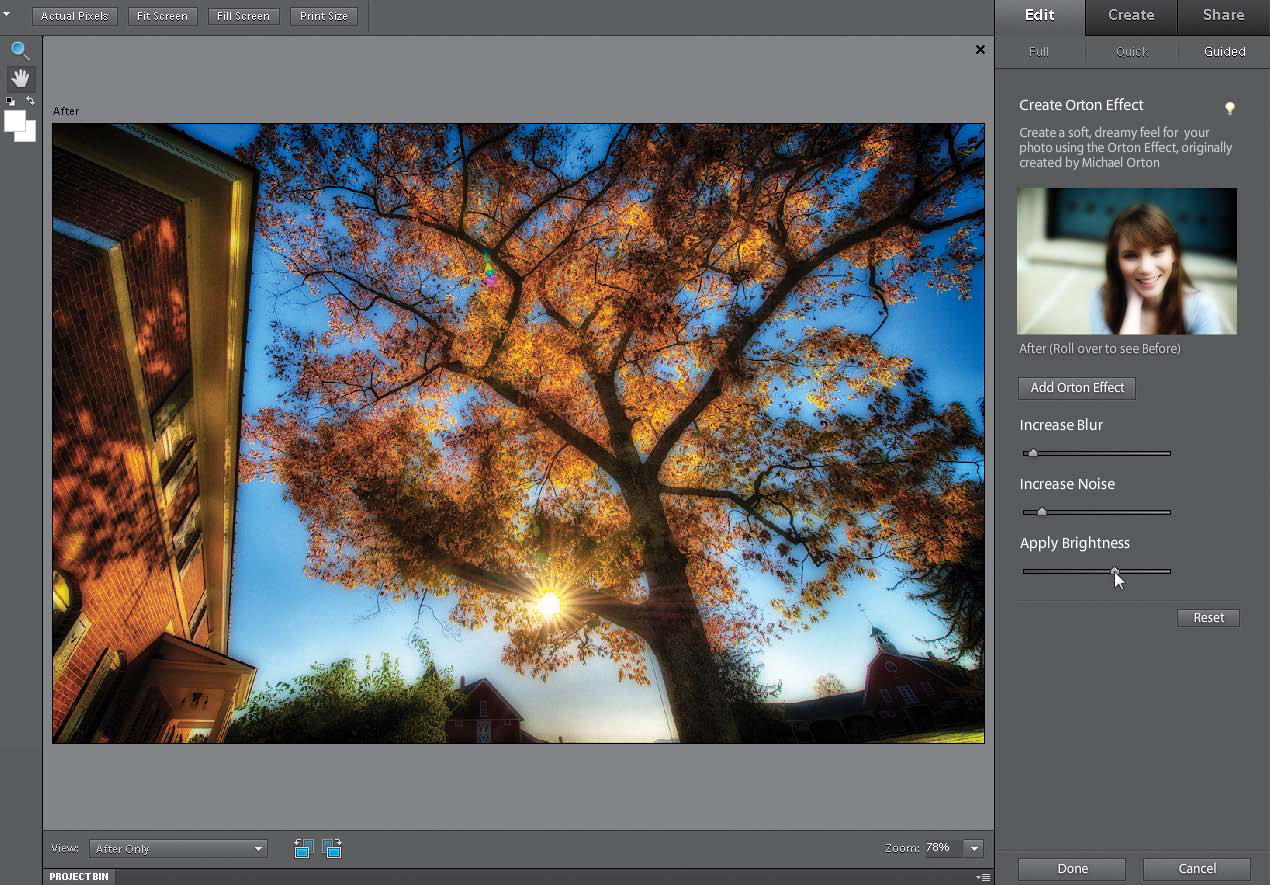
The Increase Noise setting is totally optional here. It gives a slightly more nostalgic film grain look to the photo. I dragged to around 500 here. Unless you really zoom in on the photo, it’s kinda hard to see, but you should be able to see a little texture.
Another characteristic of the Orton effect is overexposure (the photos were deliberately overexposed before they were sandwiched together). This part is also optional, but you’ll usually find that what we did in Step Two (clicking the Add Orton Effect button) darkened the photo a little, so I always increase the Apply Brightness setting a little. Somewhere between 20 and 30 works well here.
Step Six:
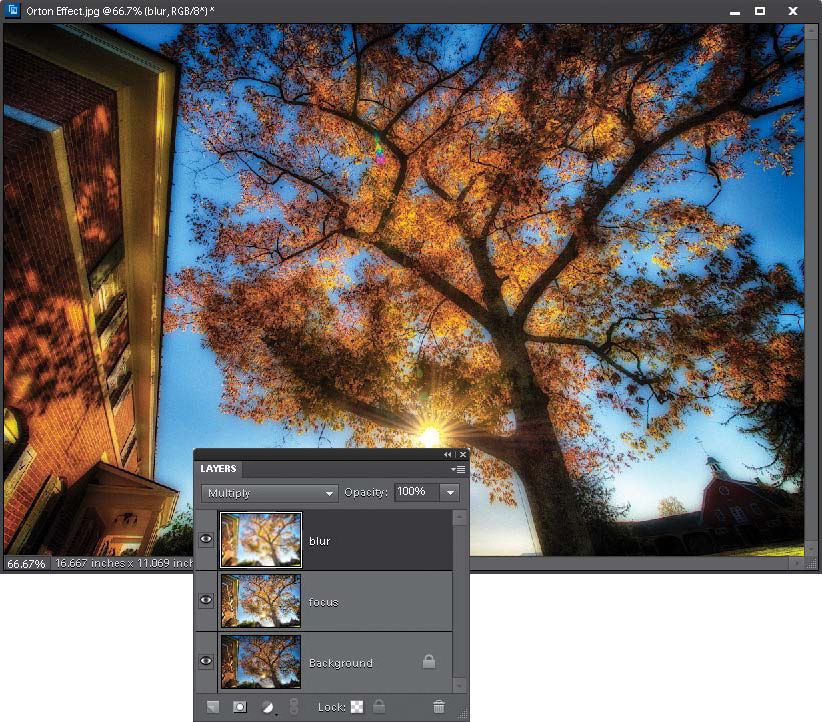
When you’re ready, click the Done button at the bottom right. If you then click on Full at the top of the Edit tab and look in the Layers panel, you’ll see Elements has added a couple of layers here: one layer adds the blur and the other layer works more with the overall focus and brightness of the image. Since the whole effect is layer based, you can always reduce the opacity of either of the layers to pull back the overall effect if you find it’s too strong.