Whitening and Brightening Teeth
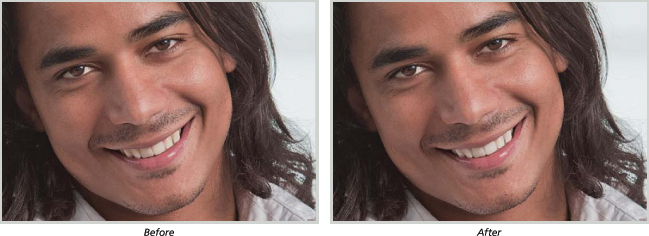
This really should be called “Removing Yellowing, Then Whitening Teeth” because almost everyone has some yellowing, so we remove that first before we move on to the whitening process. This is a simple technique, but the results have a big impact on the overall look of the portrait, and that’s why I do this to every single portrait where the subject is smiling.
Step One:
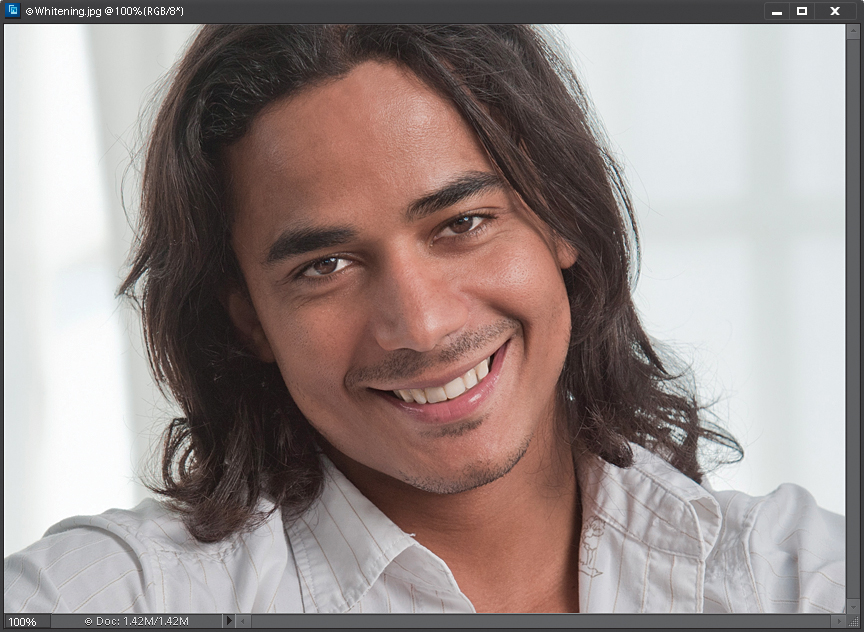
Open the photo you need to retouch. Press Z to switch to the Zoom tool and zoom in if needed.
SCOTT KELBY
Step Two:
Press L to switch to the Lasso tool, and carefully draw a selection around the teeth, being careful not to select any of the gums or lips. If you’ve missed a spot, press-and-hold the Shift key while using the Lasso tool to add to your selection, or press-and-hold the Alt (Mac: Option) key and drag the Lasso to remove parts of the selection. If you’ve grown fond of the Quick Selection tool, then give that one a try here, as it works great too.
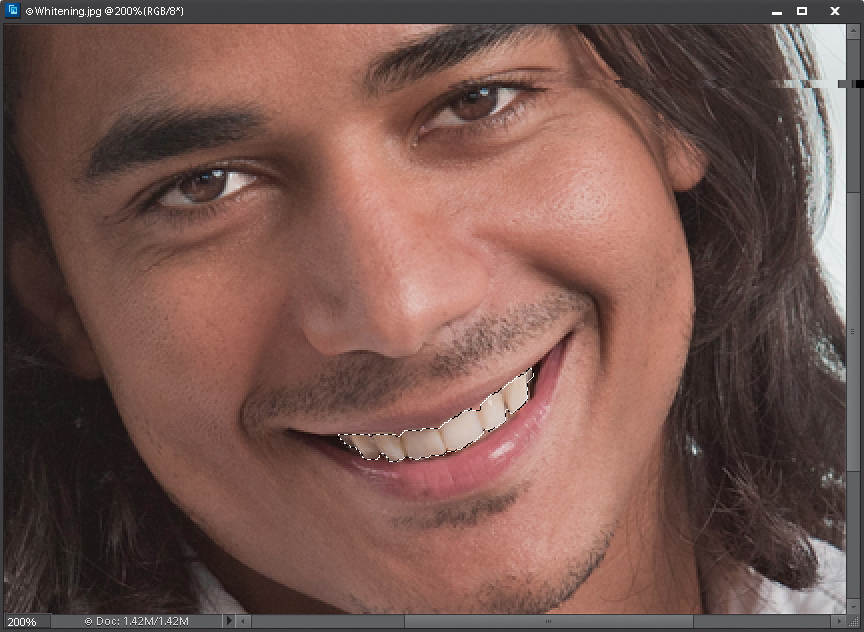
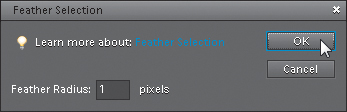
Go under the Select menu and choose Feather. When the Feather Selection dialog appears, enter 1 pixel and click OK to smooth the edges of your selection. That way, you won’t see a hard edge along the area you selected once you’ve whitened the teeth.
Step Four:
Click on the Create New Adjustment Layer icon at the bottom of the Layers palette (it’s the half-black/half-white circle icon) and choose Hue/Saturation. When the Hue/Saturation controls appear in the Adjustments palette, choose Yellows from the pop-up menu at the top. Then, drag the Saturation slider to the left to remove the yellowing from the teeth.
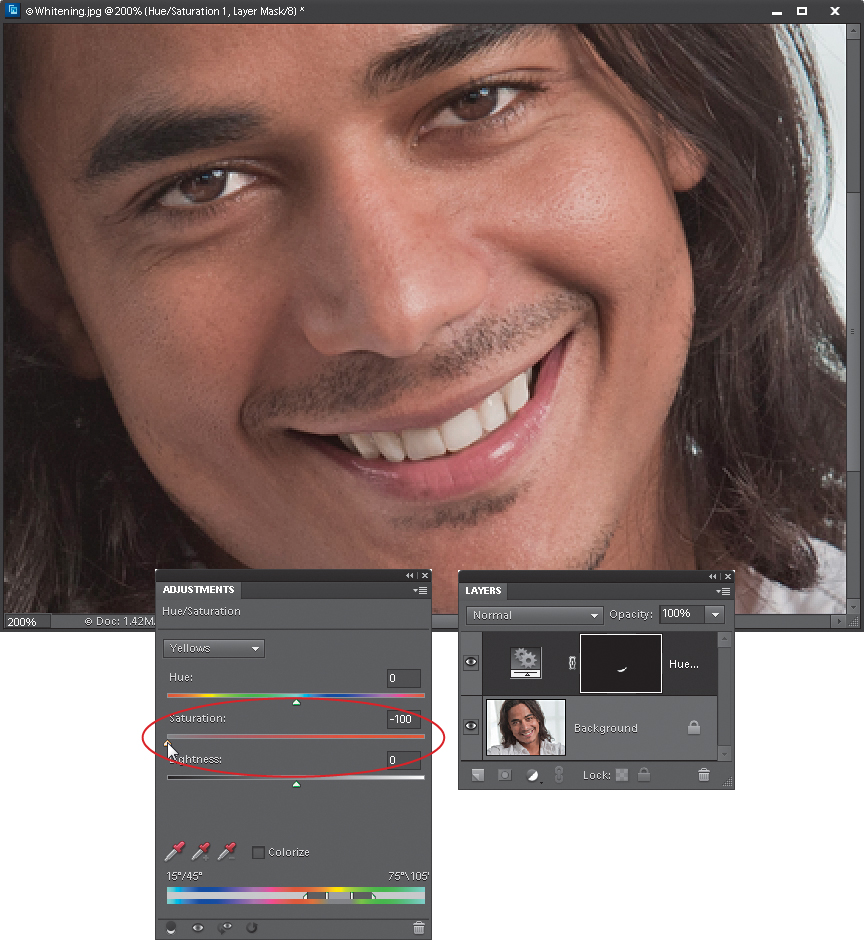
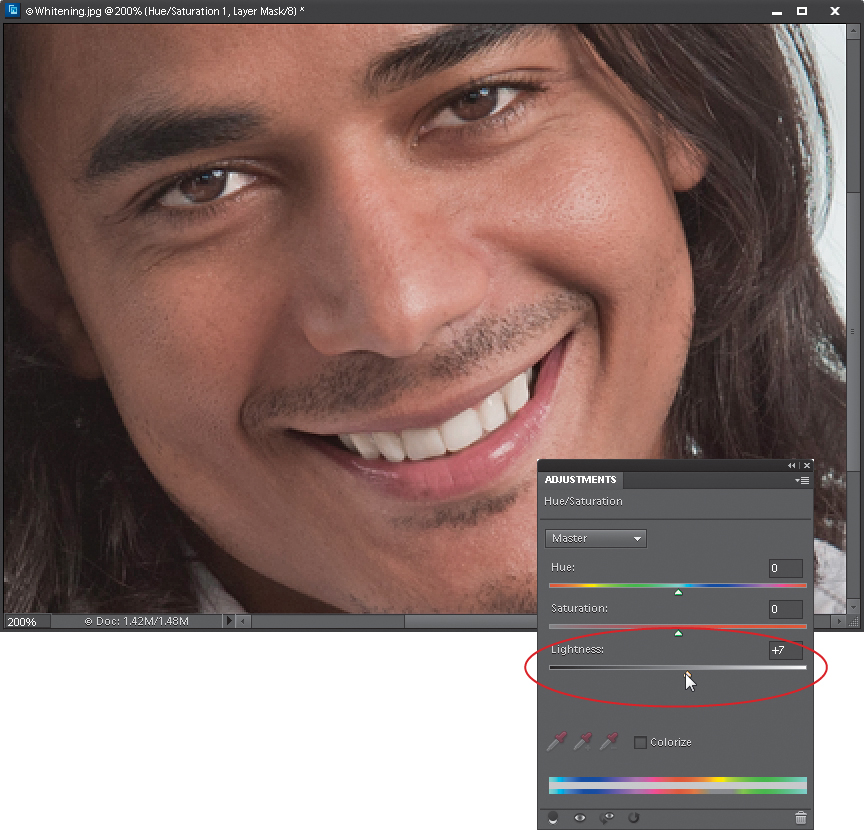
Now that the yellowing is removed, switch the pop-up menu back to Master, and drag the Lightness slider to the right to whiten and brighten the teeth. Be careful not to drag it too far, or the retouch will be obvious. Note: The Smart Brush tool (F) has an effect (under the Portrait preset in the pop-up menu) called Pearly Whites, which does pretty much the same thing but in a little different way. And if that one doesn’t do the trick for you, then there’s another effect called Very Pearly Whites (you think I’m kidding, don’t you?) that does, well, the same thing but more intense.